Building a secure remote access setup using Tailscale

It’s Monday, and the past week has been filled with lots of great activities – Microsoft Ignite, our very own community session, and good progress at the gym. Also, we continue publishing our weekly podcast episodes with Tobias for the Ctrl+Alt+Azure show. Beyond that, I managed to find time to re-build my remote access setup.
My previous setup
Previously, I’ve had a lot of different remote access methods. Even if I spent most of my time at home, I still frequently need to access my systems remotely. I can easily access some systems that I host on Microsoft Azure using a Bastion Host (see here for how I built that). The setup I have at home – mainly, the rack cabinet, I then need to access differently. I’ve relied on a VPN point-to-site setup using the Unifi network hardware for the longest of times. This has been a great approach: I can open a secure connection using a secure VPN tunnel from wherever to home.
But I grew tired of manually opening the tunnel for a minute or two when I needed something from my internal network. Perhaps there is a better way to work wherever and simultaneously access my homelab securely?
Hello, Tailscale
Then I stumbled upon Tailscale. It’s not as if I went out to look for a specific solution. I worked with a few clients on numerous Azure-related network architecture designs and started hunting for more details.
Tailscale is a product offering that allows for a “zero-config VPN” setup. In essence, it’s a VPN service that will enable you to construct your backbone by connecting all your devices to the same virtual network. The technical data plane is WireGuard, which is open source. It’s usually a hub-and-spoke. Thus each hub has spokes (clients) connecting to it, like employees connecting remotely to a branch office. For Tailscale, it’s a point-to-point mesh network: each node can talk to other nodes. Thus, I can have a node running in my homelab and another node on my laptop – and this allows me to remotely connect from my computer to my homelab using the backbone mesh network. Which, in turn, is a secure VPN tunnel.
You can read the in-depth technical explanation on how Tailscale works here.
The personal service of Tailscale is free! The team-based approach (with multiple users) is $5/user/month. For me, the personal is enough. It supports up to 20 devices, and I need a few: my homelab server, my NAS, and my laptop.
Setting up Tailscale
I sometimes reminisce back to 1999 – or so – when I set up my first VPN tunnel. It took a few WEEKS to get working. You had to carefully design the encryption approach, verify the handshakes and tweak with numerous weird network traffic-related settings. Often involved multiple devices like a few servers, a Cisco router, and a gateway device.
With Tailscale, this all took 2 minutes.
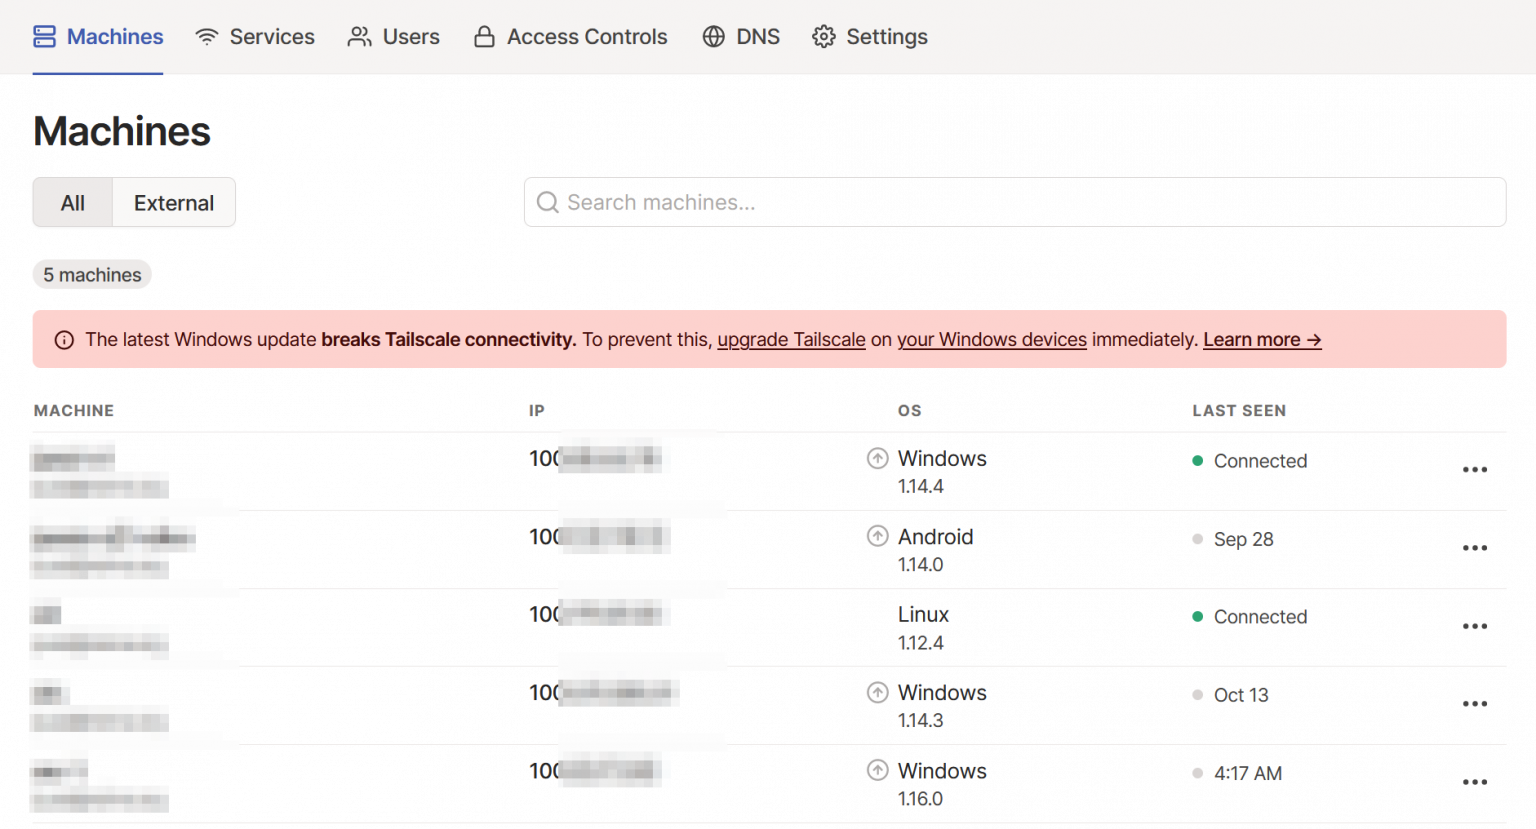
First, you add your nodes on the Tailscale Admin portal. I added my NAS, my laptop, and two physical servers I have in my homelab.
Next, I downloaded the client on one of the servers. This was a Windows Server 2019 (one of my physical servers in my homelab). I signed in using my Microsoft Account, which also happens to be fully passwordless now. It’s great that I can utilize additional security with Tailscale.
Each machine with Tailscale installed (and logged in) gets an additional private IP from the 100.64.0.0/10 range (see here for explanation). And that’s it. Using the tiny app, I can now check for other nodes and connect with them as I would regularly do – perhaps via Remote Desktop or HTTPS, as if they were in the same local network as me.
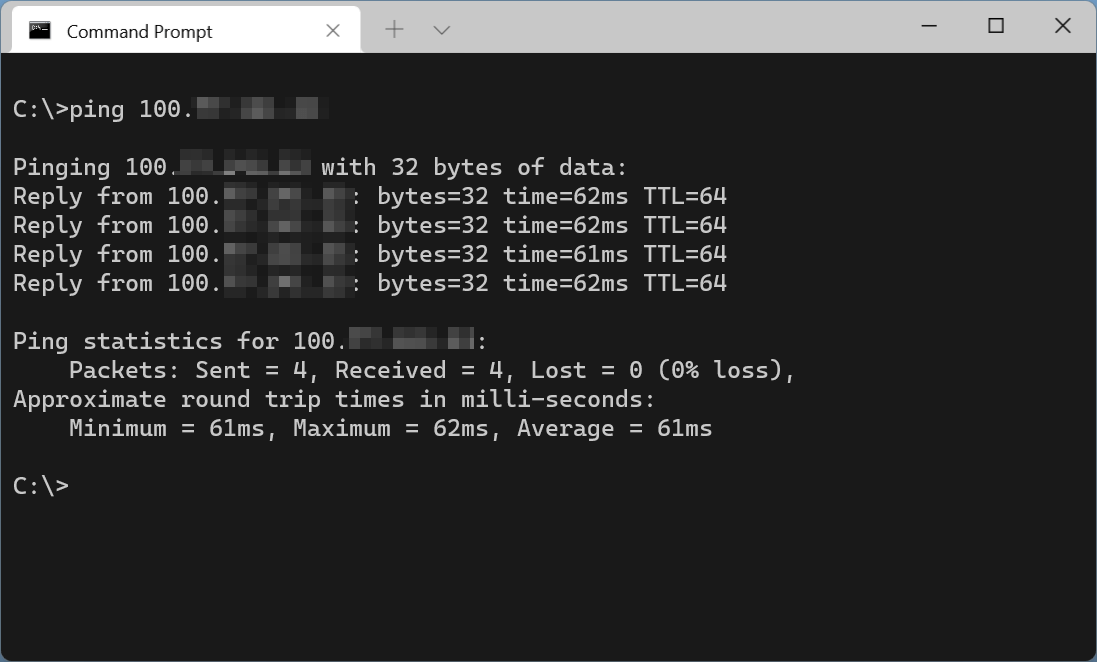
Does it work, though? Let’s try. While writing this, I’m sitting in a cafe, away from home. I have Tailscale open, and I’m pinging my NAS at home:
Use cases
I realized then that I could also have Tailscale on my phone. This way, I can access anything any of my nodes securely. This effectively allowed me to replace all my home firewall rules with just one rule: DENY ALL.
Once this was running smoothly, I could replace my dynamic DNS setting to point to my Pi-Hole DNS proxy. Even if I’m traveling, I can still use the excellent filtering Pi-Hole provides me.
I could also tier down all VPN services, settings, and certificate services from my home network.
In closing
It’s still early days with Tailscale for me. Now that the service is stable, it will allow me to further configure and tweak it to my future needs.