Building a homelab - moving to rack-mounted gear, and refreshing the internal network (Part 1)
At home, I’ve had many network devices, a varying number of servers, and other gear running for a few decades. After each move, I get rid of a lot of the stuff that I don’t need. Then, over time my needs change, and I start rebuilding again.
As I’m now preparing to move once again next year, when my new house is built and completed, I started planning for a proper homelab environment. But what is a homelab, you might ask? I think this Reddit thread nicely captures the essence of it, in that it’s a place where you safely do experiments with hardware and software. It’s often associated with having a rack cabinet to fit your servers and gear – even if one could get by perfectly well with a semi-cheap Intel NUC on the table.
Step 1: figuring out the needs of today, and the future
For me, the hardest part was trying to envisage the future – what sort of hardware and software do I need to run two years from now in the new house? Home automation, for sure. But how many virtual machines do I really see myself running? Perhaps I need to dive deeper into Kubernetes? What about firewalls? And remote access?
I’m a fan of learning while doing – so building something at home needs to mimic the work I do with my customers. Obviously, sometimes it’s downscaled. While a customer might ask me to design a global and scalable architecture for their Azure and hybrid needs, I might only need a local implementation.
I listed the following needs/wants/hopes in my list of things to have in the homelab:
- 10 Gigabit Ethernet backbone network
- All devices that support wired connectivity, can be wired – i.e. enough ports in the switches
- At least two Hyper-V hosts to run VMs in a highly available manner
- A selection of Raspberry Pi’s to run whatever needs to run 24/7 in a container
- Remote access to home
- Guest wifi
- Separate network for all IoT devices that I don’t trust enough
- Wifi6 capable wireless in the future
It isn’t a massive list, and perhaps I’ve left something out I don’t consider crucial at the moment.
For the future, I know I will be running more than 10 virtual machines and perhaps 10-20 containers at most times. Then again, most of these needs are very lightweight – running a Bitwarden-based password management solution only requires less than 100 MB of RAM. And RAM is admittedly relatively cheap for servers and the NAS.
Step 2: Getting started – the rack cabinet
Most of my current hardware is non-rack-mountable. It isn’t a major issue, but ideally, it would be nice to have everything neatly installed and secured in a rack cabinet.
So, rack cabinets are relatively affordable – you can find new ones for a little bit over 100 euro, like this one from Amazon UK. It depends on the brand and the size. Rack cabinets are available in several configurations, typically defined by their height and the rack unit (U, or RU). The rack unit is a standard specification, defined as 44.45 mm (or 1 3⁄4 inches).
I sourced a second-hand 18U rack cabinet, the maker is Toten.
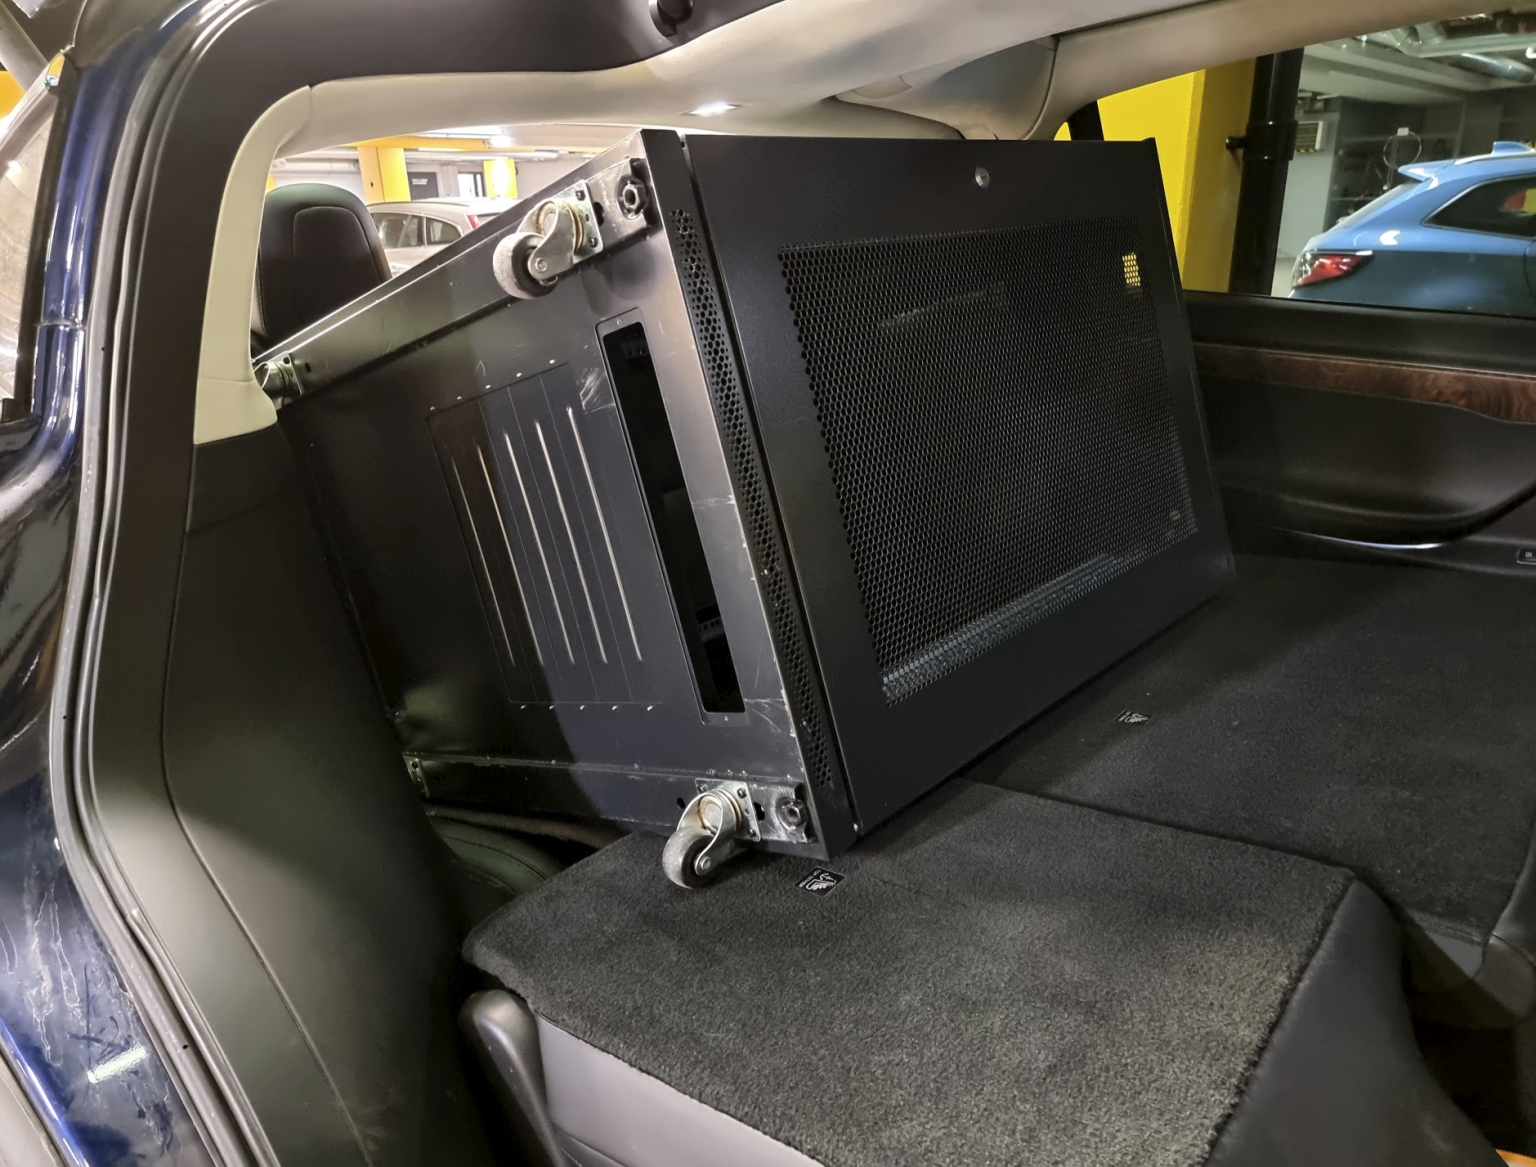
Technically, it fits in the car. I had to push down my car seats, and even then, it was a super tight fit. The family also had to the subway home because what’s more important than getting the rack home on a Sunday. And it was mother’s day, also.
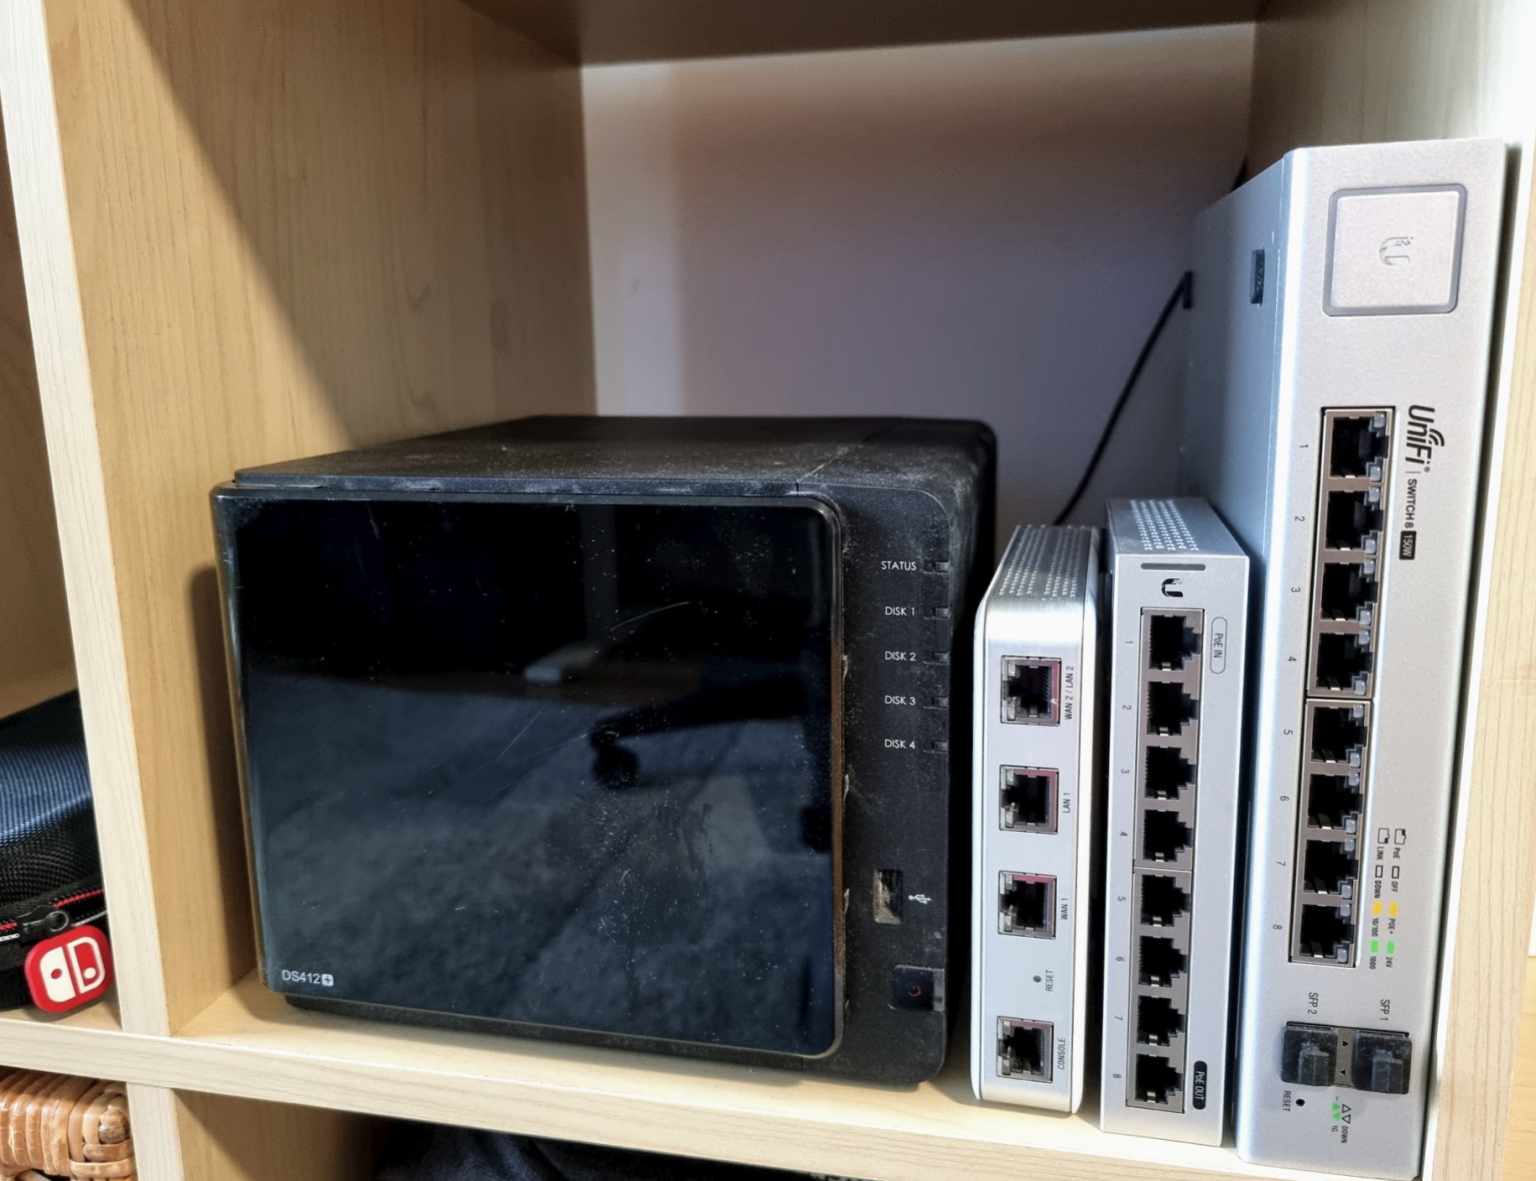
It’s a sturdy cabinet, and the little wheels help immensely in moving it around. I then decommissioned a bunch of older network gear that is not rack-mountable:
I then ordered a few shelves for the rack – just to hold some gear that will not become rack-mountable any time soon.
First fit with the Unifi UDM-Pro, and an 8-port switch.
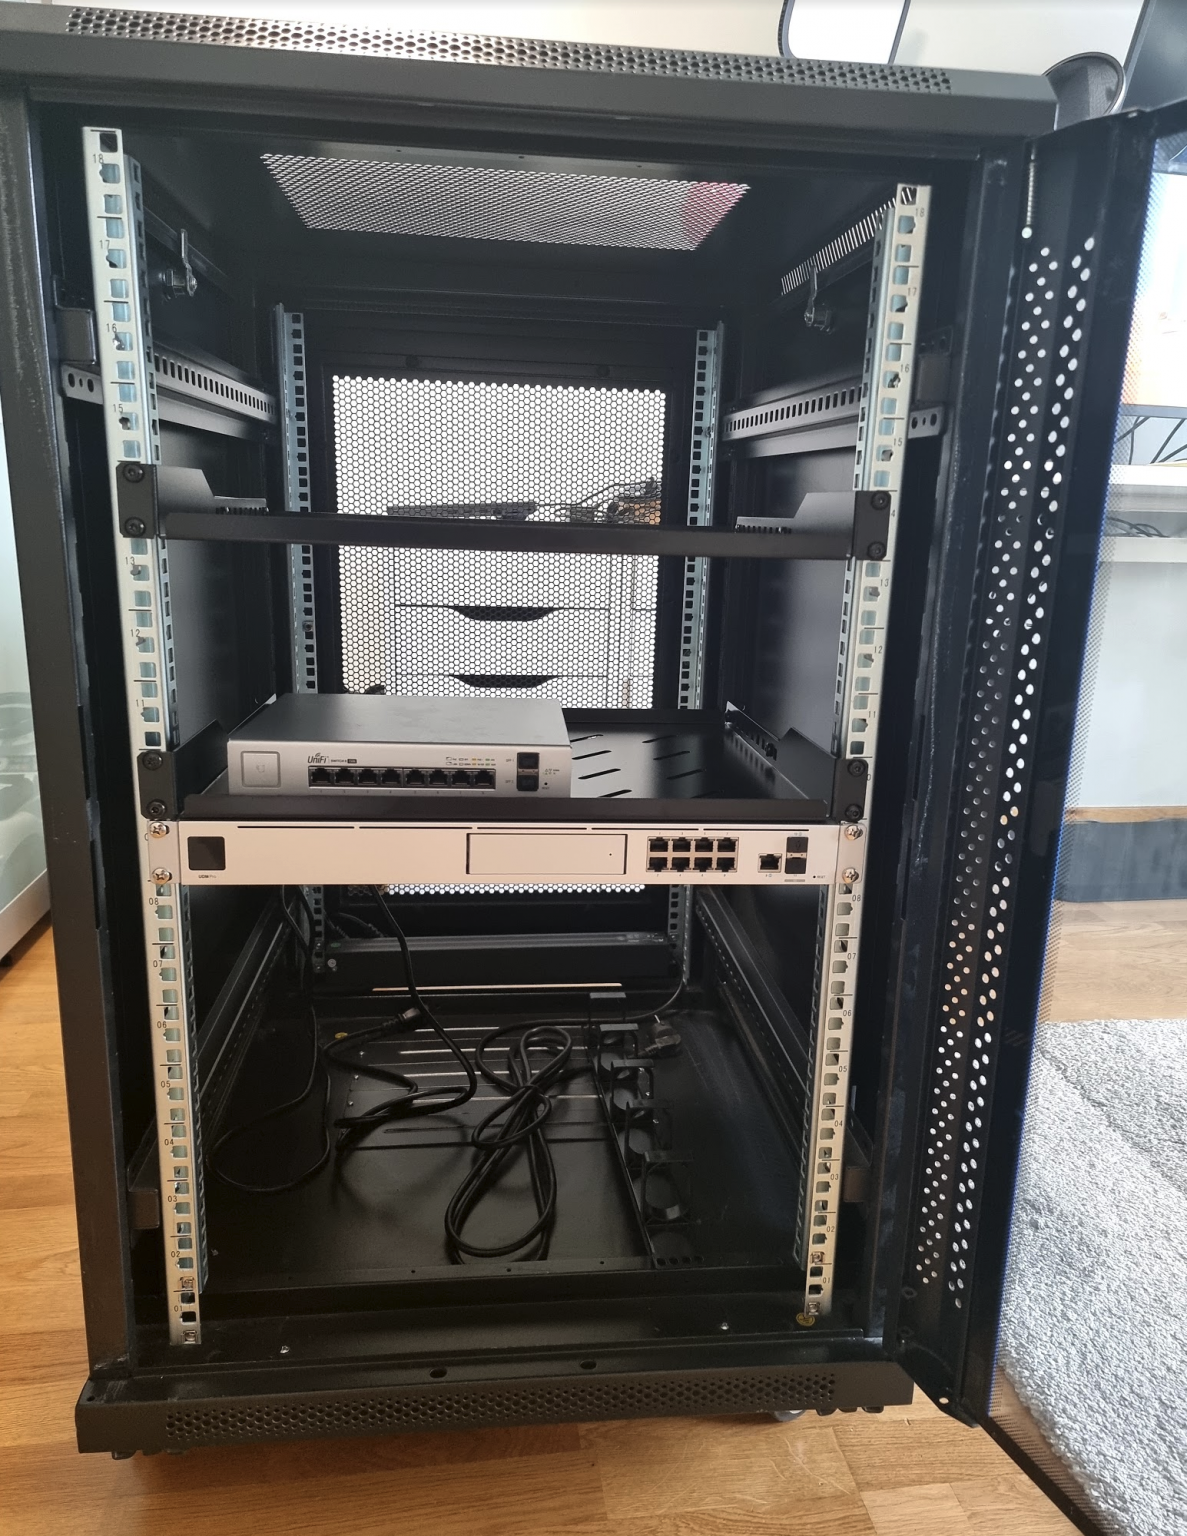
Plenty of space! I moved the rack next to my desk at my home office and added the rest of the gear. Quite hastily, as I was anxious to see that everything works.
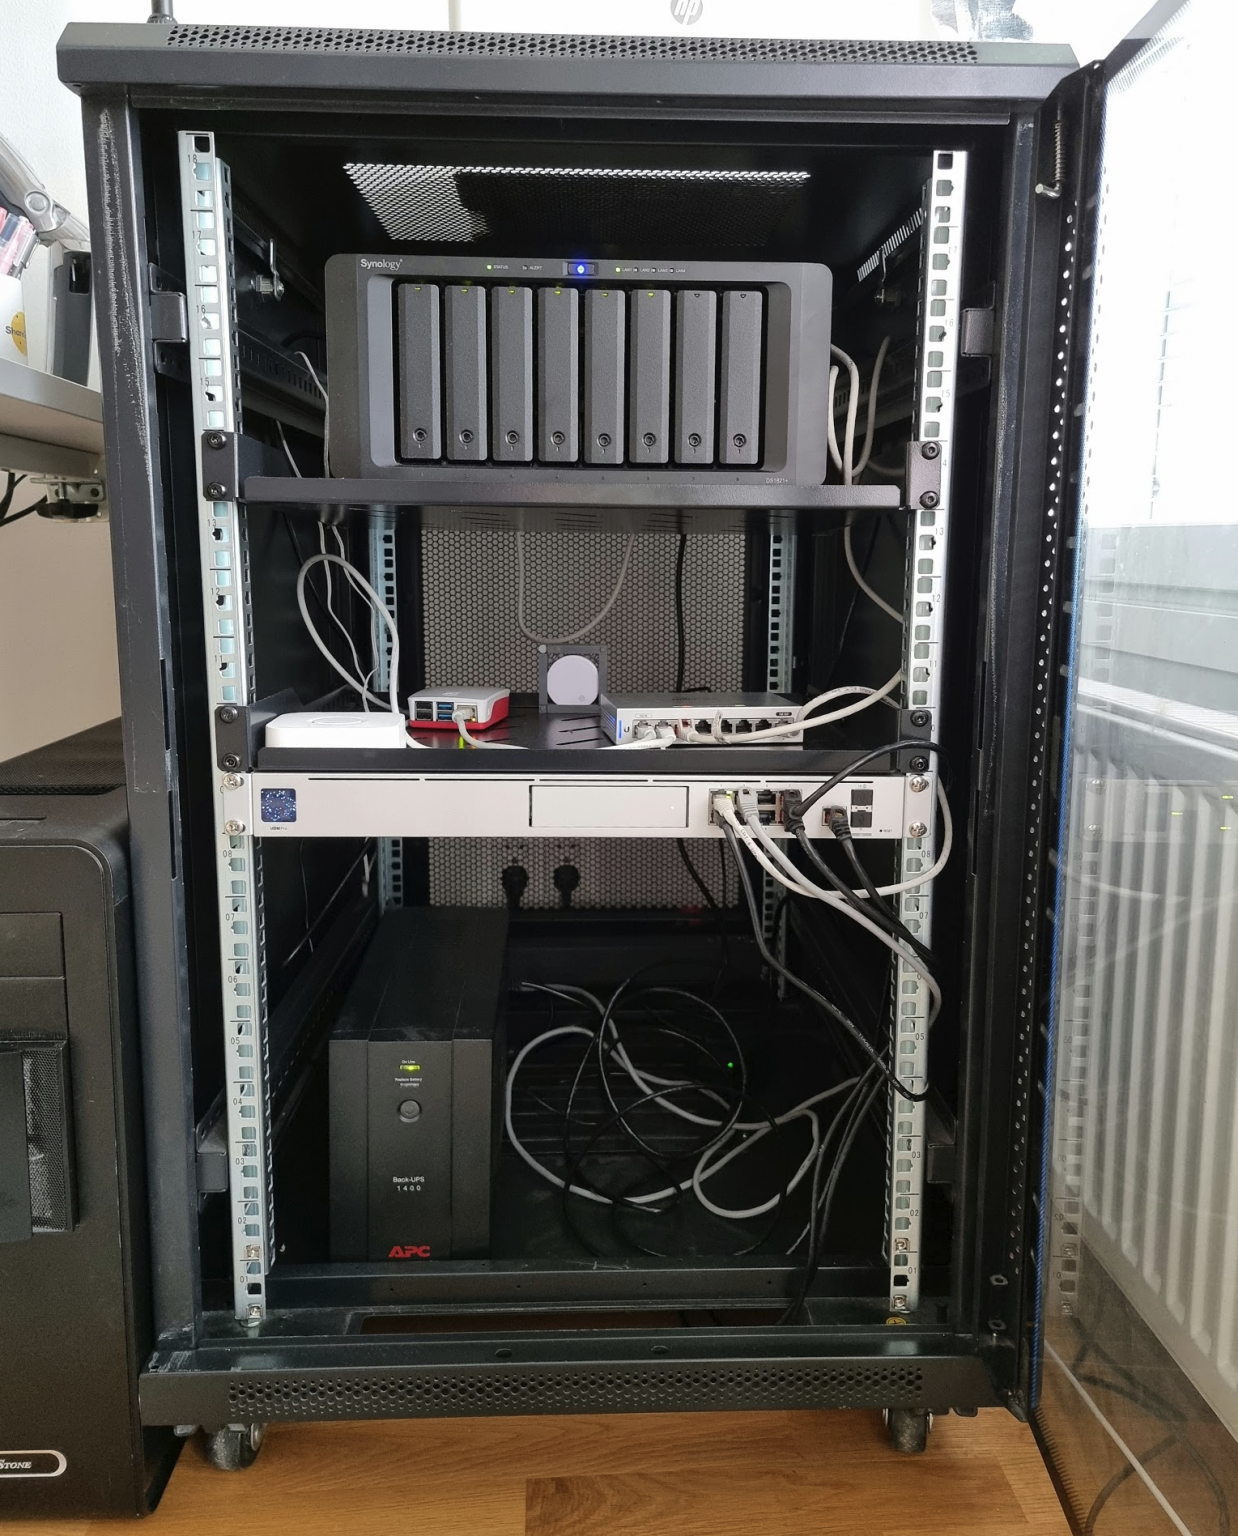
Top to bottom:
- Synology DS1821+ on the shelf
- Philips Hue bridge, Raspberry Pi 4, Ruuvitag wireless sensor, Unifi 8-port managed switch
- Unifi UDM-Pro with uplink and downlink
- APC 1400VA UPS
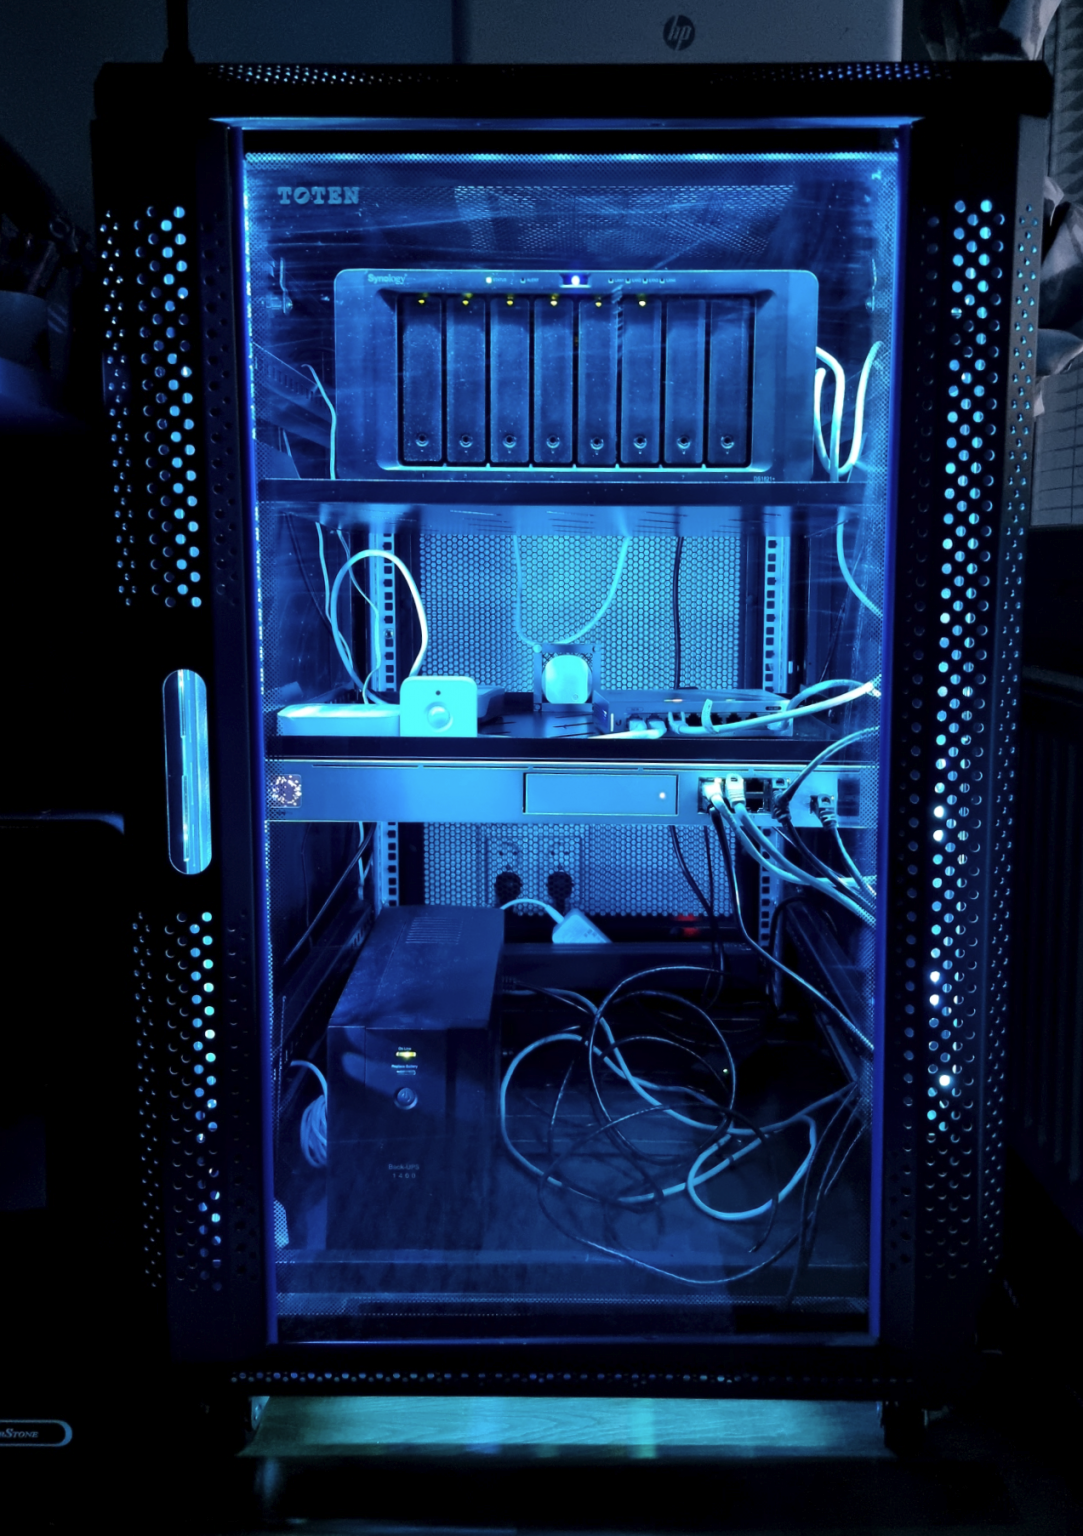
I added some Philips Hue lights, just to make it more appealing. Even if I didn’t hide the cables just yet.
On the left you can see a server, that isn’t rack mountable. So that brings us to the next step.
Step 3: Filling up the rack
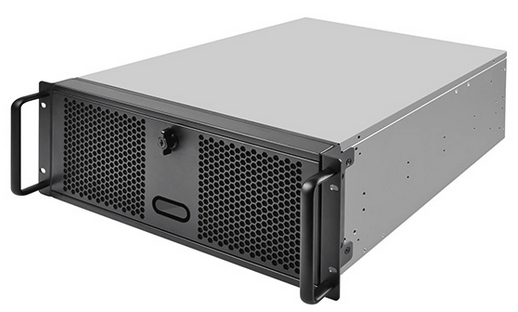
First, the server. It’s a full-sized tower with a full-sized ATX motherboard. I don’t want to get rid of perfect hardware, so I ordered a 4U rack-mountable chassis. Due to the global supply chain issues and shortages, it’s still on its way. It’s the Silverstone RM400:
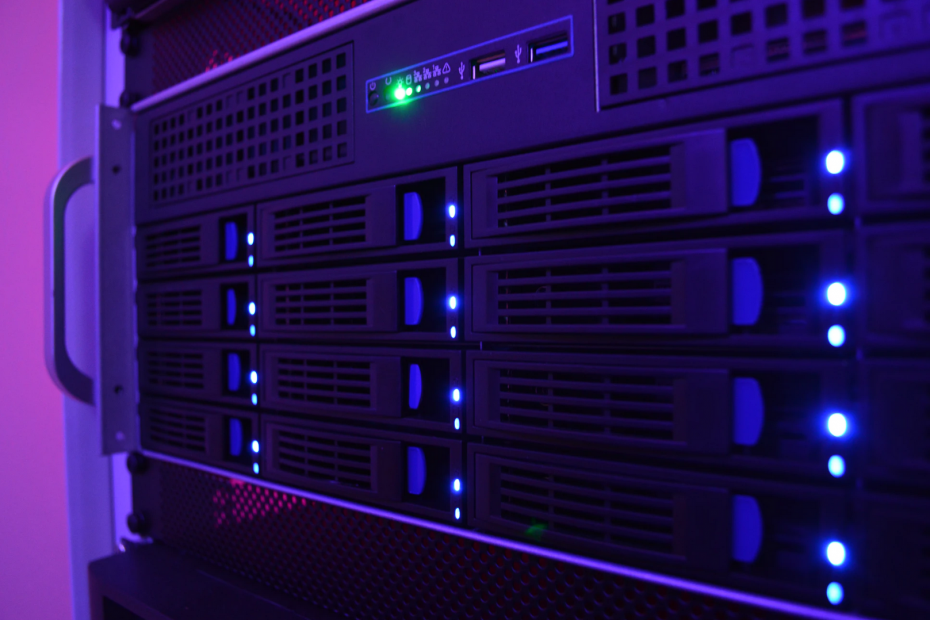
Once that’s installed, I can install the new switch – Unifi Switch Pro 48:
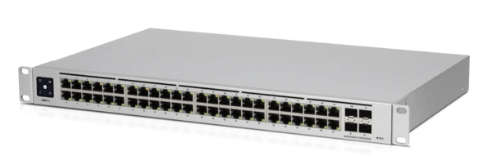
It’s a 48-port managed gigabit switch, with 4 SFP+ links for 10 GbE. This satisfies my needs for the future, as I can link the server, the NAS, and the UDM-Pro with 10 GbE links using the DAC (copper) cable and SFP+ adapters.
Even with these additions, I still have some room for more. I also ordered a rack-mount for the Raspberry Pi:
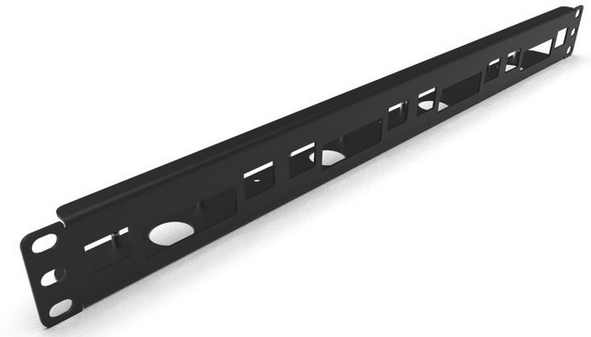
I’m not entirely sure if I really need this, but at least it makes housing the Raspberry Pi’s that much more cleaner.
In the end, the goal is to have all these installed neatly within the rack and hide the cables as much as possible. This will then serve me for the next 10 months or so before moving to the new house.
Jussi Roine
Microsoft MVP and consultancy founder with 30+ years of experience, passionate about Microsoft security, AI governance, and sharing what I learn along the way.