Hosting Tailscale in Azure

I've written about Tailscale, the fantastic 'little' security solution - see my setup here, and how I'm using Tailscale to access the password management solution I'm self-hosting securely.
To recap, Tailscale provides self-managed & self-hosted secure access between all your devices. It's also free for individuals (up to 100 devices!). I have it running on my laptops, my Synology NAS, my phones and tablets, and a virtual machine at home. Previously, I also had it running on a Raspberry Pi to route my subnets through the tailnets. However, Raspberry Pi suffered a hard hit during my home office refurbishment project and no longer answered ping requests.
The last (remaining) issue I've had is with reliability. At home, I run a few physical servers and the Synology NAS. Should one of those physical servers break down - as one was custom-built in 2013, I'm expecting that to happen - I might not be able to reach my on-premises devices when I'm out and about. That got me thinking - why wouldn't I spin up a Tailscale node in Azure as a backup? It would then easily connect with my tailnet and nodes, as long as my home Internet connection works. And that's been super reliable.
Setting up a virtual machine in Azure
This was surprisingly easy. I spun up a new virtual machine in Azure, using Ubuntu 22.04 as the base image. As Tailscale is very light on hardware requirements, I opted for a B2ms SKU – that's 2 vCPUs and just 8 GB of RAM. It's more than sufficient for my little routing needs. That will set me back about 60 €/month.
Once the VM runs, I harden it with Defender for Cloud and use Defender for Servers. This gives me a nice list of recommendations to fix and allows me to set up a vulnerability assessment solution (based on Qualys) to surveil the VM. Alerts, logging, automatic patching, etc., are the usual changes I apply for any VM I spin up manually.
Installing Tailscale on Ubuntu is a breeze - just run the following command:
curl -fsSL https://tailscale.com/install.sh | sh
For manual install instructions, see here. Once the script finishes, I'll need to join the device to my tailnet with the following command:
sudo tailscale up
And authenticate with the admin account I have configured for Tailscale. One of the beautiful things with Tailscale is that I can use passwordless here.
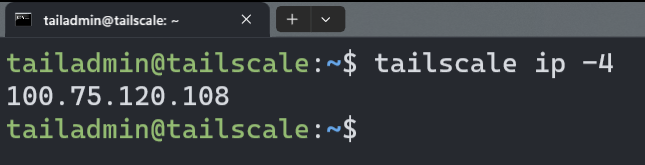
I can now check if the Tailscale is running with tailscale IP -4:
And I can also ping my other devices - such as my phone:

I chose not to route my subnets just yet, as I have a local Ubuntu VM running at home that's exposing my local subnet for Tailscale.
Reviewing all nodes via https://tailscale.com/admin tells me that things are looking good:
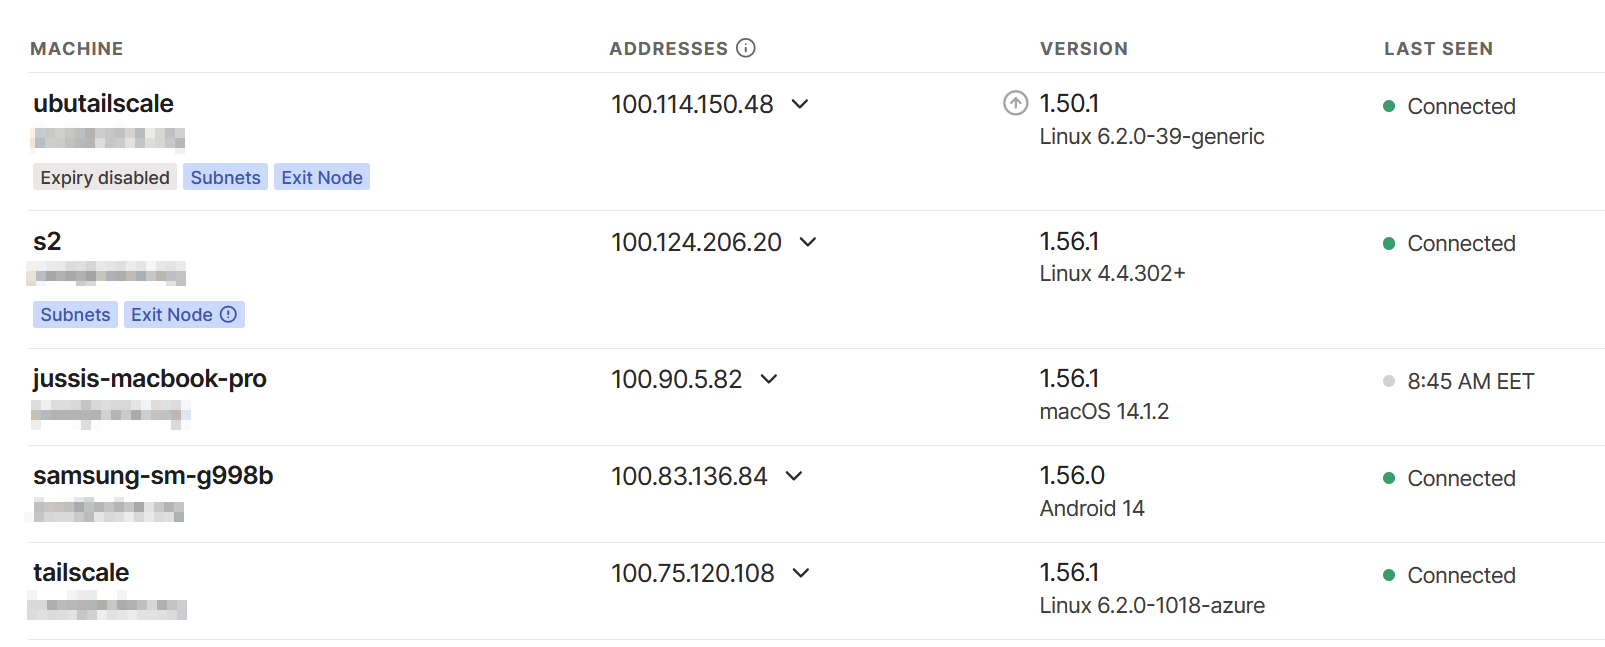
However, I have to clean up the double exit node issue here. Initially, I had my Synology NAS (S2) routing subnets, but I then opted for a real VM – and forgot to clean up the older route advertisement. It works like this also, of course.
What can I do with Tailscale?
As I've written in a previous article, I can access everything remotely securely. I often work briefly from customer sites, coffee shops, public transit, and other remote locations. I usually have the Tailscale tunnel enabled at all times. This also gives me the benefit of routing all DNS requests via Pi-Hole, thus blocking all telemetry and adds. And by tunneling my traffic when using the occasional public Wi-Fi, I get a bit more security by not exposing my destinations.
You can view my Pi-Hole adlists here.