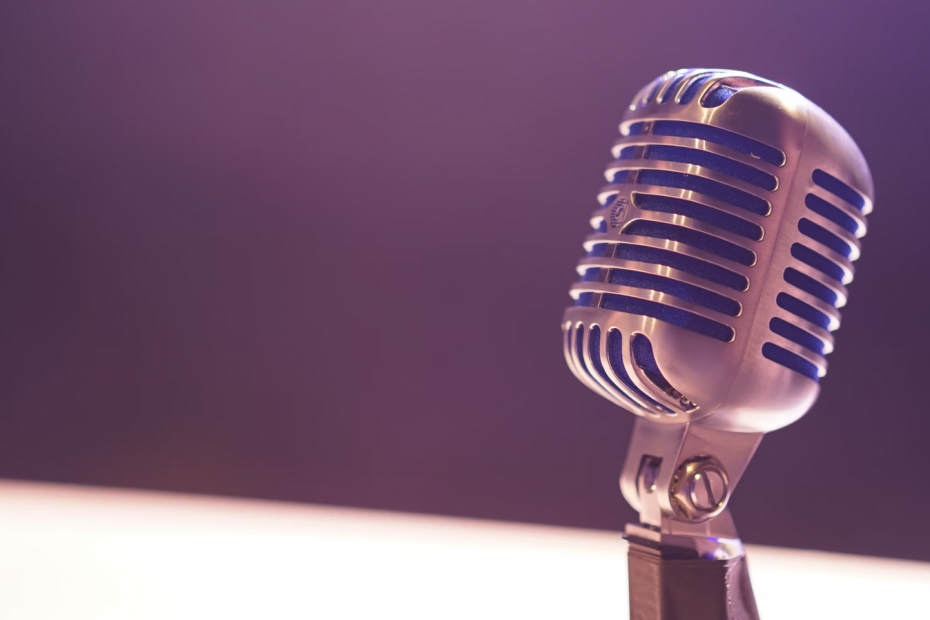
Building the perfect recording and podcast audio setup with the dbx 286s mic preamp/processor and Shure SM7B dynamic microphone
In mid-2021, I upgraded my home office with some acoustic panels from Elgato. Since then, I’ve done plenty of upgrading with my recording and podcast audio setup. Previously, I had a decent microphone from RØDE – the Procaster (see here for a walkthrough of that setup).
In 2021 I had some extra time, and I set out to upgrade my audio setup once more—this time towards something that would last me for a long time.
Upgrading the microphone to Shure SM7B
I sold the Procaster microphone. As I wrote previously, it’s pretty decent, but I knew there had to be something better out there. I wanted to go for a ‘real’ microphone. The Shure SM7B is a dynamic broadcasting microphone, and it doesn’t require phantom power. It connects with an XLR cable (therefore, it doesn’t connect with a USB like regular microphones tend to). But it’s a ‘hungry’ microphone in that it requires plenty of gain from your amp.
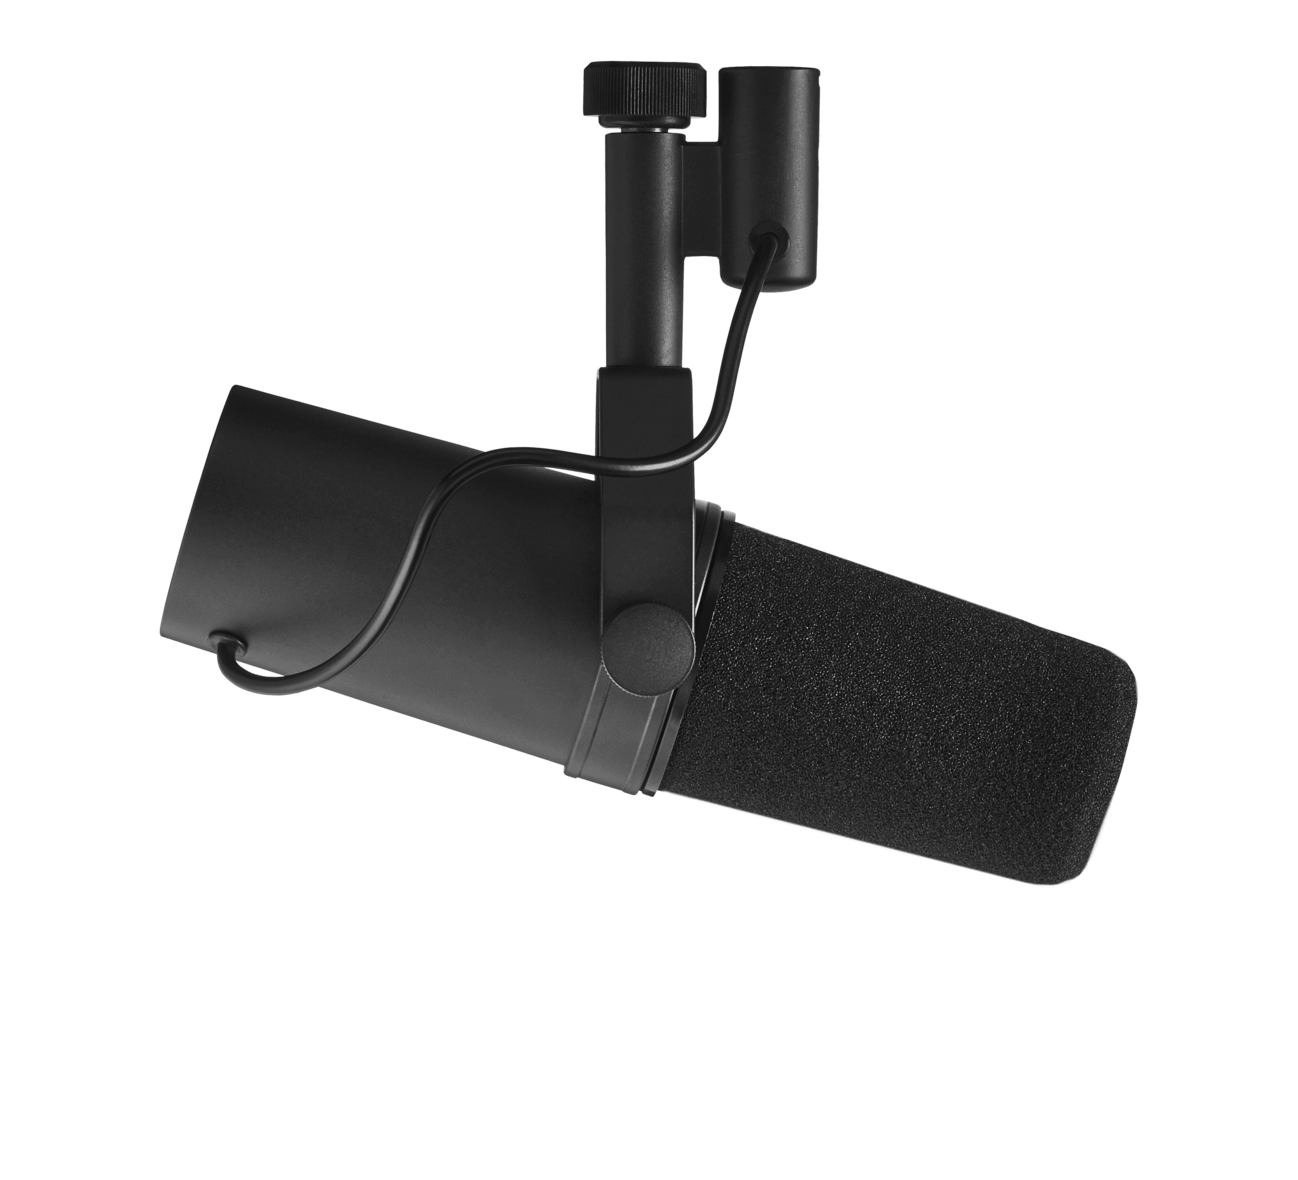
The list price is $399, and I think I paid about 350 euros for mine (with taxes). It’s built like a tank, and I think it will outlast me.
I spent a few evenings tweaking the settings, testing for distances and audio patterns. It gives a warm and ‘full’ sound. It also does not pick up ambient noise as much as the previous microphone. The pre-amp then takes care of the rest.
Powering the microphone: Focusrite Scarlett 2i2 (Gen 3)
I still have the Focusrite Scarlett 2i2 device as an audio interface. The microphone can be connected directly, and the Focusrite then connects to my PC. Sadly, this doesn’t work very well because the Shure microphone is hungry for power. The audio turns up distorted and choppy.
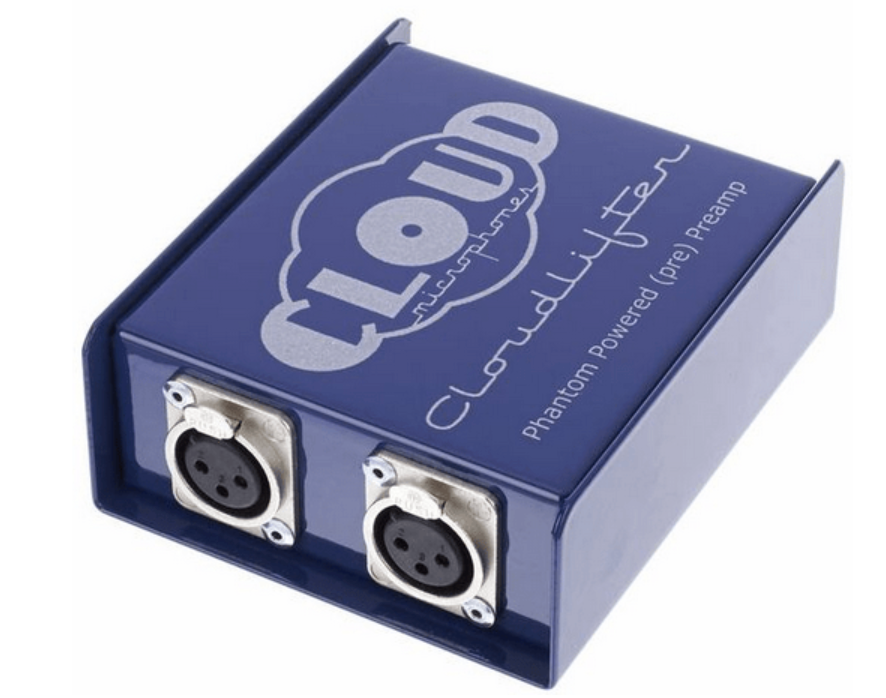
I used my existing Cloudlifter CL-2 device to provide more gain for the microphone.
This did the trick, but I wasn’t satisfied with this approach. What was needed was a microphone pre-amplifier.
The mic pre-amp: dbx 286s
I went with the pros of a mic pre-amp to fix this problem. There are many to choose from, but I frequently found great reviews for the dbx 286s.

It’s a rack-mountable 1U device with this industrial look and feel. The microphone connects with the dbx, and the dbx connects with the Focusrite. This one can give phantom power to the microphone and provide a massive gain (up to +60dB) for the microphone. It’s also relatively cheap – less than 200 euros.
Sadly, even if the dbx 286s can provide the power for the Shure microphone, I felt it was hitting the limits. Therefore, I added the Cloudlifter in-between the mic and the dbx device. This allows me, in turn, to drop the gain from the dbx and balance the sound better.
End-to-end, the setup is:
[Microphone] — [Cloudlifter] — [dbx 286s] — [Focusrite Scarlett] — [PC]
Tuning the setup
Tuning the setup took a few evenings. There are so many knobs to use in the dbx that it took several resets and retries to get it right. In a way, it just works out of the box. But if you want to get the device’s value, you need to find the balance for your voice. I think my voice has a fair bit of bass, mainly focusing on the content and perhaps reading aloud. However, it doesn’t make a massive difference on the occasional Teams or Zoom meeting.
I think I read through every guide available on setting up the dbx 286s. This video from Julian Krause was the easiest to follow and an excellent video for an end-to-end configuration of this setup.
In the end, I ended up with the following values on the dbx 286s (from left to right on the device)
- Mic Preamp line: +40 dB
- 48V Phantom power: On (for Cloudlifter)
- 80Hz High Pass: Off
- Process Bypass: Off
- Compressor Drive: 3
- Compressor Density: 7.5
- De-esser Frequency: 4k
- De-esser Threshold: between 2.5 and 3
- Enhancer LF detail: 1 notch down from 2.5
- Enhancer HF detail: 2.5
- Expander/Gate Threshold: -20
- Expander/Gate Ratio: Between 1.5:1 and 2:1
- Gain: 0
That’s a lot of settings. Thankfully once these are in place, there is no need to touch the dbx 286s at all. Unless you need to quickly lower the gain from 0 to less than 0, some audio software I occasionally use seems to require this.
In closing
Admittedly, life would be straightforward if you buy a 100 euro headset and do all your audio recordings and meetings with that. It works. But there are a few significant drawbacks here. You cannot optimize your voice in any way. You also end up looking like an air-traffic controller through all your meetings.
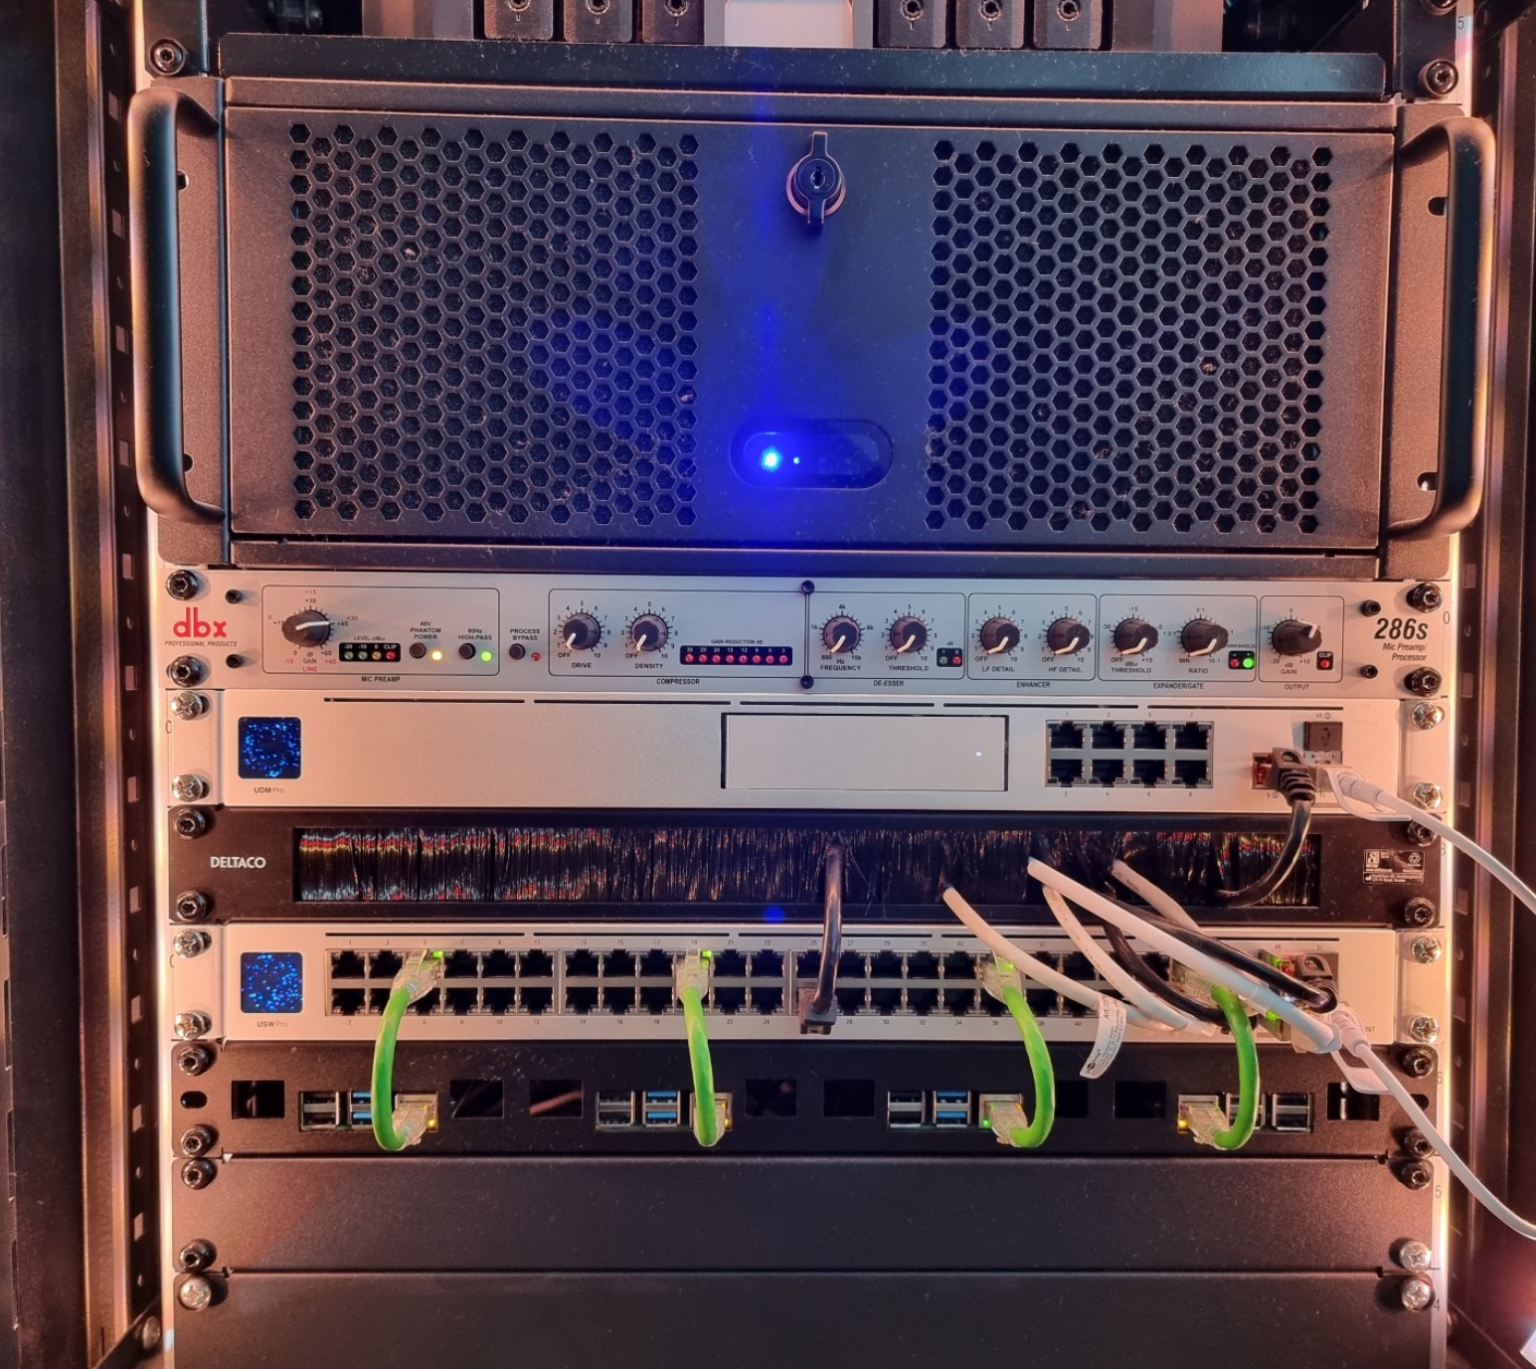
This is how the dbx 286s device sits in my hardware rack. I then run an XLR-to-TRS cable from the rack to the Focusrite.
I wanted to push the envelope a bit by investing in a great microphone and then trying to get the best reasonably priced setup for that specific microphone. The dbx286s, together with the Cloudlifter and the Shure SM7B, are excellent. I utilize the Focusrite Scarlett only as an audio interface now and do not do anything else with that.
The total cost for this setup is about 850 € (before taxes):
- dbx 286s: 140 €
- Shure SM7B: 300 €
- Focusrite Scarlett 2i2 3rd Gen: 120 €
- Cloudlifter CL-2: 240 €
- Cables: 50 €
You can save about 100 € by going for the Cloudlifter CL-1, which is the same but has only 1 XLR connection. For some reason, I ended up with the CL-2, perhaps future-proofing my setup for two microphones.