Lessons learned when creating a session for an online event using TechSmith Camtasia

This week, I delivered a virtual session for the European SharePoint, Office 365 & Azure Conference. This year, it’s an online event, and all sessions are pre-recorded and then delivered over Teams Live Events to attendees.
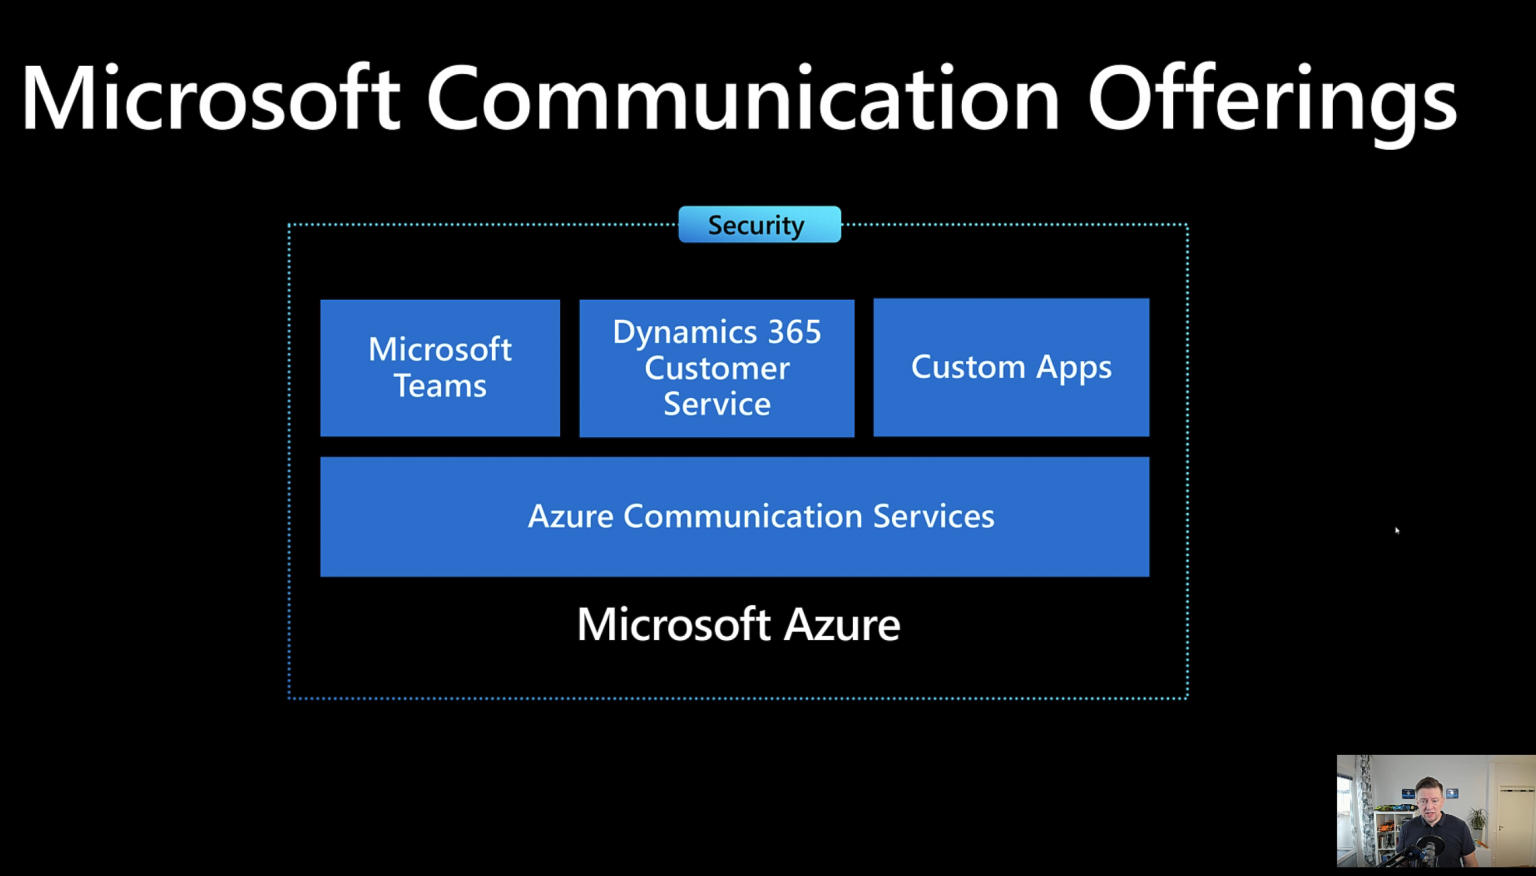
Each session is scheduled for 30 minutes, so one has to pay attention to get to the subject matter quite quickly during the presentation. My session was about Azure Communication Services, and it included about 15 slides and two demos. The runtime is about 29 minutes, 30 seconds.
I learned a few crucial lessons when preparing and recording my talk. This blog post will recap those and provide my learnings.
Set up space for recording
I don’t have space for a dedicated home recording room, so I record the podcast episodes and webinar sessions in my home office. It’s a gradual work in progress, but for now, I’m starting to reap the rewards – setting up a space for recording is easy and enjoyable.
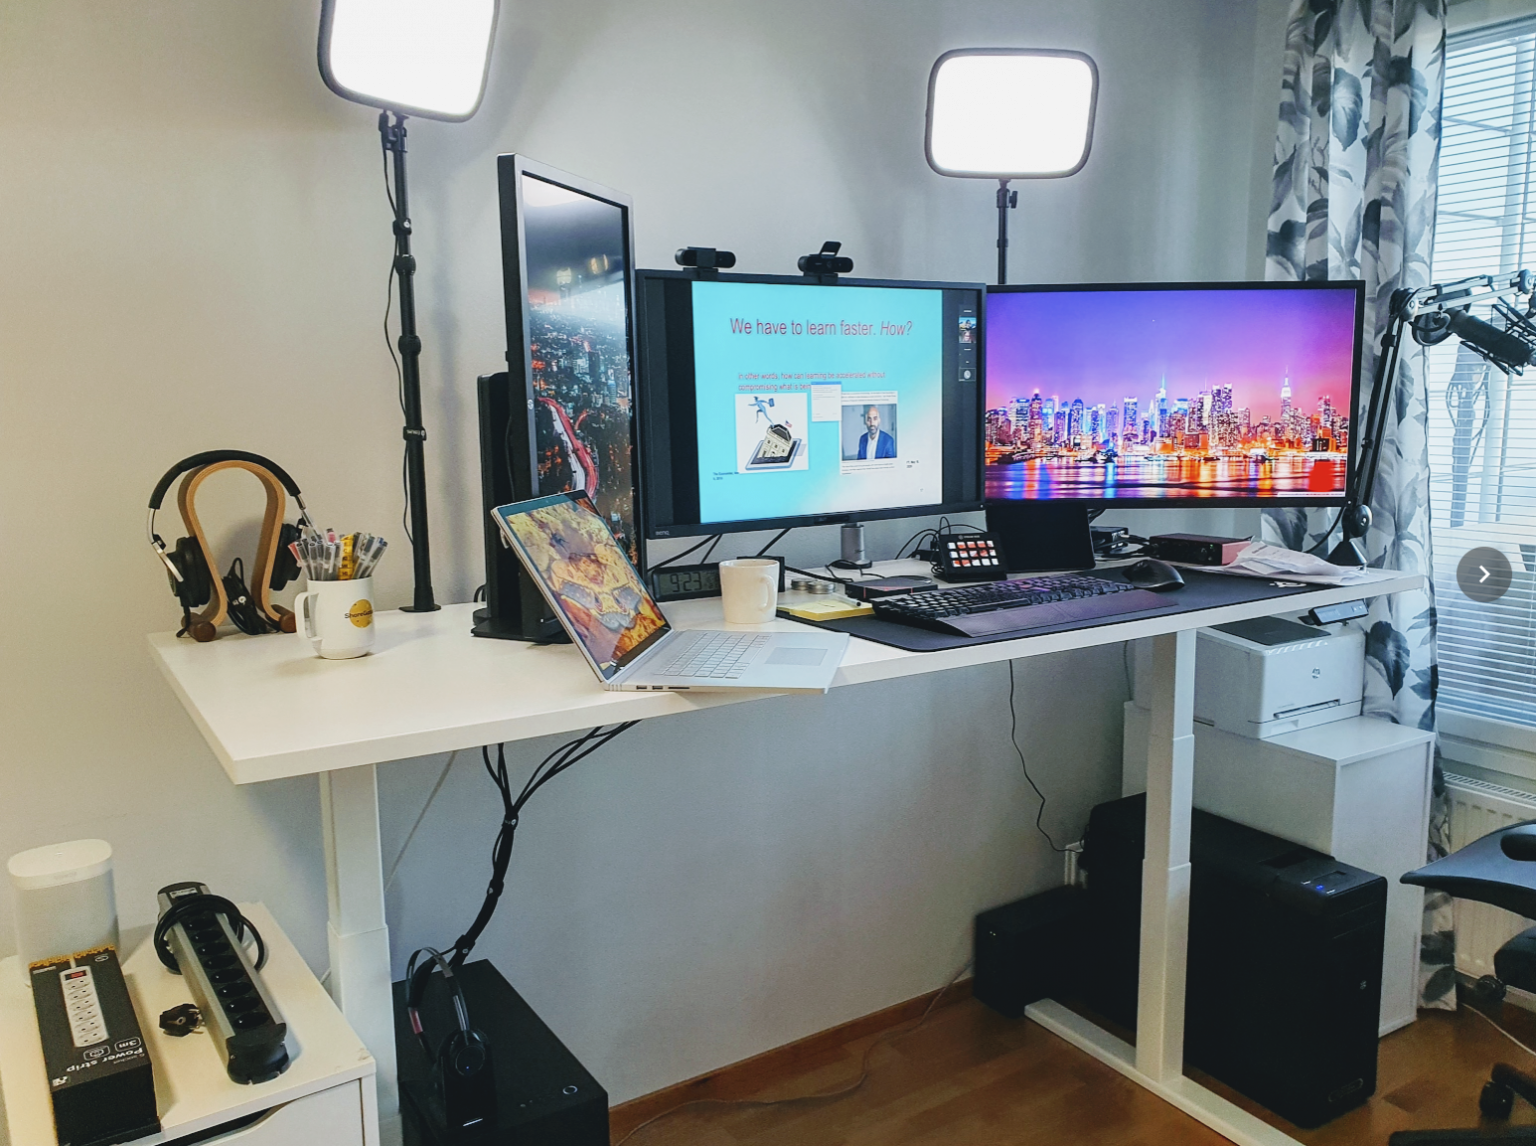
I mostly work with my desk in the standing position, and this gives me more energy when doing a talk. I utilize the same microphone I use for our podcast (see details here about audio gear), and now with the two Elgato Key Lights, I get enough light and color in my videos.
About TechSmith Camtasia
When recording a session, you have the luxury of polishing it. Removing the ahmms and uhmms, recording demos separately, and cleaning up audio are some of the things I usually do. I listed the options at my disposal as:
- Use PowerPoint and simply record what’s being presented
- Set up a meeting with myself using Microsoft Teams, and record to Stream
- Use Open Broadcaster Software (OBS)
- Use TechSmith Camtasia
I discarded PowerPoint, as I knew I had to record my desktop, Visual Studio and other apps also.
I then tried out Microsoft Teams. I use a 4K HDR camera, the Logitech BRIO. Teams, for some reason, downscales the video to 720p. I know there isn’t built-in support for raw 4K content in Teams, but I’m always hoping for at least 1080p. This time, Teams gave me a really pixelated picture:
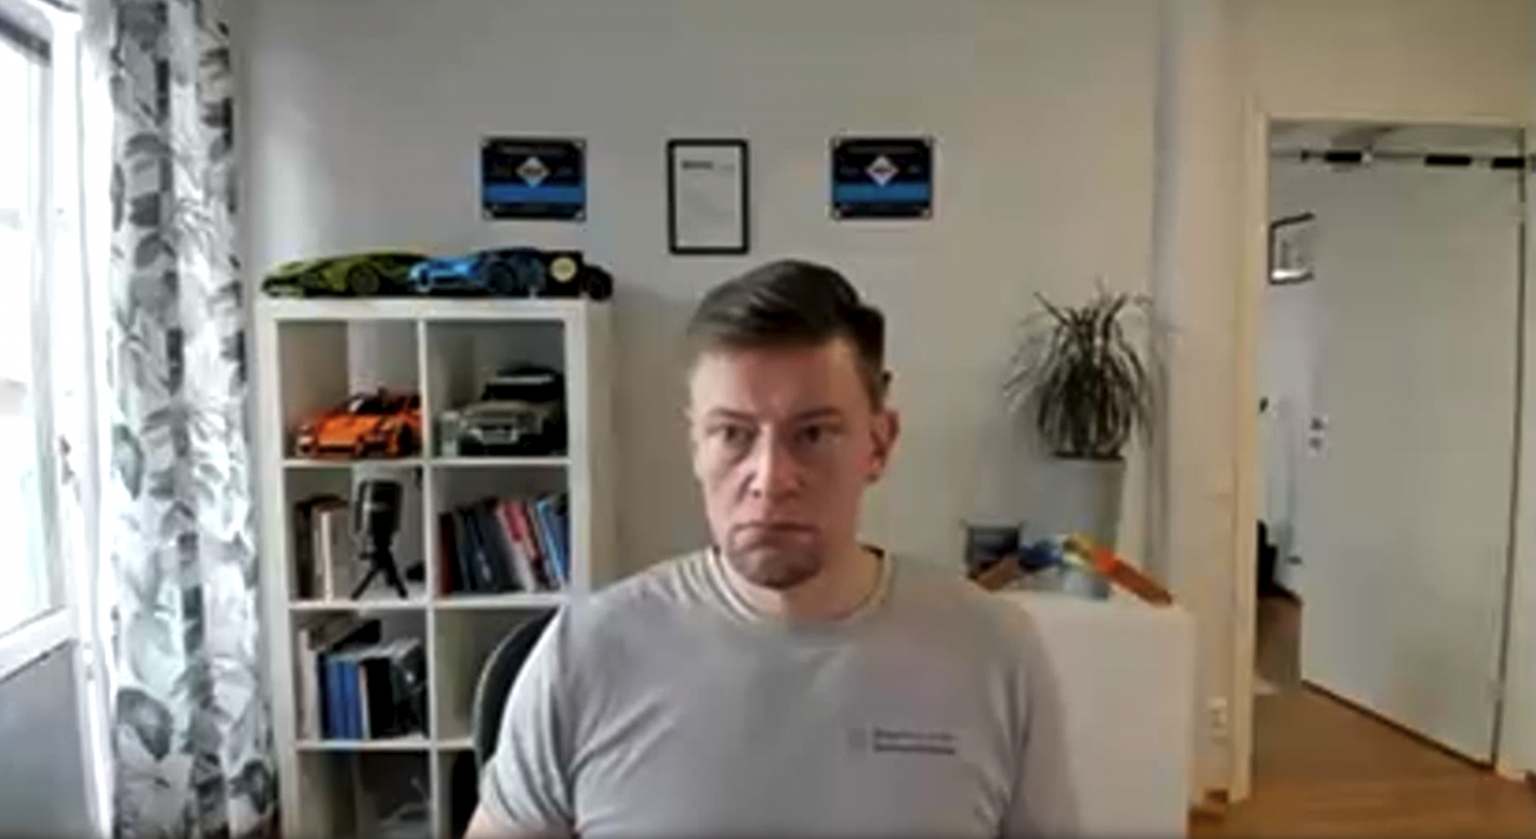
Admittedly I was wearing my Office 365 Global Developer Bootcamp t-shirt, which is super comfortable but even discounting for that; the picture quality is simply poor. I tried cleaning the camera lens, fiddling with Teams settings – and even ran Speedtest to verify that my connectivity is good. But I couldn’t get the picture to become any better.
So, I discarded Teams as an option as I had ample time to try out the two other alternatives. The organizers of the event actually recommended using OBS. I’m quite hesitant to use it, as it seems there are always small issues with it – aspect ratio goes wonky, audio is lost, or you don’t understand how the settings should be set in the app. The wiki has plenty of guidance on these.
I have a license for TechSmith Camtasia, and that’s a tool I’ve used since 2012 every now and then.
Next, I did a quick test with Camtasia – I recorded my screen and webcam, went through some of my content, and verified the results. It’s crystal clear:
Lessons learned with Camtasia
The interface for Camtasia is quite simple:
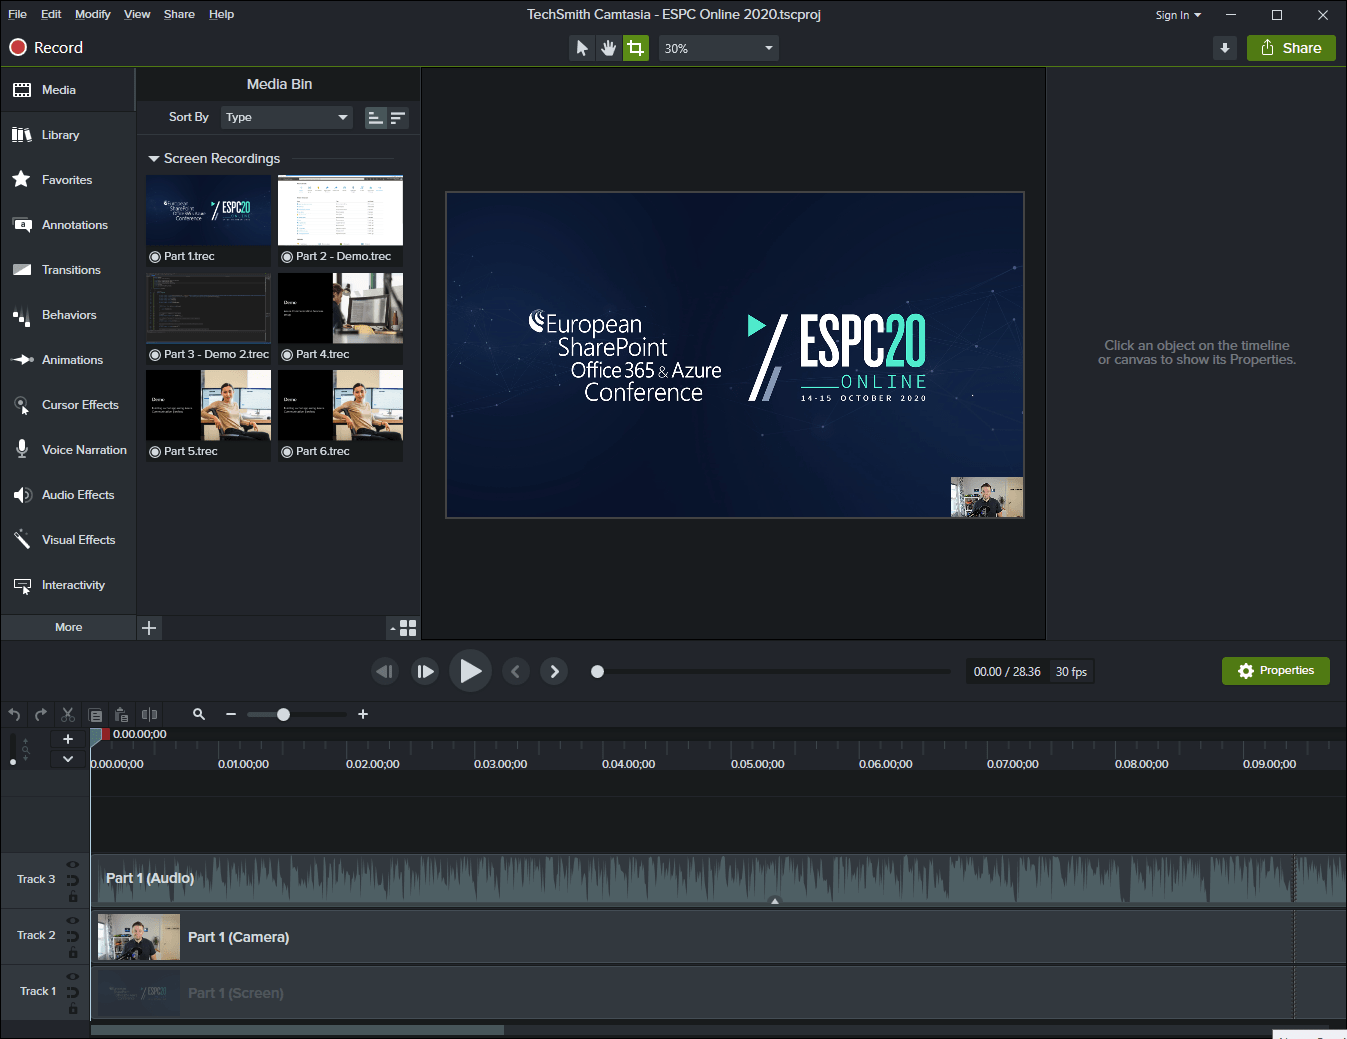
My use case is quite simple. I need to record my screen with the webcam on and for demos with the webcam off. I chose to build my ~30-minute presentation from the following pieces:
- Intro
- First demo
- Additional content
- Second demo
- Closing words
I’ve previously used Audacity, a free and open-source software, for cleaning up audio. I chose not to do it this time, as the quality of audio was good enough for a Teams Live Events session – it usually compresses the video and audio quite heavily.
I had three tracks – one for audio, one for the camera, and one for the screen:
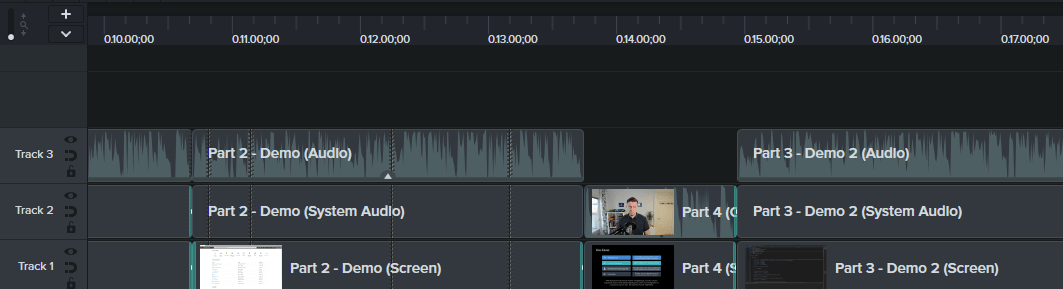
I chose to capture myself on camera during the bits where I show the slides in my- perhaps infinite- wisdom. I feel this makes it more personal, as it’s not just a hollow voice but a real person delivering the session (which is a recording by the time the audience gets to see it).
The challenge here is that it’s now impossible to cut a second or two away because the video of yourself skips. Adobe has a Morph Cut feature, but I didn’t want to use yet another software to fix that. So I avoided cutting content when I had the webcam feed visible.
I now wished I hadn’t recorded myself at all, because editing became slightly more burdensome now. I soon learned to ‘see’ where I inhaled too loudly or had a click from the visual timeline on track 3:
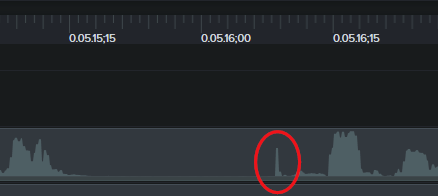
I cleaned these up, and I could have perhaps used Audacity first, but at this point, I was running low on time, and the deadline to ship the video was fast approaching.
So, the core lessons I learned:
- If you don’t record yourself, it’s easier to edit
- The clicks, hmms, and ahmms are visually always the same, so it’s quick to find those
- Perhaps use Audacity to clean up the audio first
I spent about 5 hours in total to produce the 30-minute session content. Recording took about an hour on top of this, as I had to redo the demos a few times to get them right.
When you export the content to a single video in Camtasia, it can utilize your GPU for that. It’s great, but my CPU is so much more performant than my GPU, so it took about 10 minutes to produce the final file. I might try a quick test by disabling the GPU support to see if it’s any faster with CPU and how well it uses multiple cores.
I set the quality for export to maximum, and a 30 minute video (in 1080p) is about 550 MB.
In closing
When you deliver a live session for a live audience, you have to get it right. People also – I feel – are more open to small issues you might encounter on the way. When you choose to record your session, it’s more work – but you can also ensure a better result.
I try to avoid a too polished approach. If you read out loud from your notes, it quickly becomes robotic and boring. You need to have your personality in it, even if it feels funny when you’re doing something for the fifth time when recording.