Building a custom Android app using Xamarin.Forms and C# to retrieve temperature data from Azure

This past weekend Finland (and Sweden, that I know of) celebrated the midsummer’s eve. For us, it includes the longest day of the year:
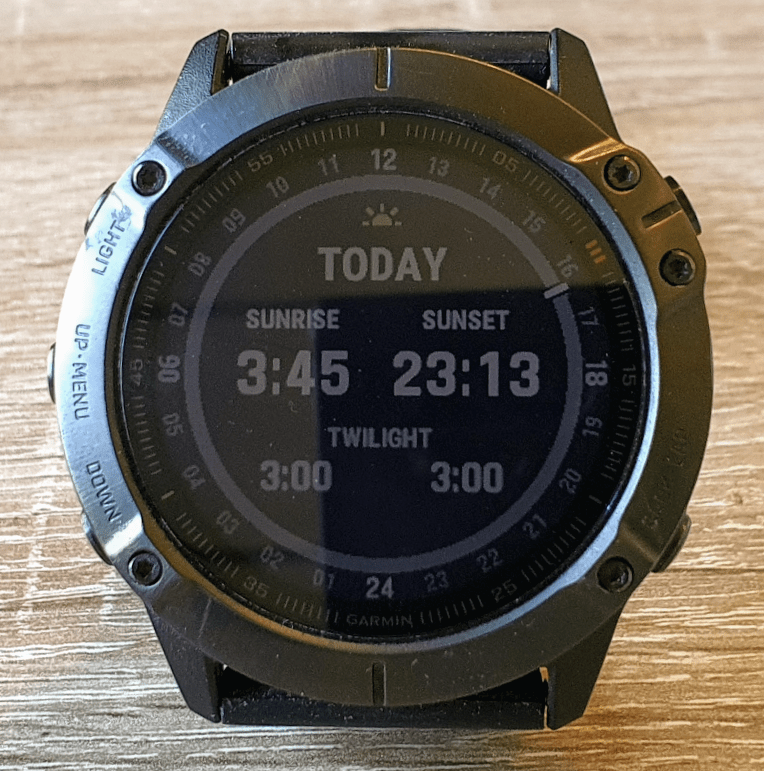
The sun rises at 3:45 and sets around midnight. Lots of natural light means lots of productivity, also!
You might recall from last year when I built a custom Azure-integrated temperature monitoring system using the Ruuvitag Bluetooth beacon and Azure IoT Hub. I rely on this solution to wirelessly measure the temperatures in my hardware/gadget cabinet and to push those readings to Azure.
I then expanded upon this solution slightly this year, by leveraging the data I already ingest and exposing that for a custom Universal Windows Platform app. Both of these solutions work well, even if they are very prototypey’ish and mostly a learning experience for me.
While sitting by the lake enjoying the scenic Finnish summer, I came upon yet another need: I couldn’t monitor the temperature of my hardware cabinet without opening my laptop, and remoting to my home server (to view the temps on the Windows app).
I needed to solve this, so I set out to build a custom mobile app for my Android phone, that gets those temperature readings from the cloud.
A quick look at Xamarin
I’ve never really built anything for Android. It’s been my go-to mobile OS for several years (and I did try iOS briefly), and I mostly resort to web frontends and custom APIs than native apps. I’ve been wanting to see how to build apps for Android, and this gave me the perfect opportunity.
I’m vaguely familiar with Ionic Framework, and I’ve understood many ISVs rely on it for their custom business apps. Using Microsoft’s Power Apps (part of Power Platform) is also a great option, but that gives very little in terms of learning to build a native app.
Xamarin, then, is something I haven’t spend much time on. If any. As Microsoft describes it, it’s a free, cross-platform and open-source app platform to build for Android and iOS, using .NET (C#). Microsoft acquired Xamarin in early 2016, and during Build 2016 announced it would be free for all. You use Xamarin through Visual Studio, essentially.
Xamarin.Forms, then, is a subset of controls that target Android, iOS, and Windows Phone. These controls are based on XAML, a declarative markup language, that looks a bit like XML. I’m often seeing these two variants of Xamarin being called Xamarin Native and Xamarin.Forms. There’s a great thread on Stack Overflow on the differences, pros, and cons of these two.
I chose to use Xamarin.Forms as the learning curve seemed to be not as steep, and I could rely on the basic components available via the framework.
Building the app
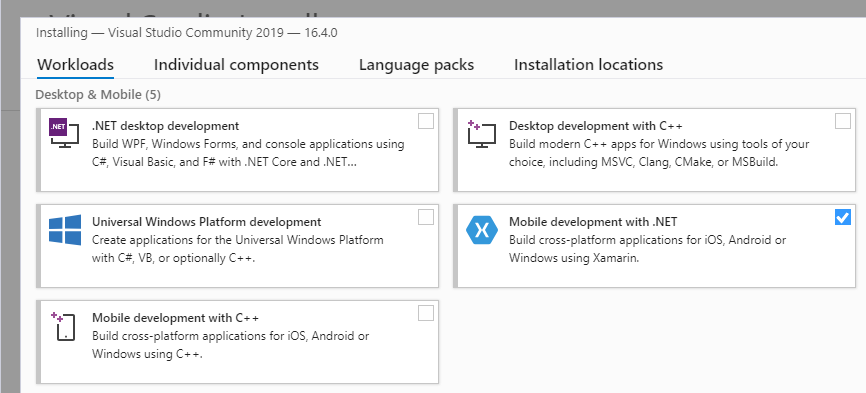
I built the app on my laptop, so all I needed was a fresh install of Visual Studio 2019, and to tick the box for Mobile development:
I envisioned the app to work as follows:
- App launches, and calls my custom API
- The custom API is actually a Logic App, that returns the latest temperature reading from my Ruuvitag Bluetooth beacon
- Display the reading on the UI
Super simple! I’d already built one Logic App, so I just chose to reuse that as it already included all the functionality. It’s described here.
The response is currently set for XML, as my Universal Windows App requires specific formatting. I chose to strip the formatting within the mobile app.
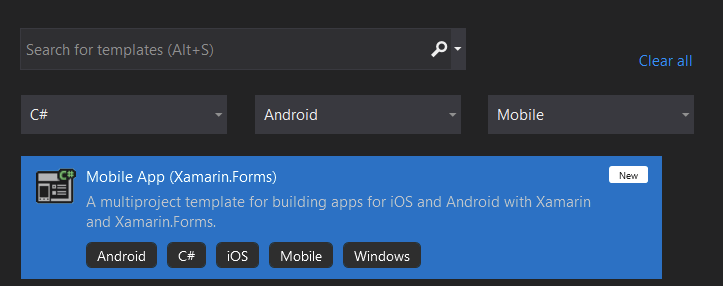
I created a new project in Visual Studio and selected a Mobile app as its type:
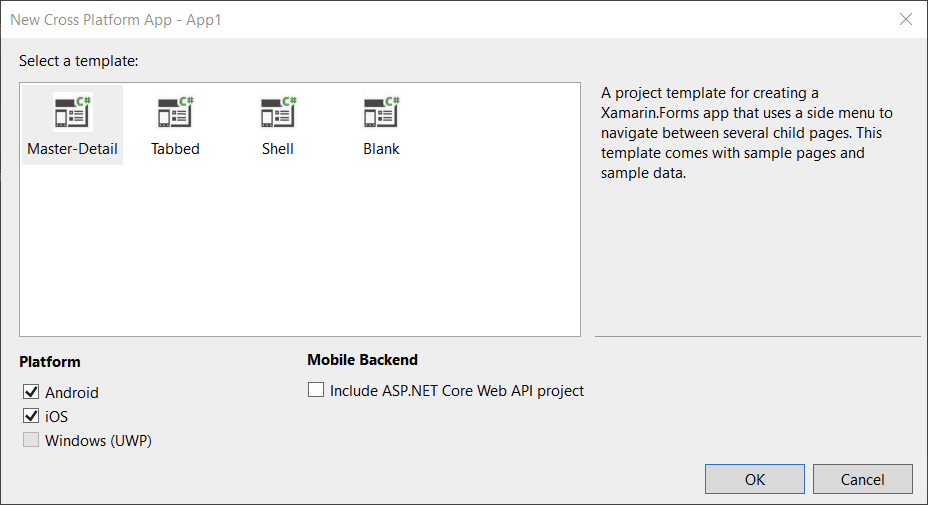
I used the Master-Detail template for the app, as I feared that the Blank template would be too blank for my needs.
And that’s it! It generates a simple Hello World-app that is ready to be deployed. Out of habit, I just pressed F5 to deploy – and it failed. By default, it deploys to a real Android phone.
I connected my phone with a USB-C cable to my laptop, and Xamarin immediately held my hand to configure the phone to allow sideloaded apps (in essence, enable USB debugging + allow apps to be deployed).
After this, pressing F5 deployed my simple app to the phone and started it automatically while running a debugger within Visual Studio. It took about 15 seconds to deploy, so relatively fast.
App structure and details
I didn’t want to spend too much time reading about theory, as my need was relatively simple. Often, when learning a new framework or platform I start by trying out things. Occasionally, something breaks and I get to learn how to fix it and that seems to be a great way for me to ramp up on my understanding.
The app structure isn’t the simplest, as the project template generates quite a bit of artifact to worry about. I chose not to worry about them and just focus on the bare necessities of my custom app.
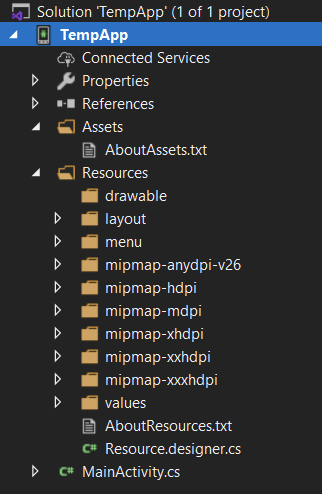
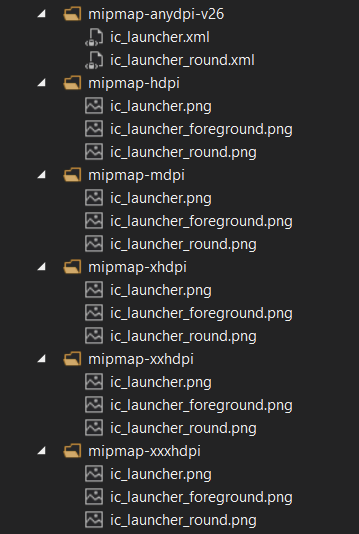
The essential file is, of course, MainActivity.cs. It holds the logic to my app. Layout/ holds the layout artifacts, Menu/ includes the top menu elements and Mipmap*/ directories include the app icons in numerous dimensions.
I ended up only needing to work with MainActivity.cs and content_main.xml (the visual layout of the main screen of the app).
I first defined the layout of the app in content_main.xml:
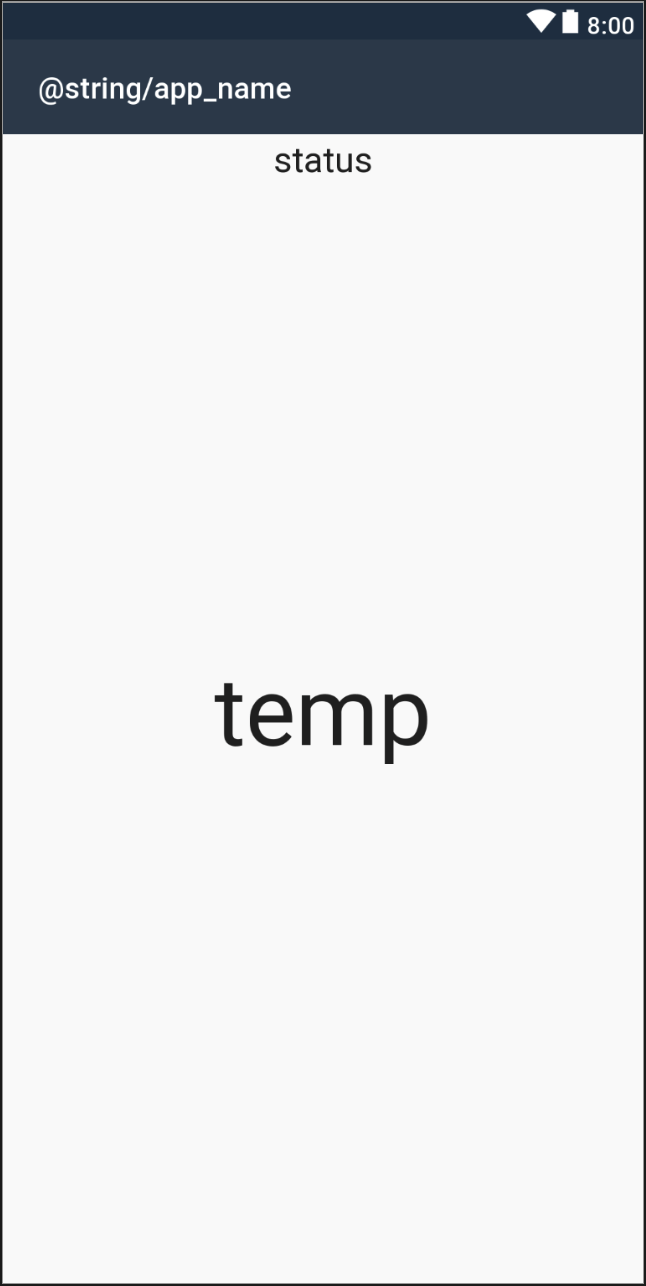
It’s based on the Hello World-template. I added a TextView control for status, and another for showing the temperature. In XAML, I defined them as follows:
<RelativeLayout
    xmlns:android="http://schemas.android.com/apk/res/android"
    xmlns:app="http://schemas.android.com/apk/res-auto"
    xmlns:tools="http://schemas.android.com/tools"
    android:layout_width="match_parent"
    android:layout_height="match_parent"
    app:layout_behavior="@string/appbar_scrolling_view_behavior"
    tools:showIn="@layout/activity_main">

    <TextView
        android:text="temp"
        android:textAppearance="?android:attr/textAppearanceLarge"
        android:id="@+id/TempText"
        android:layout_width="match_parent"
        android:layout_height="match_parent"
        android:layout_centerHorizontal="true"
        android:gravity="center"
        android:textSize="@dimen/abc_action_bar_default_height_material"/>

    <TextView
        android:text="status"
        android:textAppearance="?android:attr/textAppearanceLarge"
        android:id="@+id/StatusText"
        android:layout_width="match_parent"
        android:layout_height="match_parent"
        android:layout_centerHorizontal="true"
        android:gravity="top|center"
        android:textSize="@dimen/abc_action_bar_content_inset_material"/>

</RelativeLayout>
What’s peculiar is that the id of each control is defined as @+id/name. I fiddled around with the layout settings to get them centered. Text size is set with pre-defined variables, such as @dimen/abc_action_bar_default_height_material. Thankfully, Visual Studio’s Intellisense helps massively with these.
Then, diving into code within MainActivity.cs, it has a few pre-defined methods. The first one is OnCreate(), which I left as-is. I added my custom method, GetTemp(), to get the temperature readings from the Logic App’s API endpoint:
public void GetTemp()
{
	TextView statusText = FindViewById<TextView>(Resource.Id.StatusText);
	statusText.Text = DateTime.Now.ToString("dddd, dd MMMM yyyy HH:mm:ss");

	string uri = "https://<URL-TO-LOGIC-APP>";

	HttpClient client = new HttpClient();
	client.DefaultRequestHeaders.Accept.Clear();
	client.DefaultRequestHeaders.Accept.Add(new MediaTypeWithQualityHeaderValue("application/xml"));
	var response = client.GetStringAsync(uri);

	string res = response.Result.ToString().Substring(111, 7);

	TextView tempText = FindViewById<TextView>(Resource.Id.TempText);

	tempText.Text = res;
}
It’s very basic C# – I first find the TextView control for my status text, and update it with the current timestamp. This proved to be handy when testing the app – did the temperature update, or not?
I then instantiate a HttpClient to get the reading. As it returns me with a bunch of XML, I simply pick up the temperature from within that XML block with the Substring function. Finally, I’ll push the value for the TextView control of the temperature.
I then modified OnCreate() to call my GetTemp() method upon app load.
In addition, the built-in menu has one button. I wired that up to also execute a refresh:
public override bool OnOptionsItemSelected(IMenuItem item)
{
	int id = item.ItemId;
	if (id == Resource.Id.action_settings)
	{
		GetTemp();
		return true;
	}

	return base.OnOptionsItemSelected(item);
}
It’s simply a call back to my GetTemp() method, again. The template also includes an action button in the lower right corner. I wired that to the GetTemp() also:
private void FabOnClick(object sender, EventArgs eventArgs)
{
	GetTemp();

	View view = (View) sender;
	Snackbar.Make(view, "Refreshing..", Snackbar.LengthLong)
		.SetAction("Action", (Android.Views.View.IOnClickListener)null).Show();
}
The icon for the action button is an Android Drawable, and it was set to the email icon. I changed that to a Play icon:
<android.support.design.widget.FloatingActionButton
	android:id="@+id/fab"
	android:layout_width="wrap_content"
	android:layout_height="wrap_content"
	android:layout_gravity="bottom|end"
	android:layout_margin="@dimen/fab_margin"
	app:srcCompat="@android:drawable/ic_media_play" />
Why the play icon? Well, I couldn’t get the Refresh icon to work – it complained of being a private icon, and all the examples I found were for Kotlin or Java. So I took a shortcut here, as it was relatively meaningless in the end.
Building the app icon
Xamarin apps have a default Xamarin app icon:

I disliked that, so I set out to do a custom one. I used PowerPoint’s Icon-capability to try out a few quick designs:
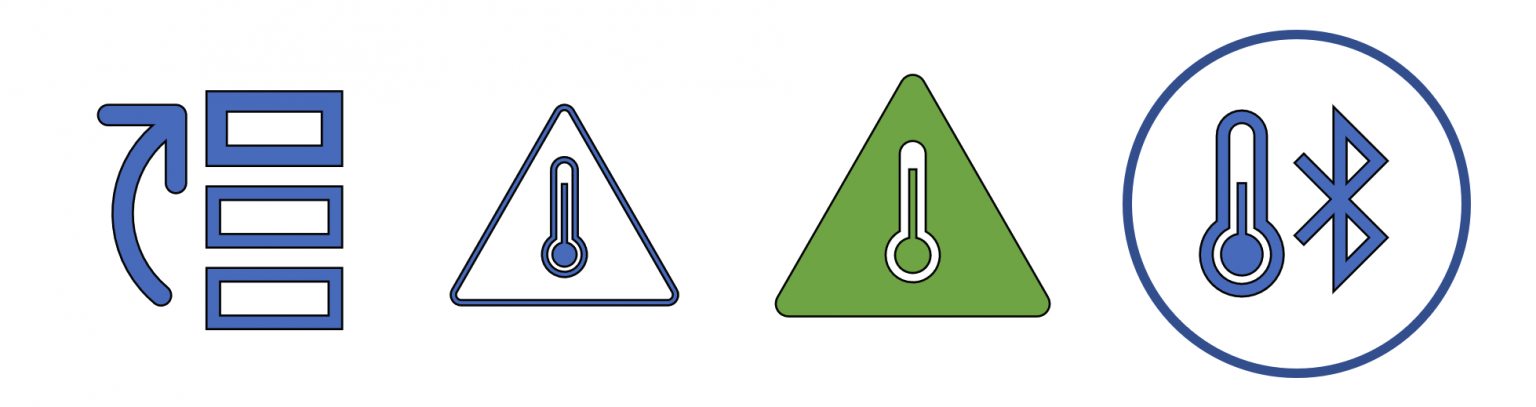
The last one is a combination of the temperature icon and the Bluetooth icon. I saved that as a .PNG file, and made it transparent with Paint.NET.
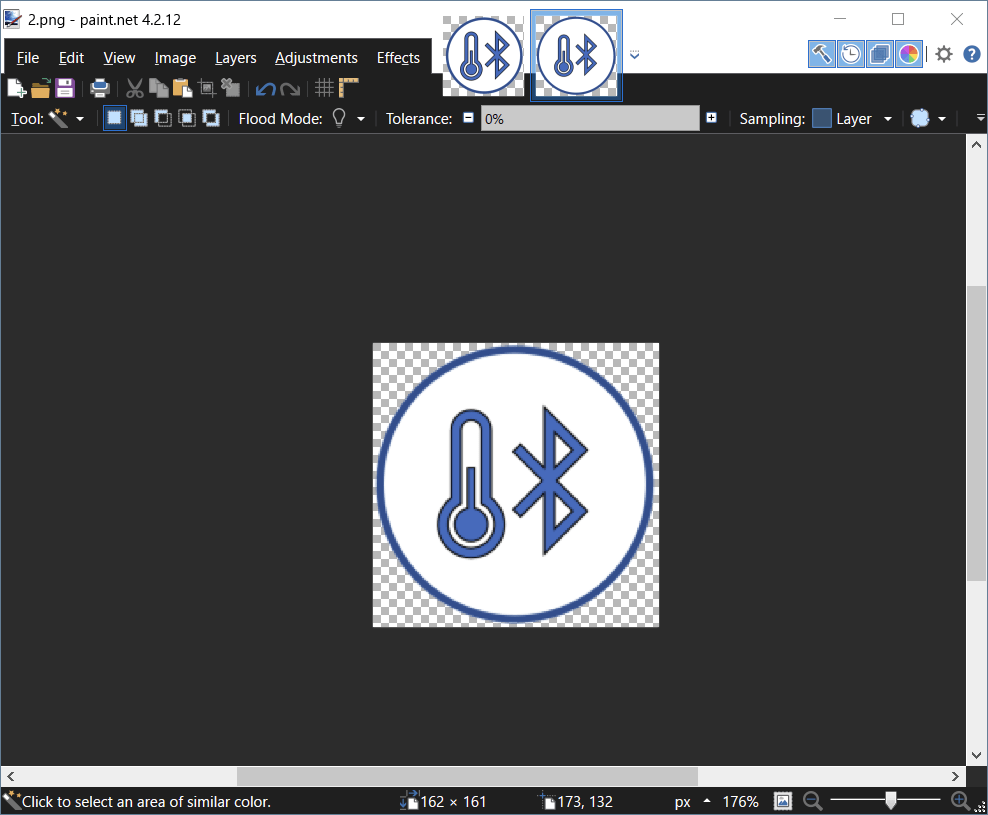
I then copied this transparent .PNG over all existing image files:
Testing the app
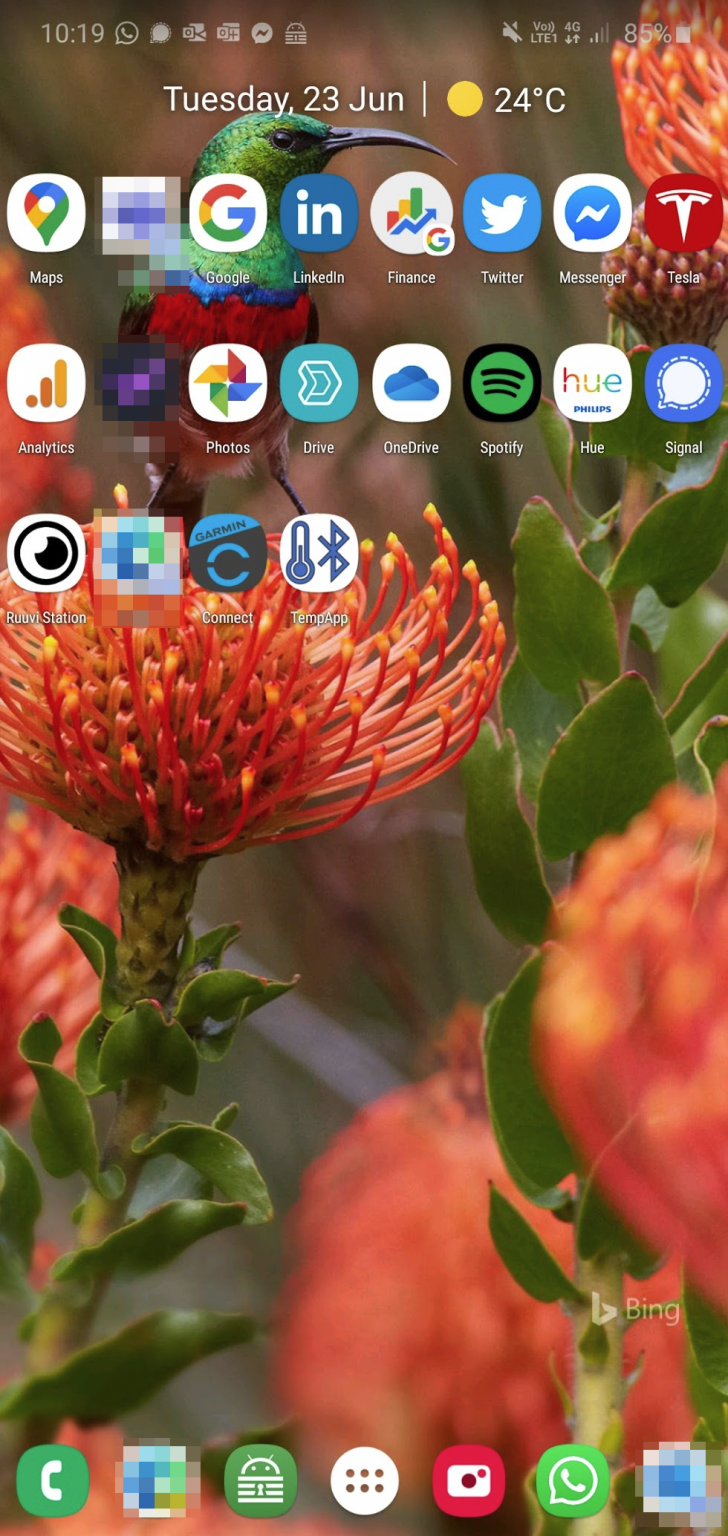
I deployed the app using Visual Studio’s Deploy capability to my phone. It pins nicely on Android’s main screen:
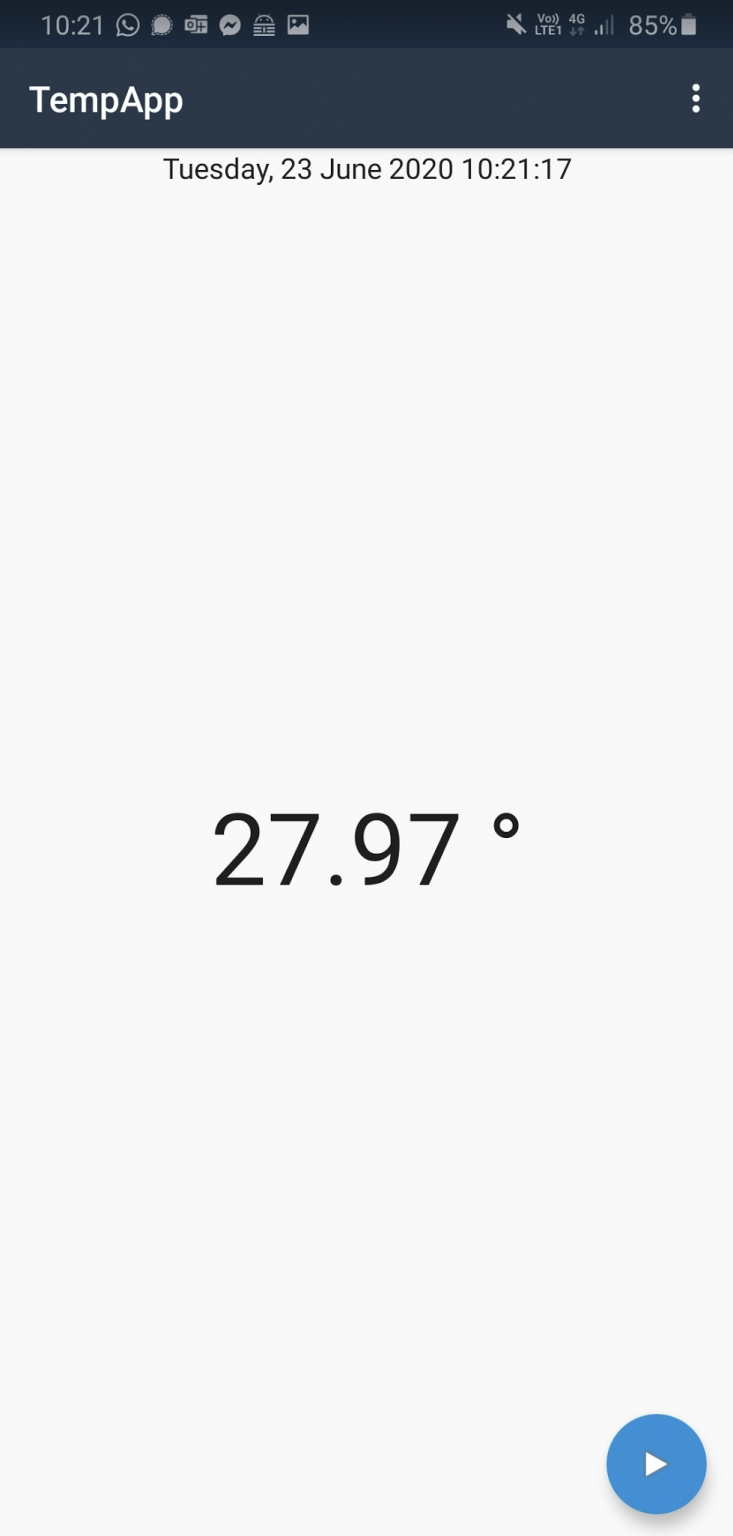
The app opens and loads rapidly:
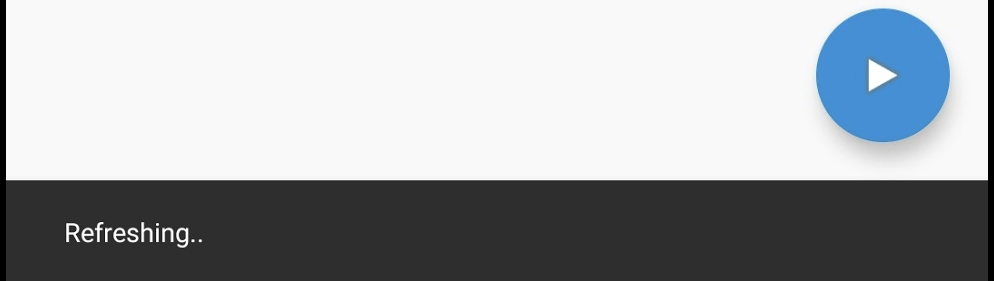
Clicking on the Play icon shows a nice little toast, that disappears after a few seconds:
Further considerations
While I had the app running, I checked its statistics through the Android memory manager. It consumed between 55 and 70 MB of RAM. My phone has 12 GB of RAM, so in that context, it’s relatively low in memory consumption. In comparison, Netflix consumed 137 MB when not in use, and LinkedIn consumes 570 MB.
The app loads in about a second. It’s slightly slower to load than, say, the new Microsoft Edge mobile app on Android. I guess this is a performance tax from Xamarin.Forms’ multiplatform support.
I was positively surprised how easy it was to get up and running with Xamarin.Forms. Even if I don’t truly understand the intrinsic capabilities of the framework, it was still very close to building WinForms apps with C#. Working with XAML was painful, as the usual drag-n-drop features often did not work, or worked in a way that someone described Microsoft Word:
Even if the amount of code was measured in just 15 lines, Xamarin.Forms still turned out to be massively useful. Plenty of settings within the project template seem to lean on Android’s internals, so perhaps it would be useful for anyone wanting to build proper apps to also study those.
I also spent a few minutes figuring out how to do add “swipe-to-refresh” or “pull-to-refresh” but that turned out to be a bit too complex for my current needs.