Building a custom command-line tool for Microsoft To Do

I’ve been wanting to build a little command-line tool to manage my tasks and to-do items for some time now. I initially set out to build something fun a few months ago, but couldn’t get it working properly.
So, this past weekend I was on my way to the summer cabin and started to think how to create the tool. The intention is to see and add new tasks (using Command Prompt or Windows Terminal) quickly and without needing a graphical interface.
I have my tasks in Microsoft To Do – it’s part of Microsoft 365 now, and it’s based on Wunderlist.
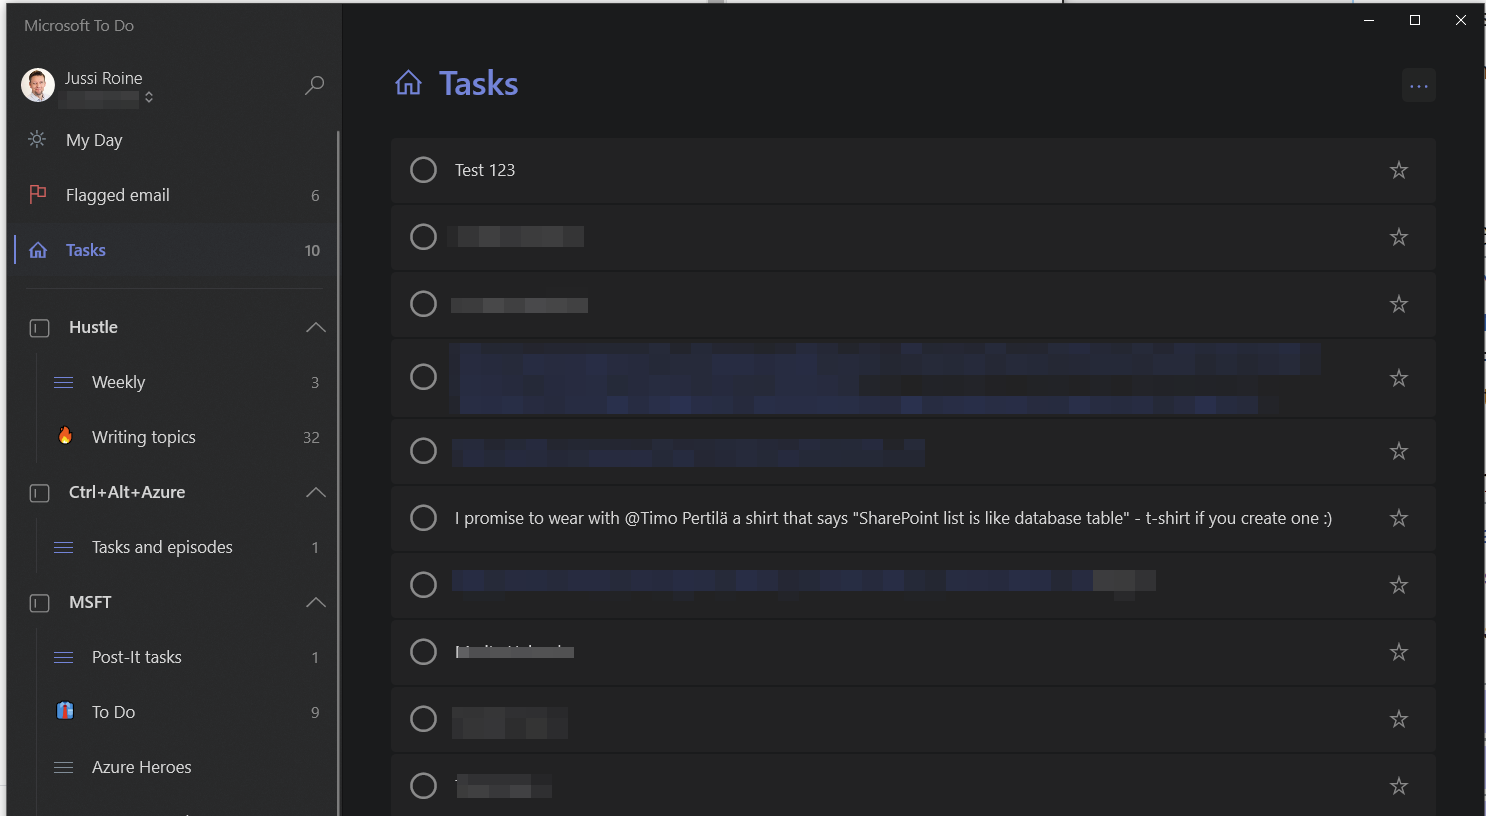
The app itself is nice. Even then, I’ve wanted to have a more rapid way to add new tasks, instead of shifting my context to a separate app and clicking multiple times.
The design
Initially, I thought this would be a 90-minute exercise. Just connect, get tasks and it’s all good! Turns out that I was wrong. More on these challenges later.
Tasks are stored in Microsoft To Do. Microsoft Graph, the one API to rule them all, recently added a To Do API in their Beta branch. If you just want to see how it works, head over to the Graph Explorer, and perform a simple HTTP GET to the REST API at https://graph.microsoft.com/beta/me/outlook/tasks.
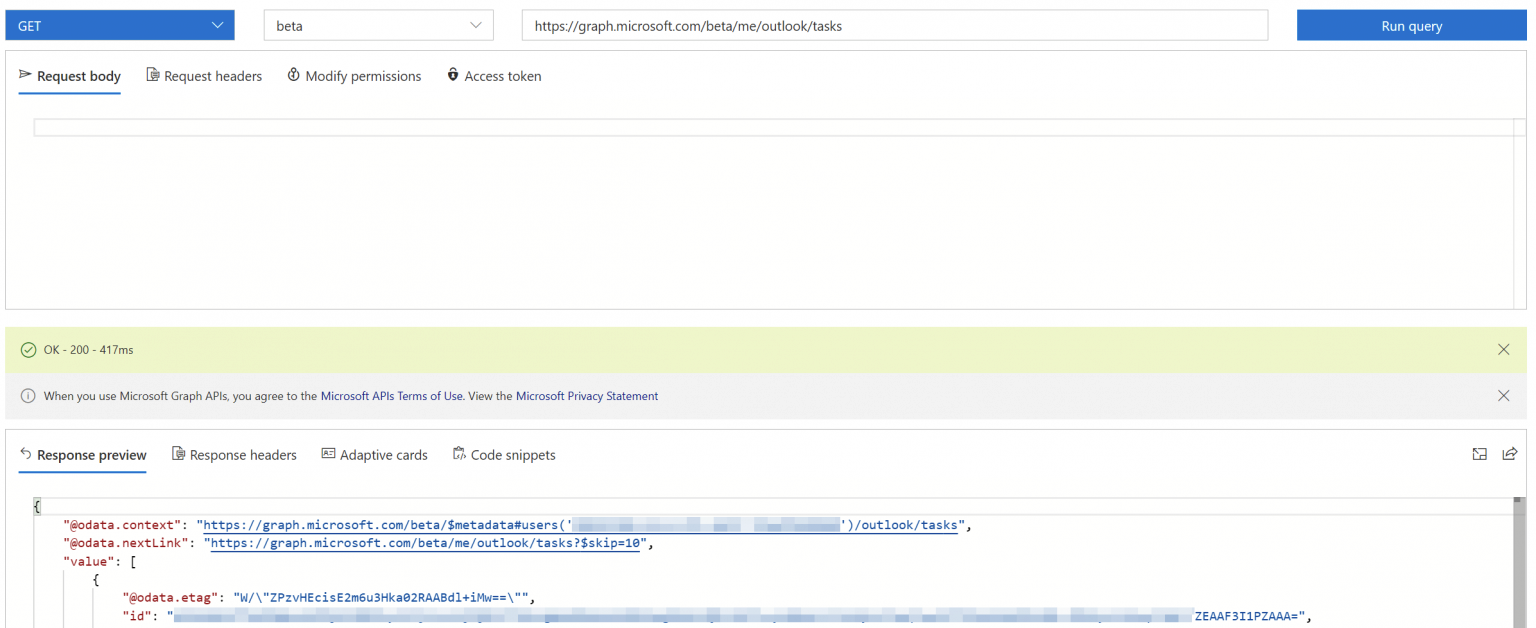
Interestingly, the tasks are listed underneath Outlook. My understanding is this is because legacy Outlook tasks are now phasing away and Outlook now surfaces To Do tasks.
So, I need to connect with Microsoft Graph, authenticate, retrieve my tasks and work with them. Sounds simple enough!
In order to connect to my tasks, I need to authenticate using MSAL (Microsoft Authentication Library). This library exposes 8 different ways to handle the authentication flow, and I spent about 2 hours trying these out, and figuring which to use. To understand this further, I educated myself on the differences of Public and Confidential client applications. In a nutshell, Public Client Applications are not trusted, while Confidential ones aim to be highly secured.
A CLI app usually cannot be trusted, so I now had the design pieces for my solution: a Public Client App, that uses Device Code to authenticate to Azure AD (and Microsoft Graph). This way, I don’t need to store a Client Secret either, as a user would authenticate through a two-step process using a browser window.
Creating the app
As I wanted to build a Command-Line Interface (CLI) tool, .NET Core is an obvious choice. I built a skeleton app using C#, that more or less does.. nothing, but acts as a workbench to tackle the other challenges.
I spent an embarrassingly long time figuring out how to successfully authenticate and work with the Microsoft Graph. There are plenty of tutorials available, but plenty of those either require old libraries or packages, or have intrinsic requirements that seemed to block me from accessing the To Do tasks. I set out to build a very simple approach to this.
First, in my .NET Core Console project, I added the following NuGet packages:
- Microsoft.Graph.Beta (0.19.0-preview)
- Microsoft.Identity.Client (4.15.0)
You can install these with relatively ease using the following commands within the Package Manager Console:
Install-Package Microsoft.Graph.Beta -Version 0.19.0-preview
Install-Package Microsoft.Identity.Client -Version 4.15.0
First, the using statements:
using System;
using Microsoft.Graph;
using System.Net.Http.Headers;
using System.Threading.Tasks;
In my class, I’m first defining a few crucial things:
public static string _tenantID = "";
public static string _appID = "";
public static string[] _scopes;
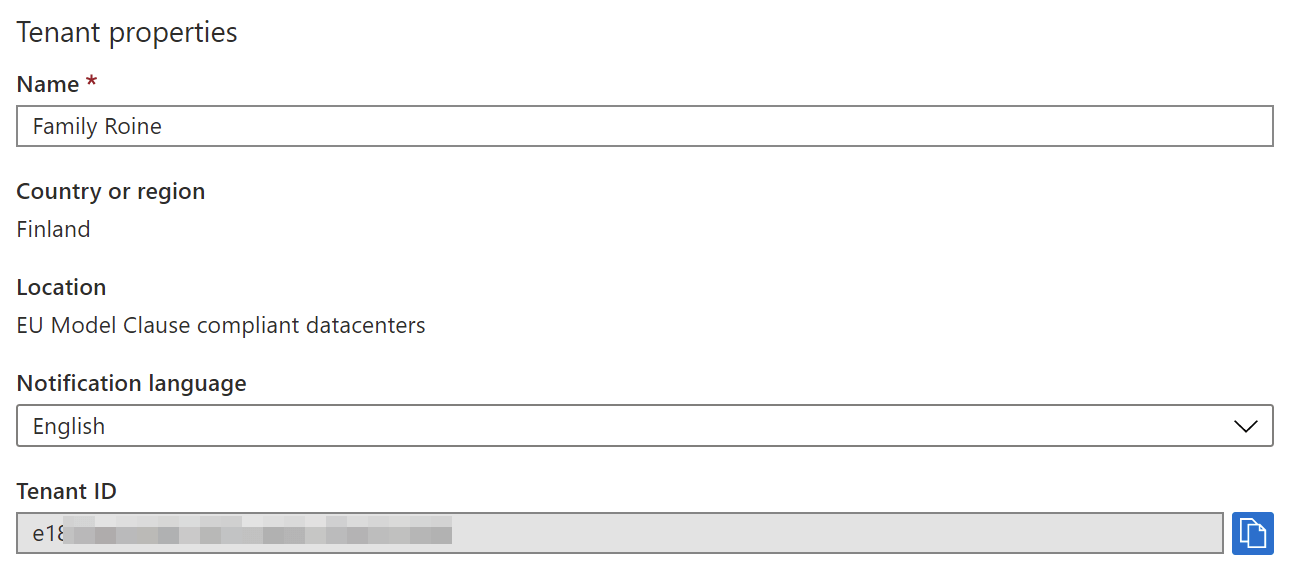
public static GraphServiceClient graphClient; Where do I get the tenant ID from? You can view it easily from the Azure Portal, under Azure AD > Properties:
What about the application ID? That one you need to generate yourself by adding a new App Registration in Azure AD:
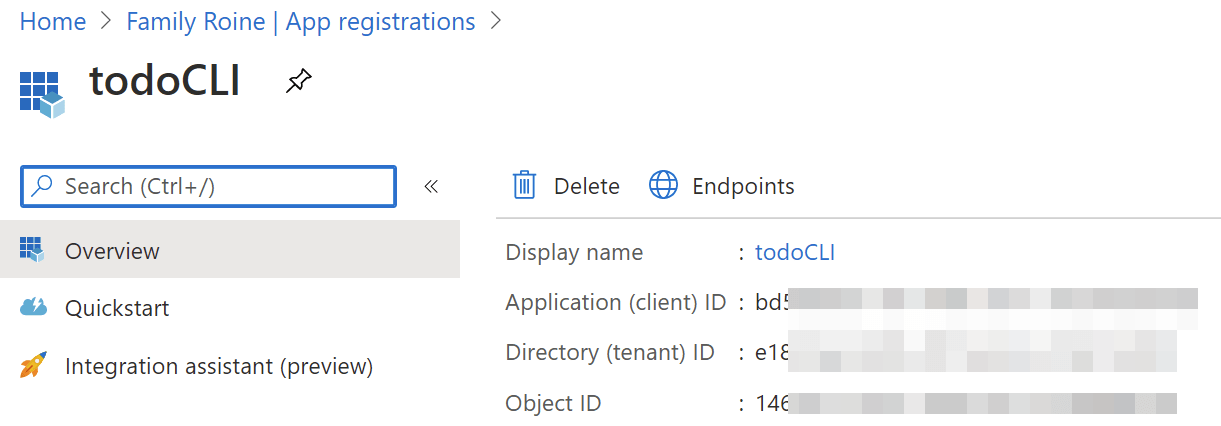
You’ll need to define a few things for the Azure AD-backed app:
- Redirect URI: https://login.microsoftonline.com/common/oauth2/nativeclient
- Client Type: Public Client
Also, the permissions must be defined here. So under your app’s API Permissions, add the following permissions:
- Tasks.Read (under Microsoft Graph)
- Tasks.ReadWrite (under Microsoft Graph)
- User.Read (just for fun)
Now my CLI tool only needs to know the tenant ID (which never changes, unless you migrate away to a new Azure AD Tenant), and the app ID (which never changes either).
Back to my actual app then. I’ve defined the four variables. Next, the Main() method connects with Microsoft Graph, and creates the menu the user can use to fiddle with the tasks:
public static async Task Main(string[] args)
{
	_scopes = new[] { "User.Read", "Tasks.ReadWrite" };

	string token = GetAccessToken(_appID, _scopes, _tenantID);

	graphClient = new GraphServiceClient(
					  new DelegateAuthenticationProvider(requestMessage => {
						requestMessage.Headers.Authorization =
						new AuthenticationHeaderValue("bearer", token);

		 return Task.FromResult(0);
	}));

	await ShowMenu();
}
Let’s dissect this. First, setting the scopes. These align with the scopes set in the App within Azure Portal – so User.Read and Tasks.ReadWrite. Tasks.Read isn’t really needed, but I used that while testing the tool.
We then need an access token. Microsoft Graph expects this, so we have to call Azure AD and get one. I created a method for this, called GetAccessToken():
public static string GetAccessToken(string appId, string[] scopes, string tenantID)
{
	var authProvider = new DeviceCodeAuthProvider(appId, scopes, _tenantID);
	var accessToken = authProvider.GetAccessToken().Result;

	return accessToken;
}
Not much happening here – the method calls for DeviceCodeAuthProvider, passing in the App ID, my desired scopes, and my tenant ID. As a result it gets back an access token.
The DeviceCodeAuthProvider is something Microsoft has previously created. You can get the class here. It takes care of the plumbing between Azure AD auth, acquiring the token and attaching the token to subsequent calls.
On line 24 of the DeviceCodeAuthProvider class, the Public Client is instantiated:
_msalClient = PublicClientApplicationBuilder
			.Create(appId)
			.WithAuthority(AadAuthorityAudience.AzureAdAndPersonalMicrosoftAccount, true)
			.Build();
I needed to change this to accept my specific tenant ID:
_msalClient = PublicClientApplicationBuilder
	.Create(appId)
	.WithTenantId(tenantId)
	.WithAuthority(AadAuthorityAudience.AzureAdMyOrg, true)
	.Build();
I changed it to only accept identities from my Azure AD, and pass on the tenant ID again.
And that really is it! The rest of the tool is just handling user input, and manipulating tasks. For user input, I created a super simple menu with just a few actions for now:
public static async Task ShowMenu()
{
	int choice = -1;

	while (choice != 0)
	{
		Console.WriteLine("todoCLI -- select an option: \n");
		Console.WriteLine(" 0. Exit");
		Console.WriteLine(" 1. List tasks");
		Console.WriteLine(" 2. Add new task");

		try
		{
			choice = int.Parse(Console.ReadLine());
		}
		catch (System.FormatException)
		{
			choice = -1;
		}

		switch (choice)
		{
			case 0:
				Console.WriteLine("Exiting.."); ;
				System.Environment.Exit(0);
				break;

			case 1:
				await ListTasks();
				break;

			case 2:
				await AddTask();
				break;

			default:
				Console.WriteLine("Invalid choice!");
				break;
		}
	}
}
The user can exit, list all tasks and add a new task. ListTasks() lists the tasks, and AddTask() adds a new task.
Let’s take a look at ListTasks() first:
public static async Task ListTasks()
{
	try
	{
		var tasks = (OutlookUserTasksCollectionPage)await graphClient.Me.Outlook.Tasks.Request().GetAsync();

		Console.WriteLine($"Tasks found: {tasks.Count}");

		foreach (var task in tasks)
		{
			if (task.Status != Microsoft.Graph.TaskStatus.Completed)
			{
				Console.WriteLine($"{task.CreatedDateTime}: {task.Subject}");
			}
		}

		await ShowMenu();

	}
	catch (ServiceException ex)
	{
		Console.WriteLine(ex.ToString());
	}
}
I’m using the wrapper from Microsoft.Graph.Beta to call Microsoft Graph, and getting all tasks – this is done through <GraphClient>.Me.Outlook.Tasks. It returns a task collection, which I then loop to see the ones that haven’t been completed yet.
AddTask() is very simple also – simply adding a new task:
public static async Task AddTask()
{
	try
	{
		Console.Write("Task subject: ");
		var subject = Console.ReadLine();

		OutlookTask newTask = new OutlookTask();

		newTask.Subject = subject;

		await graphClient.Me.Outlook.Tasks.Request().AddAsync(newTask);

		Console.WriteLine("Task added!");

		await ShowMenu();

	}
	catch (ServiceException ex)
	{
		Console.WriteLine(ex.ToString());
	}
}
Again, using the Microsoft Graph Client to add a new task.
Trying out the tool
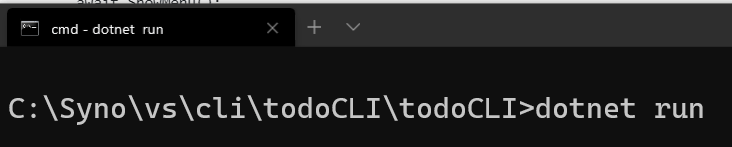
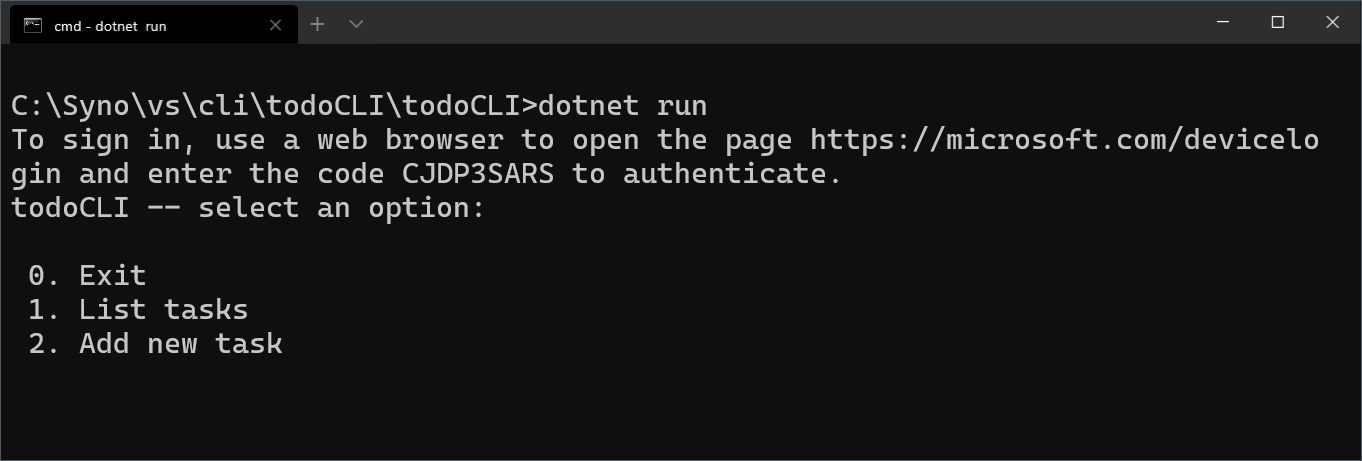
In a Windows Terminal, I’ll run my code with dotnet run:
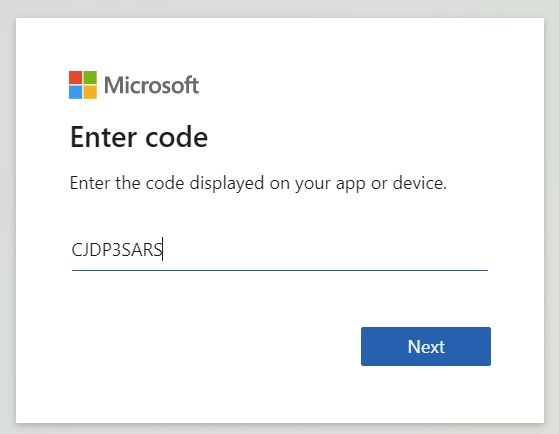
It prompts for device authentication:

Opening https://microsoft.com/devicelogin allows me to paste the code in:
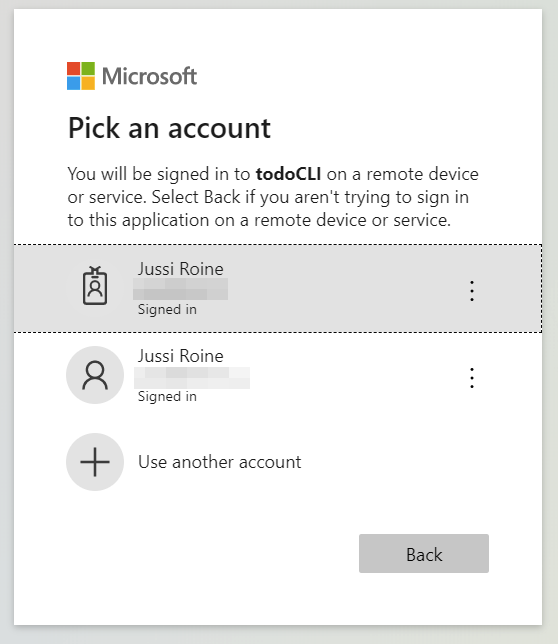
And then I get to choose my identity:
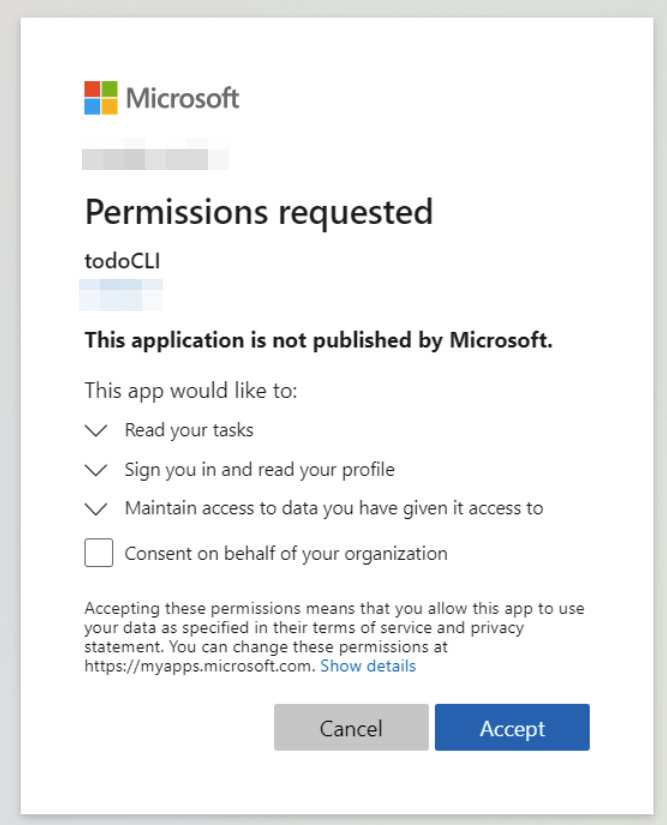
If this is the first run, I need to consent on the permissions:
And then authentication flow is done:
Back to my tool, it shows the menu from ShowMenu():
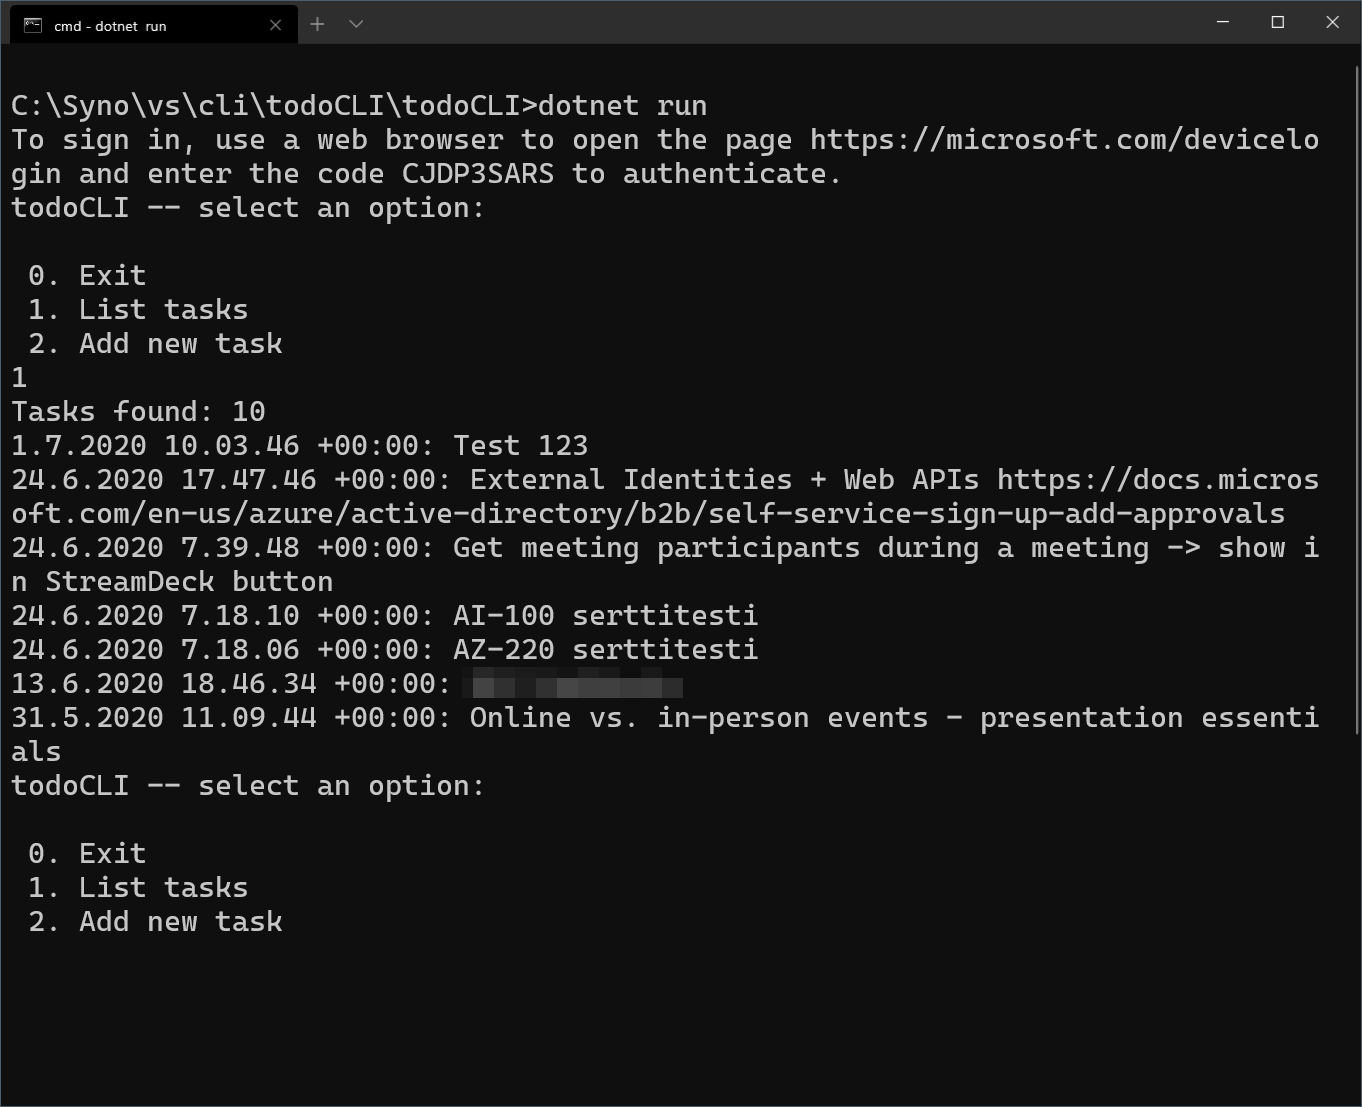
Listing tasks by selecting 1:
And adding a new task by selecting 2:
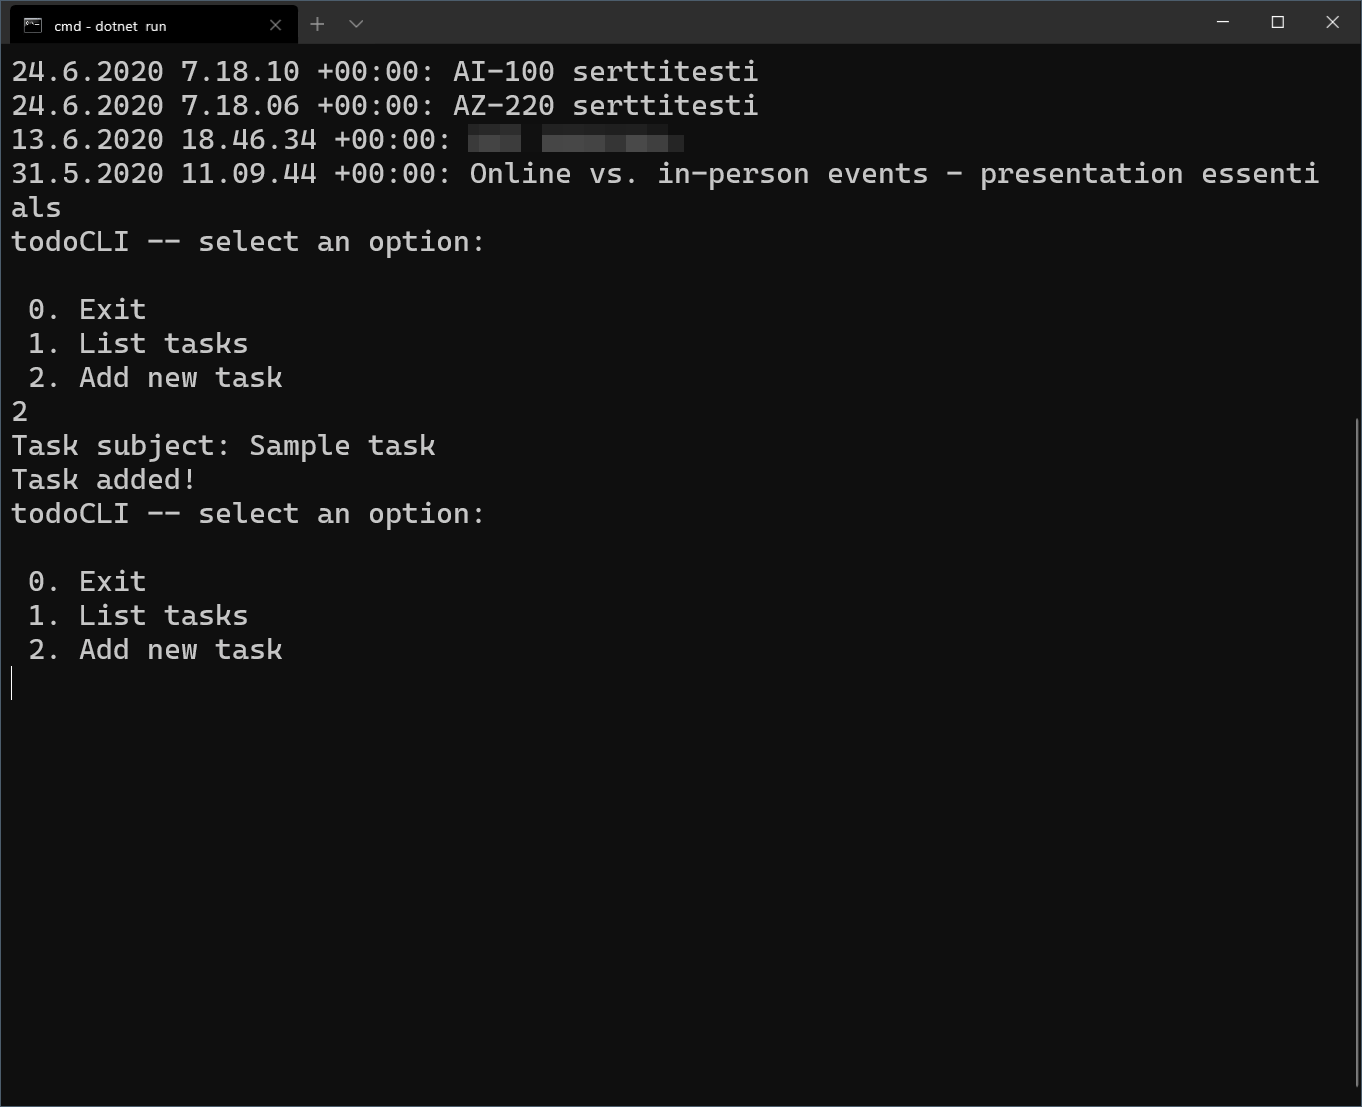
Seems to work! In the end this only required a bit better understanding of Microsoft Graph, and how to utilize it with the Public Client application.
Additional resources
- Build .NET Core apps with Microsoft Graph – a tutorial from Microsoft
- Microsoft Graph
- How to call Microsoft Graph using a console app (Stack Overflow)
In summary
The tool is very 0.1 for now. I tried a few third-party packages to beautify the menu, but they refused to work with .NET Core. So that’s something to fix later on.
In addition, a refresh token is not considered for now. The access token expires in 1 hour by default, although you could extend this. The refresh token can be retrieved when the access token expires. Initially, I built logic for this but then cleaned up the code for now, as I don’t need to use the tool for too long at a time.
In addition, the tasks retrieved are from the main bucket – all custom lists and containers are skipped, so using a more advanced menu system would help in navigating through those containers in Microsoft To Do.
Jussi Roine
Microsoft MVP and consultancy founder with 30+ years of experience, passionate about Microsoft security, AI governance, and sharing what I learn along the way.