Building an integration between Azure Sentinel and Unifi infrastructure for a proper SIEM solution

This is one of the more enjoyable projects I’ve done recently during my spare time. I run Azure Sentinel in all of my Azure environments – it’s a SIEM solution, which stands for Security Information and Event Management. In essence, a SIEM solution pulls all relevant log data and events into a single place and allows you to identify possible risks, threats, and malicious activity.
I’ve previously written about getting started with Azure Sentinel, so if you’re not familiar with the service yet, take a look!
Today, Microsoft published a preview solution for connecting logs from Unifi hardware to Azure Sentinel. As you might recall, I run an Unifi-based network at home. The devices gather plenty of logs via my Wi-Fi access points, switches, firewalls, threat management, and other services. I’ve thought about building the connector between Azure Sentinel (the SIEM solution in Azure) and Unifi but never got around that. Until today, when Microsoft did the heavy-lifting for me.
Step 1: Provisioning a Syslog server
First, we need a place to host our Syslog server. How it works is that your Unifi controller will ship all logs to a standard Syslog service, and that service will then relay the logs to Azure Sentinel.
You can choose to use a Windows or a Linux server – either hosted locally or in Azure. I opted to build a Linux-based virtual machine and host it in Azure. This way, I don’t have to worry about crucial logs getting lost if I choose to reboot or patch my Hyper-V hosts.
I provisioned a single VM with the Ubuntu 20.04 LTS image and selected Standard B2ms for size. That is 2 vCPUs and 8 GB of RAM, costing me about ~55 € a month.
I then configured the networking rules to allow traffic from my home network in a custom port to the Linux VM. Let’s use port 20050.

The first rule allows me to fiddle with the server over SSH, and the other rule is that I will leave it in production.
Perhaps a good idea to configure the VM with a static (fixed) IP address also!
Step 2: Configuring the Unifi controller
Next, we need to configure our Unifi controller to ship logs to the Linux remote host. In UDM-Pro, which I’m using, it’s as simple as logging in and under settings selecting the remote host.
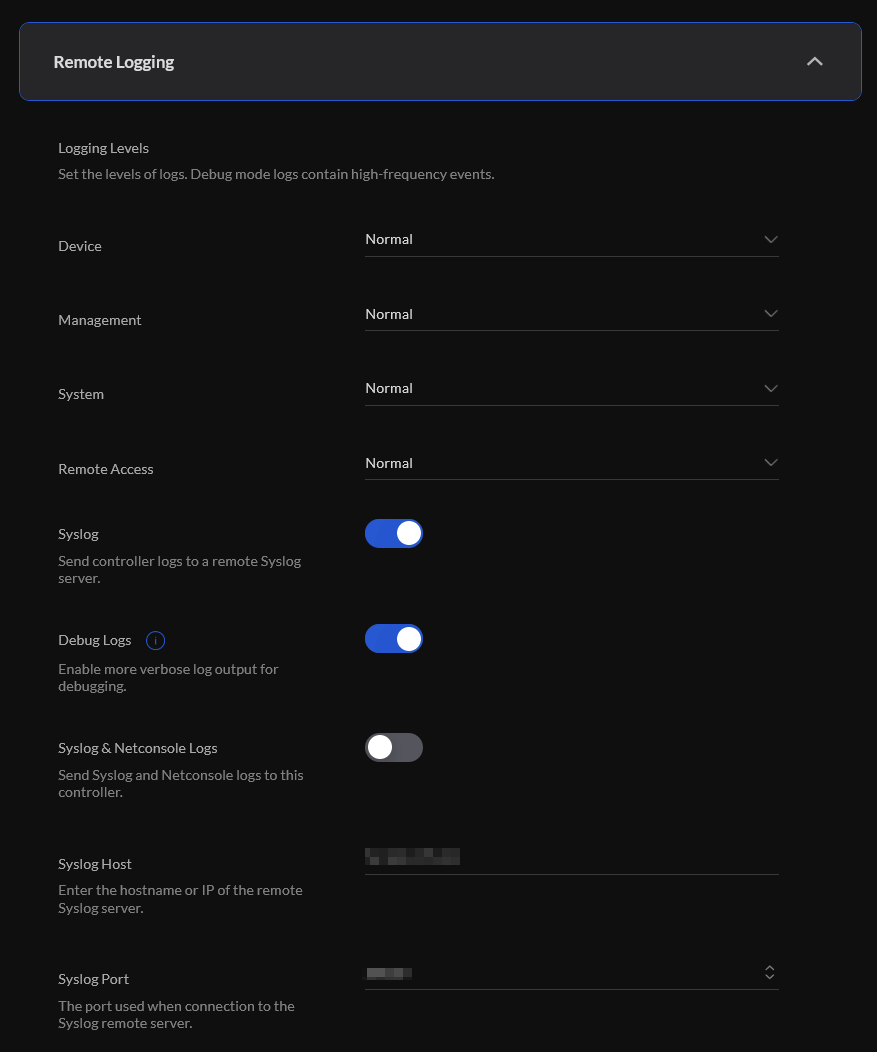
Designate a port also. I used 20050 for my tests.
Step 3: Initiating Unifi solution configuration in Azure Sentinel
Before we can complete the Syslog configuration, we need to configure Azure Sentinel next. Within Azure Sentinel, select Solutions (preview) and install Ubiquiti Unifi (Preview).

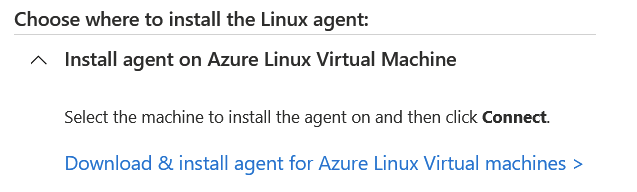
Once installed, hop to Azure Sentinel > Data connectors and open the Unifi connector. This will give you a link to Ubiquiti.conf that you have to deploy to your Linux-based Syslog server. If you chose to go with an Azure-based host, click the provisioning link to deploy the OMS-based agent to your Linux box:
SSH to the server, and do the rest of the deployment:
- Copy Ubiquiti.conf to the destination directory (/etc/opt/microsoft/omsagent/<workspace-id>/conf/omsagent.d/)
- Modify the config file with the port + workspace ID settings
- Restart the service
Now, within /var/opt/microsoft/omsagent/log you can tail omsagent.log to see if your messages are being sent properly.
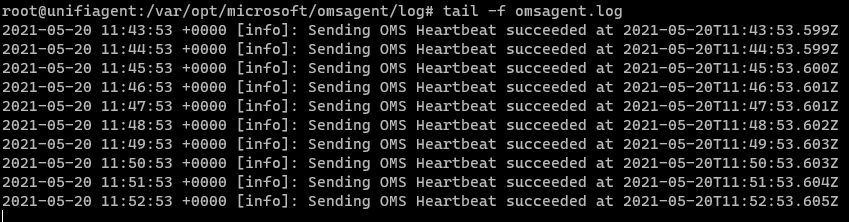
If you made a typo in your Ubiquiti.conf, then the logs will tell you that the omsagent instance could not bind to the port you’ve selected.
Step 4: Verifying that logs are visible in your Log Analytics Workspace
The infrastructure configuration is now complete. You have a Linux VM with the OMS Agent running. Your Unifi controller (Cloud Key, Cloud Key Gen 2, UDM-Pro) is sending logs to your Linux VM. And the OMS Agent is pushing those logs to Azure Sentinel’s Log Analytics Workspace.
Open the Log Analytics Workspace in Azure Portal, select Logs and query for Ubiquiti_CL:
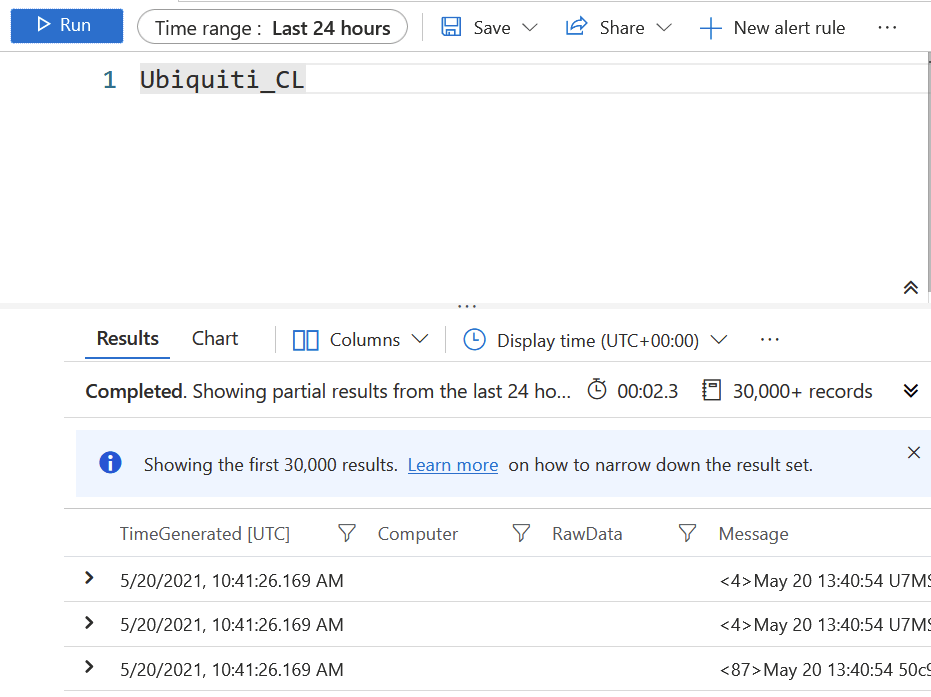
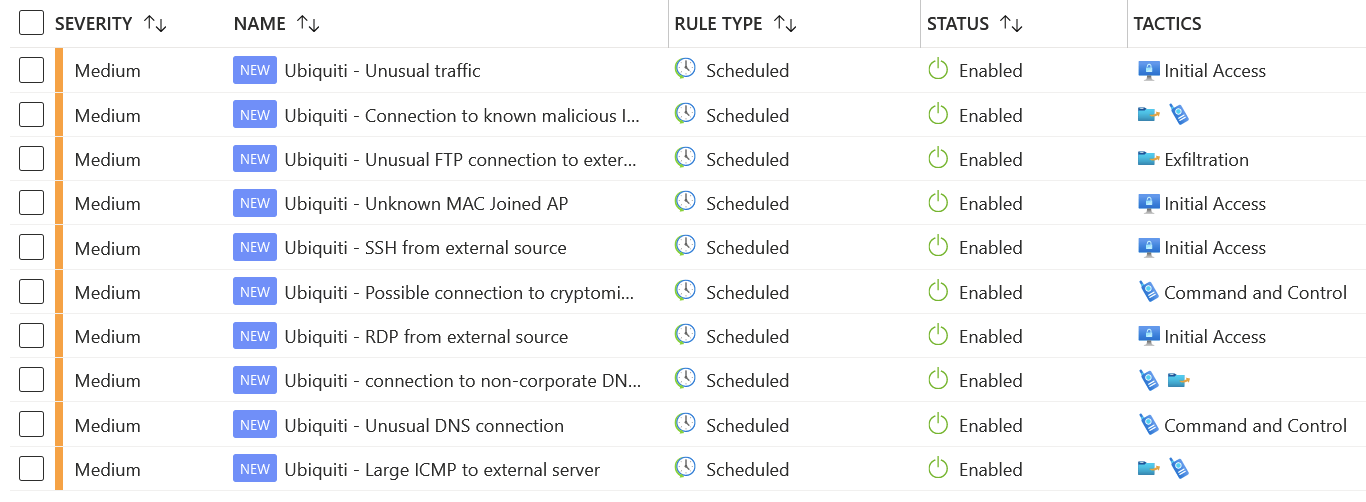
Looks promising! Now, go to Azure Sentinel > Analytics, and search for Ubiquiti. Select all, and click Enable:
Step 5: Hunting for suspicious activity
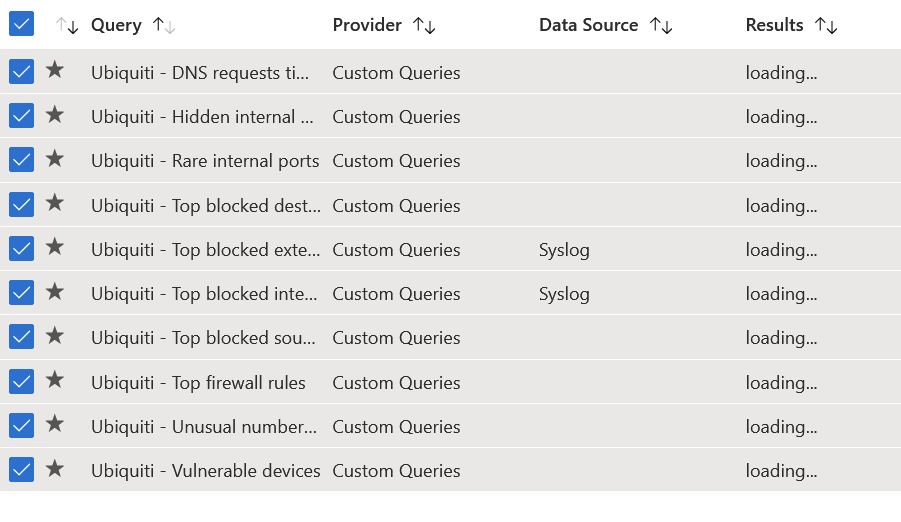
Once enabled (and this partially confirms your logs are in place, otherwise the enable will fail), you can go to Azure Sentinel > Hunting, and again search for Ubiquiti and select Run selected queries for all of them:
Once you start getting results, you can drill down by selecting a query, and viewing the results. Here’s a sample from timed out DNS requests in my internal network:
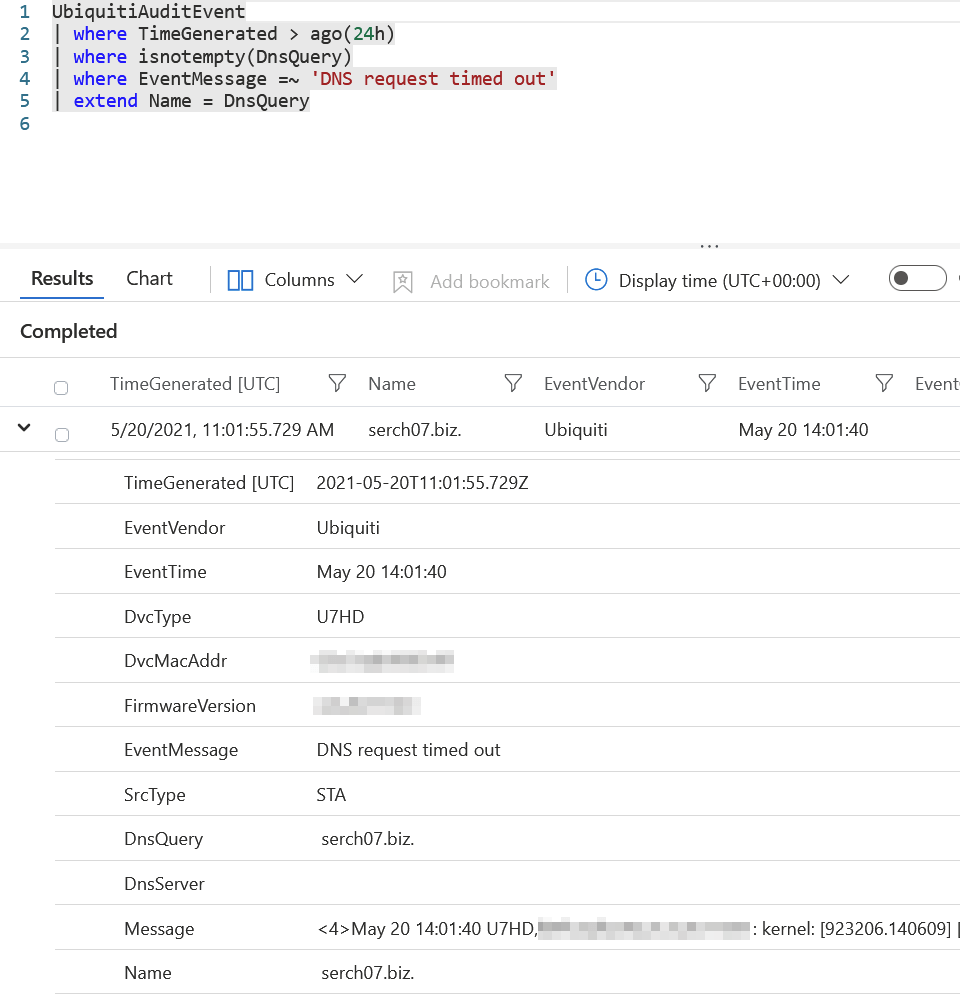
Apparently, there is a device – of type U7HD, trying to query for serch07.biz DNS zone. It certainly looks a bit suspicious, so this is something I’ll need to hunt from my internal network to figure out if it’s a valid or invalid query.
A quick look into my Unifi dashboard reveals that I have a wireless client, that fits the MAC address (that I’ve blurred out above).
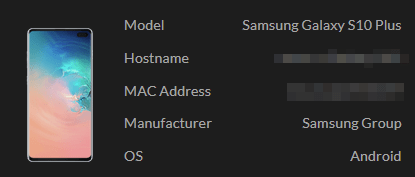
It isn’t my phone, but someone elses in my household. Time to have a chat with the owner! 🙄