Building a machine learning model with Lobe, easily

Lobe is a company Microsoft acquired in 2018. It has a visual interface that allows you to label and train images, that can be used to build a deep learning model for your apps.
Installing Lobe
Lobe is available (for free) here, and it’s currently available for Windows and Mac. It’s still in preview, so you’ll have to sign up first.
Once installed, it’s relatively massive at 1.7 GB of disk space consumed.
Getting started with Lobe
Running Lobe shows a clear and intuitive interface:
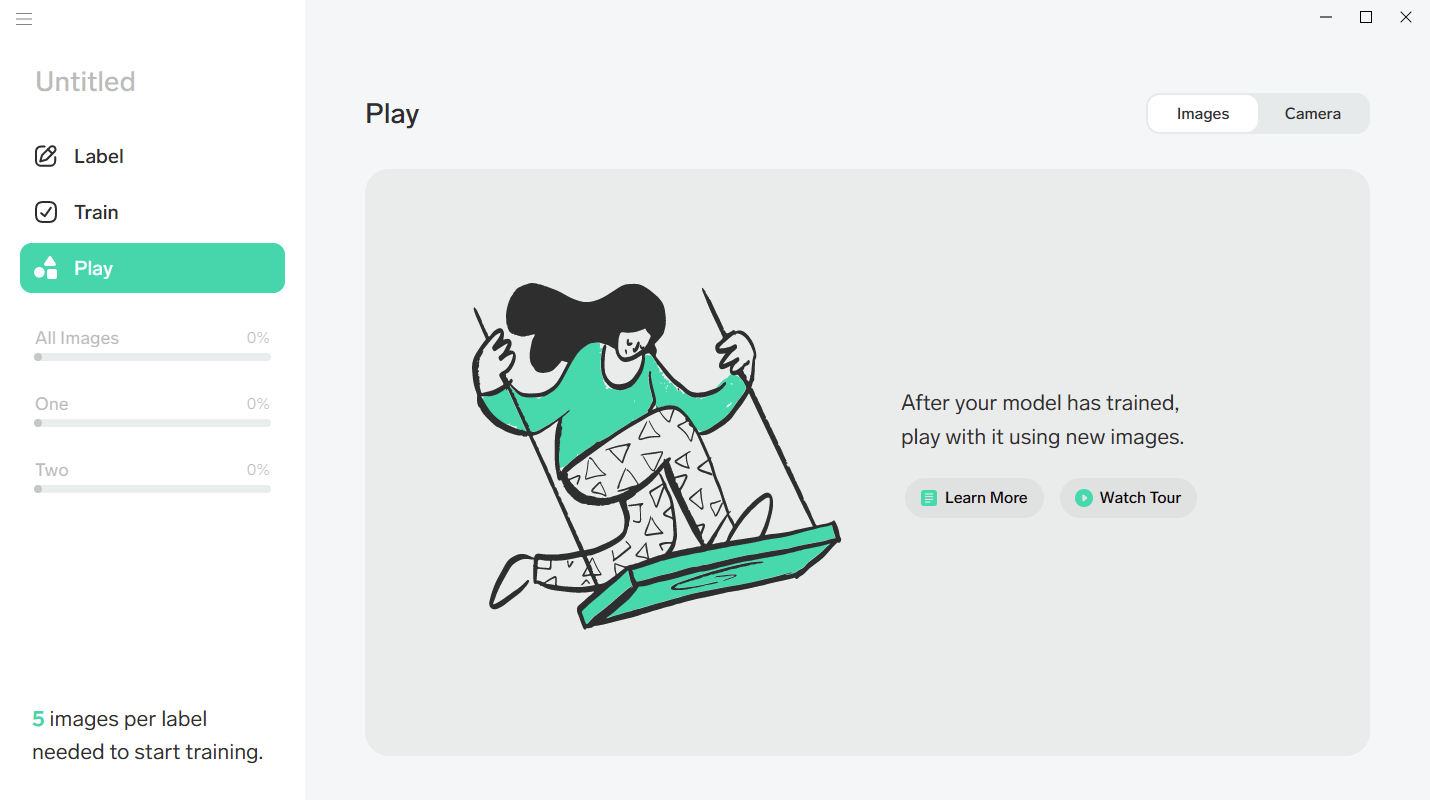
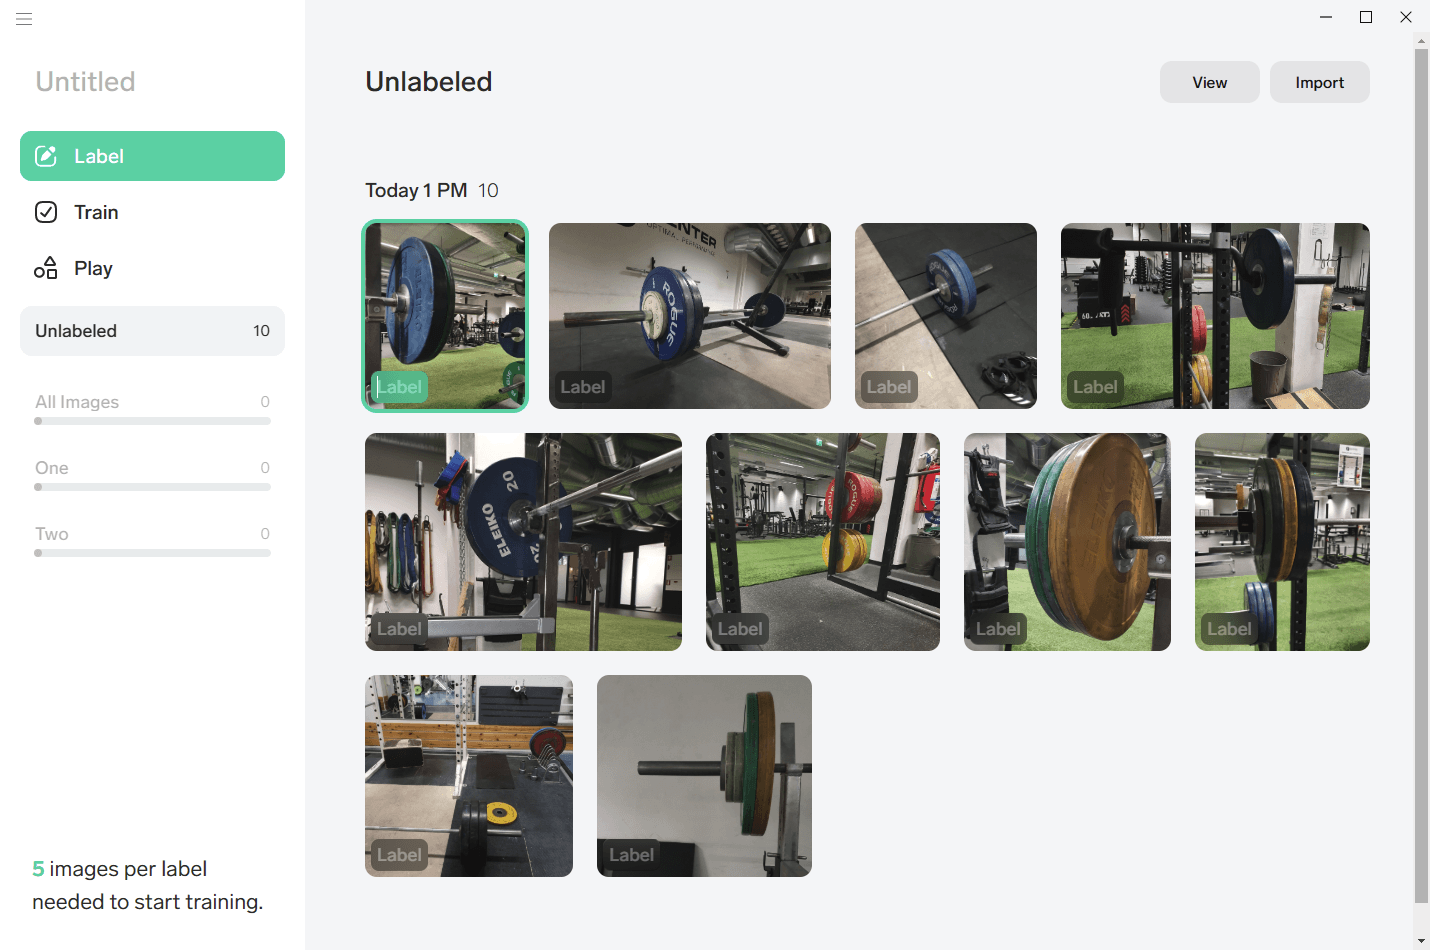
The idea is that you first label your images, and then use that data to train your model. Then you get to play with the model to see how it works. A minimum of five images is required per label to start training. The guidance states that a rough target is 100-1,000 images per label, so be prepared to have that data available at some point.
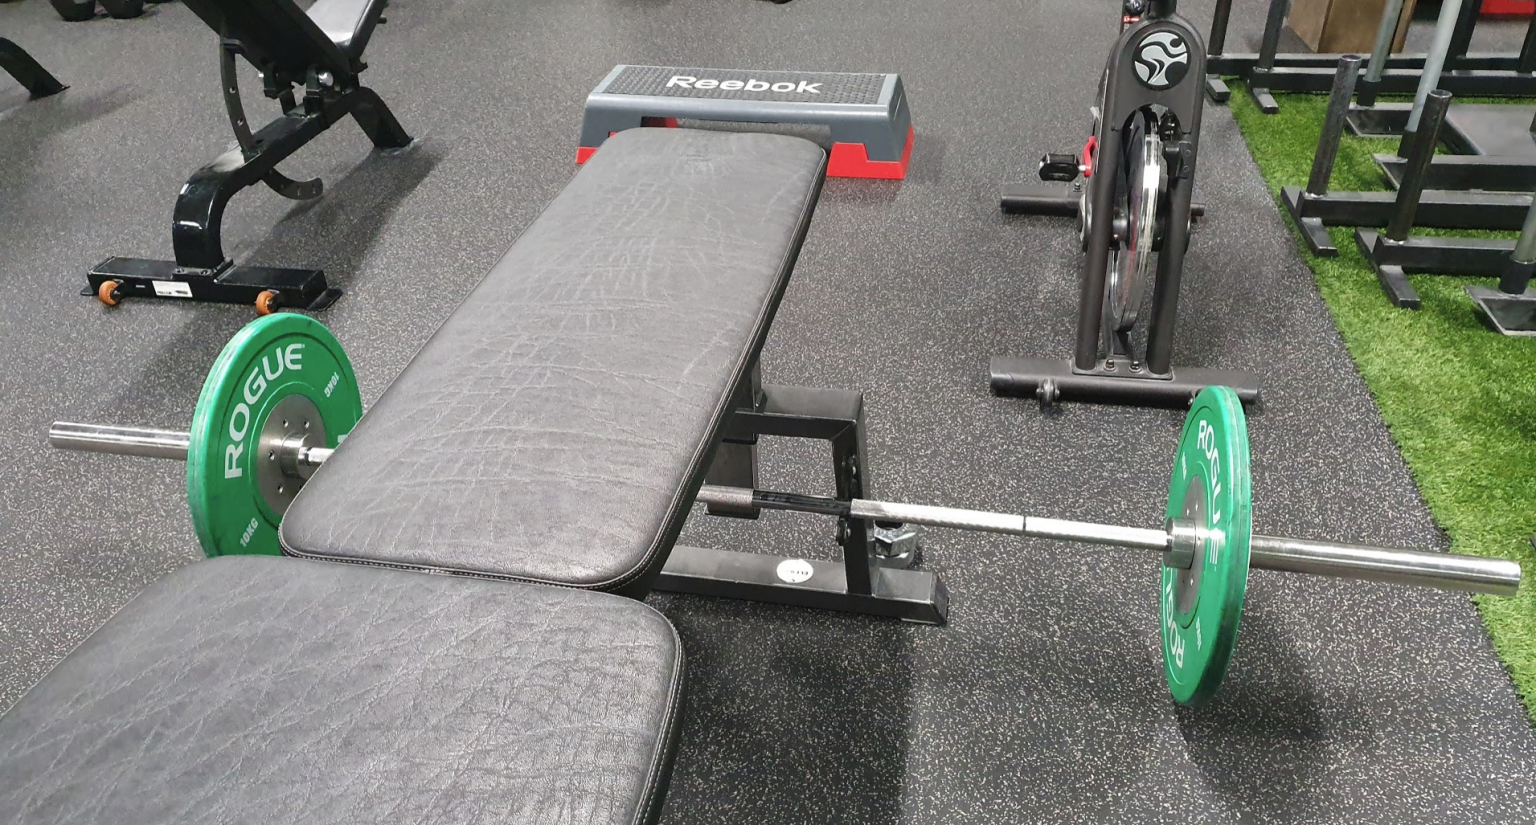
I went to my Google Photos archive and searched for ‘weight training,’ as I have a habit of taking a single picture from each of my training sessions. I’m not entirely sure why I do this, perhaps to remind myself when I did my gym sessions.
Usually, the pictures look like this:
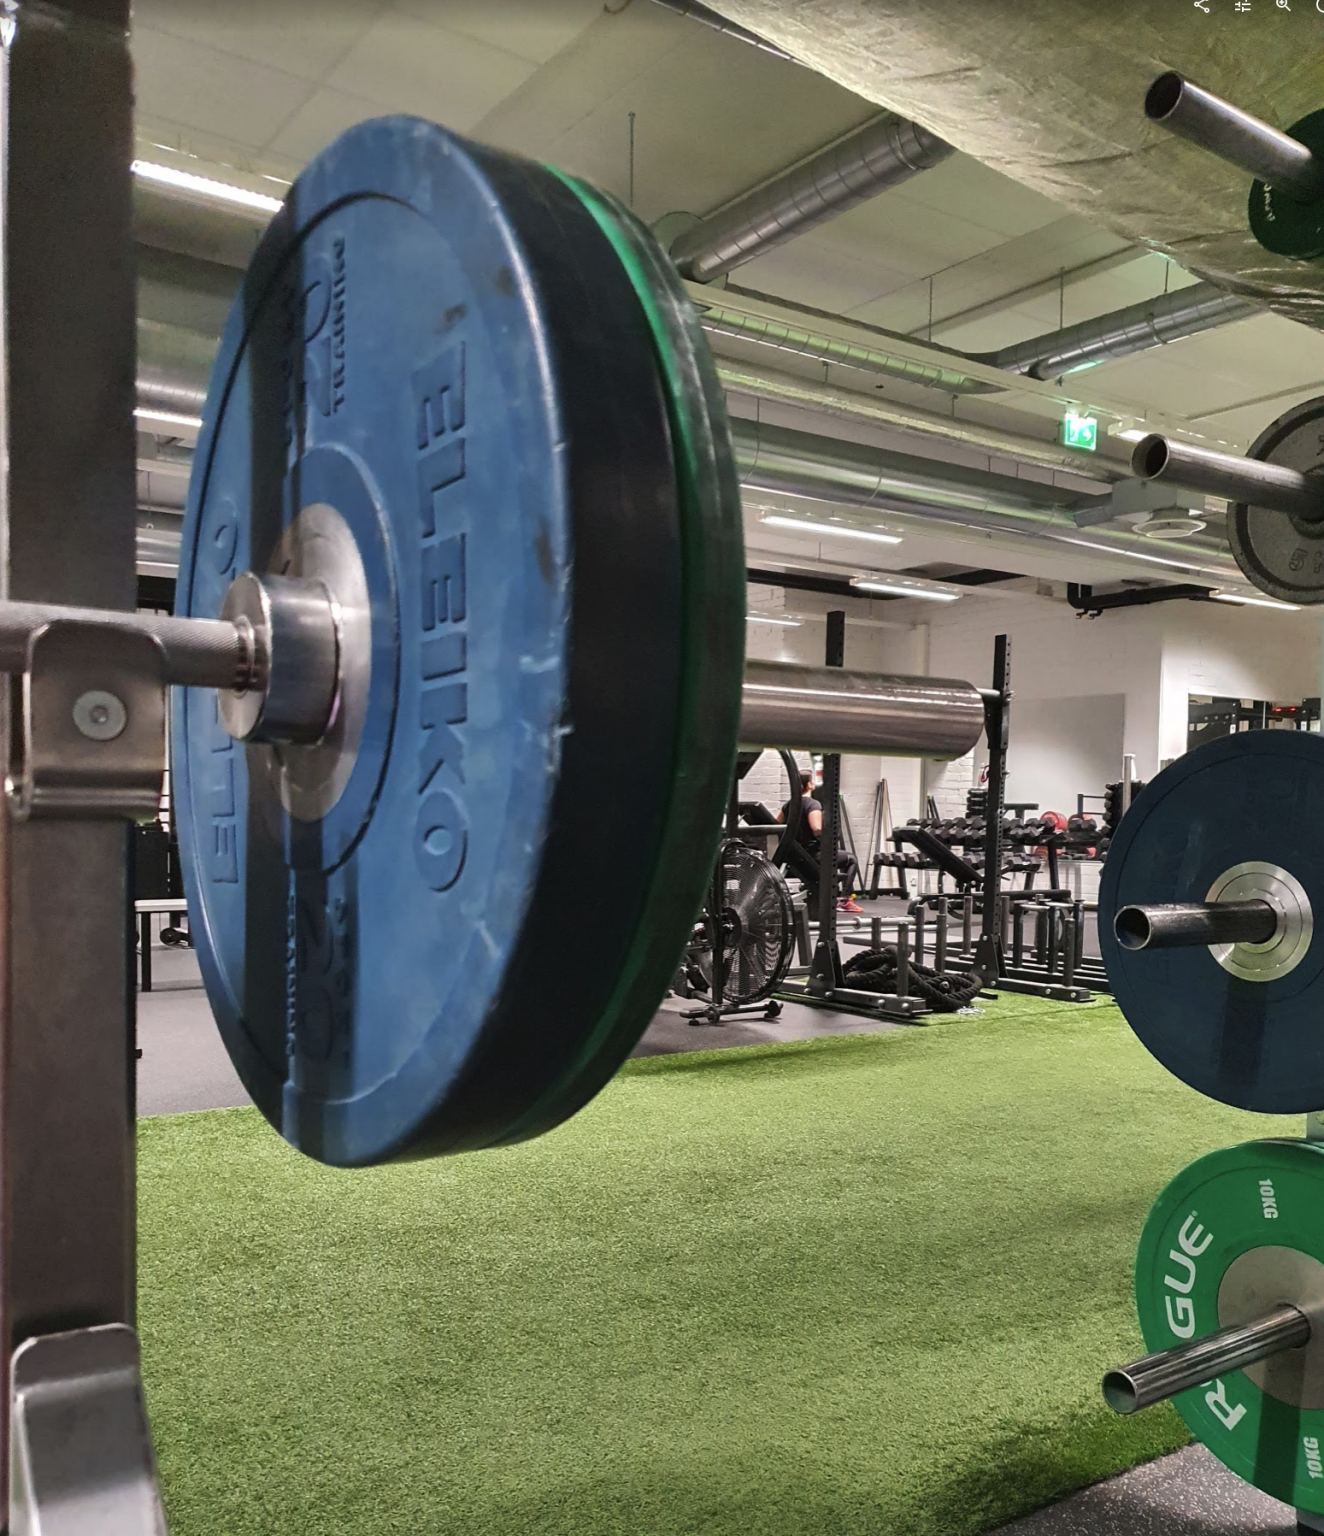
Perhaps I could train a model to identify plates – the green, blue, red, and yellow the gyms nowadays use?
Let’s give this a spin then! I downloaded 10 images to make sure I am over the limit of five images.
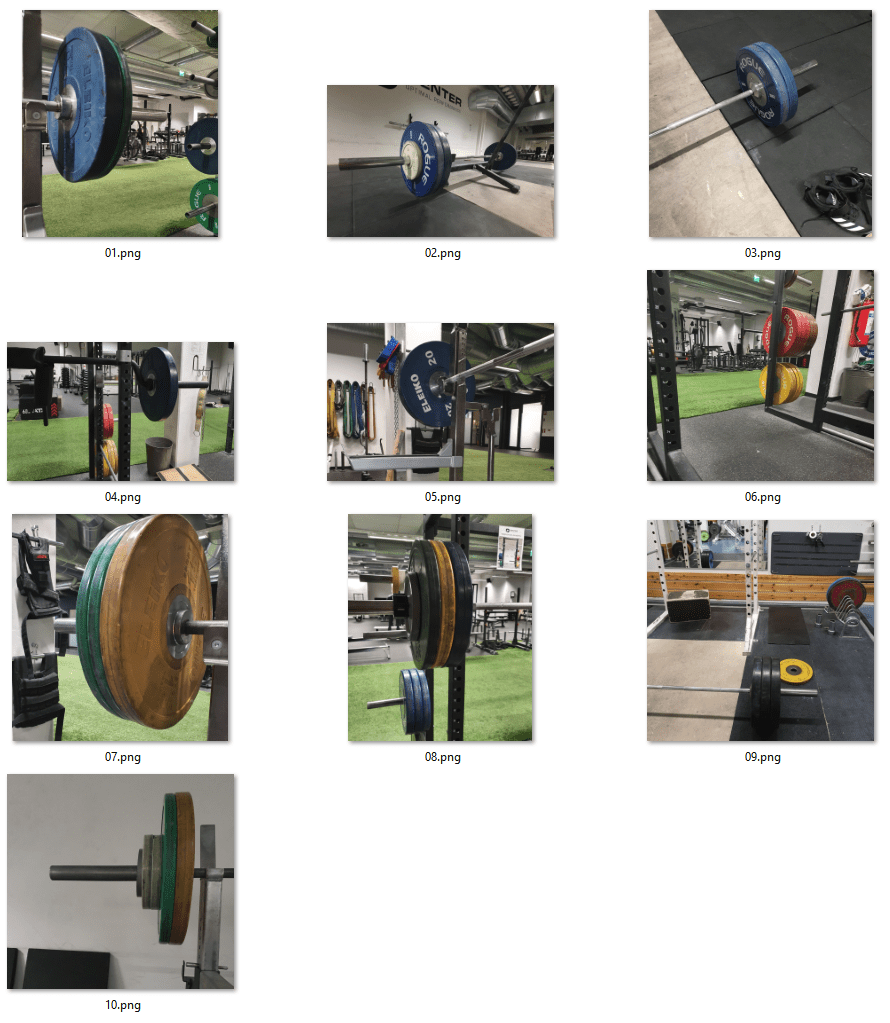
Well, they look like gym pictures – without people.
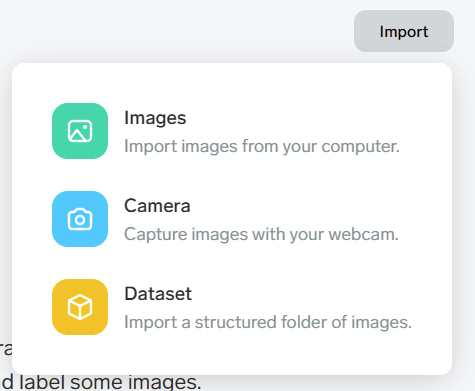
Clicking Label and then Import I get to choose that I want to import images.
It only takes a few seconds, as I was expecting. I have my source images on a different drive from Lobe to ensure I have maximum training performance.
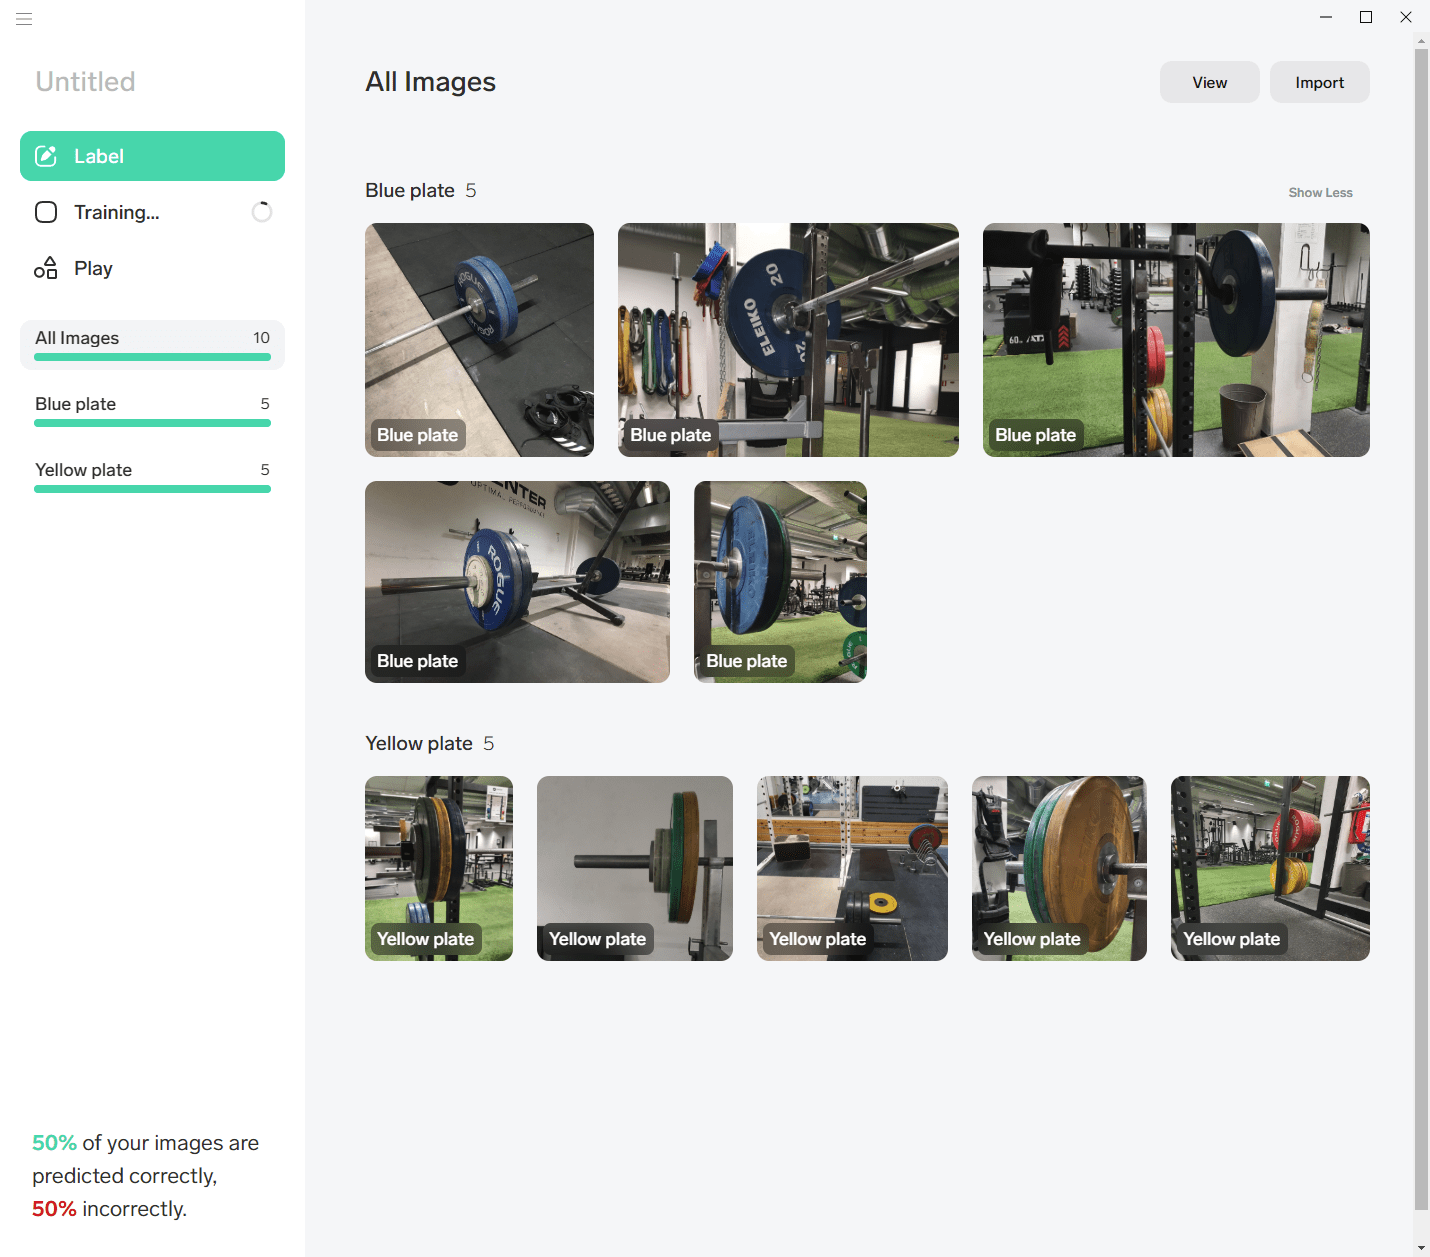
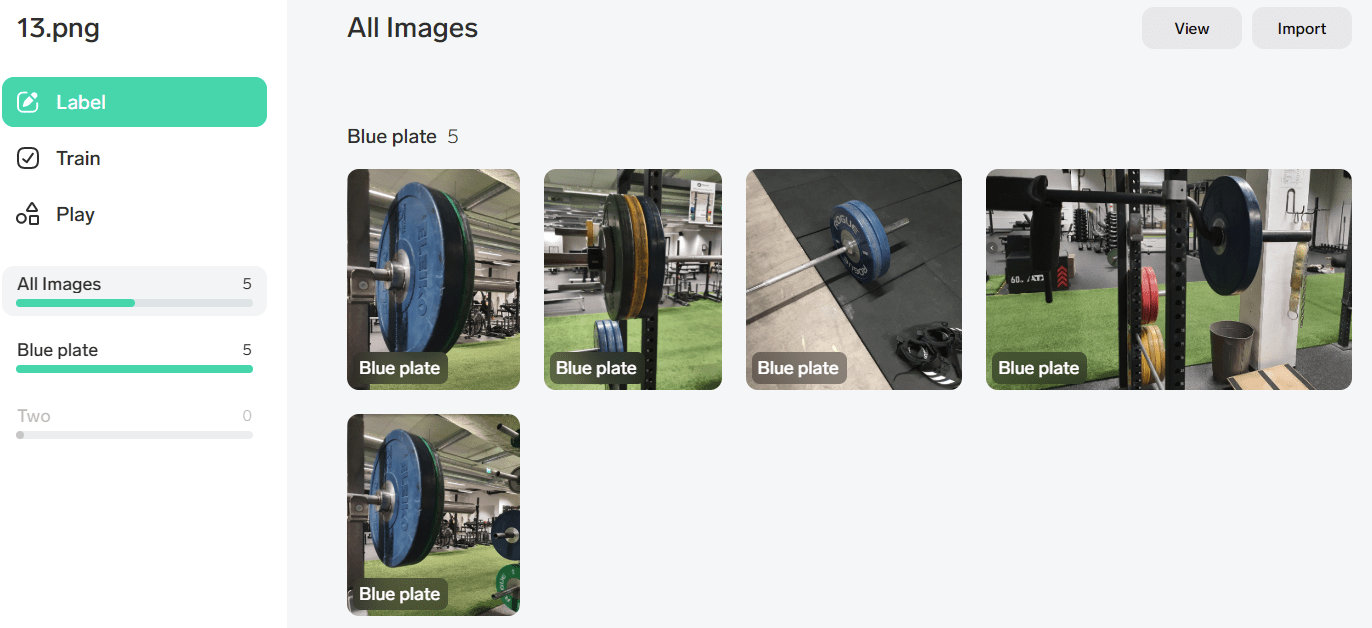
Now I need to click through each image and give it a label. Each image can only contain one label, so I chose to set five of the images to the blue plate and five of the images that were left to the yellow plate.
However, five of the images are now predicted incorrectly, as noted on the lower-left corner. And then Lobe crashes.
Resuming Lobe, and thankfully it resumed my project before I had a chance to save it, I remove some of the images and replace them with easier ones. The green and yellow plates (10 kg and 15 kg) are often used together, so Lobe is confused about what specifically is green or yellow here. I changed the last two images to clearer ones, and labeled them as green plate:
Even then, when I try to train the model Lobe tries to have the blue turn to green:
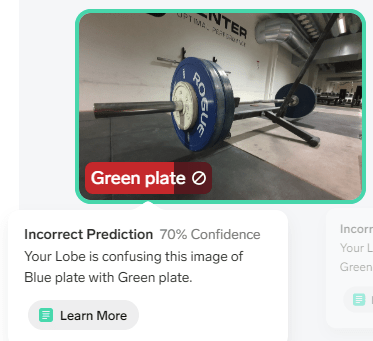
No, that is blue with 100% confidence, not green with 70% confidence. Turns out there isn’t a way to force Lobe to accept my choice. It only allows you to label the image as a green plate, or remove the image.
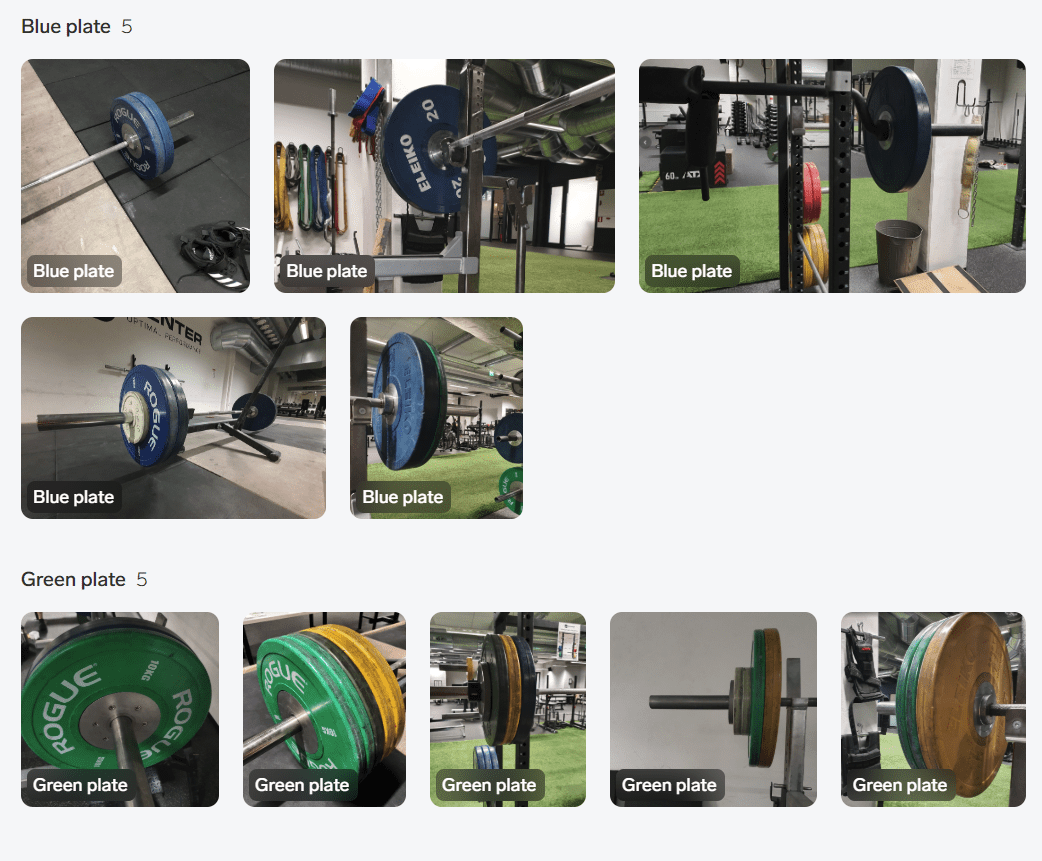
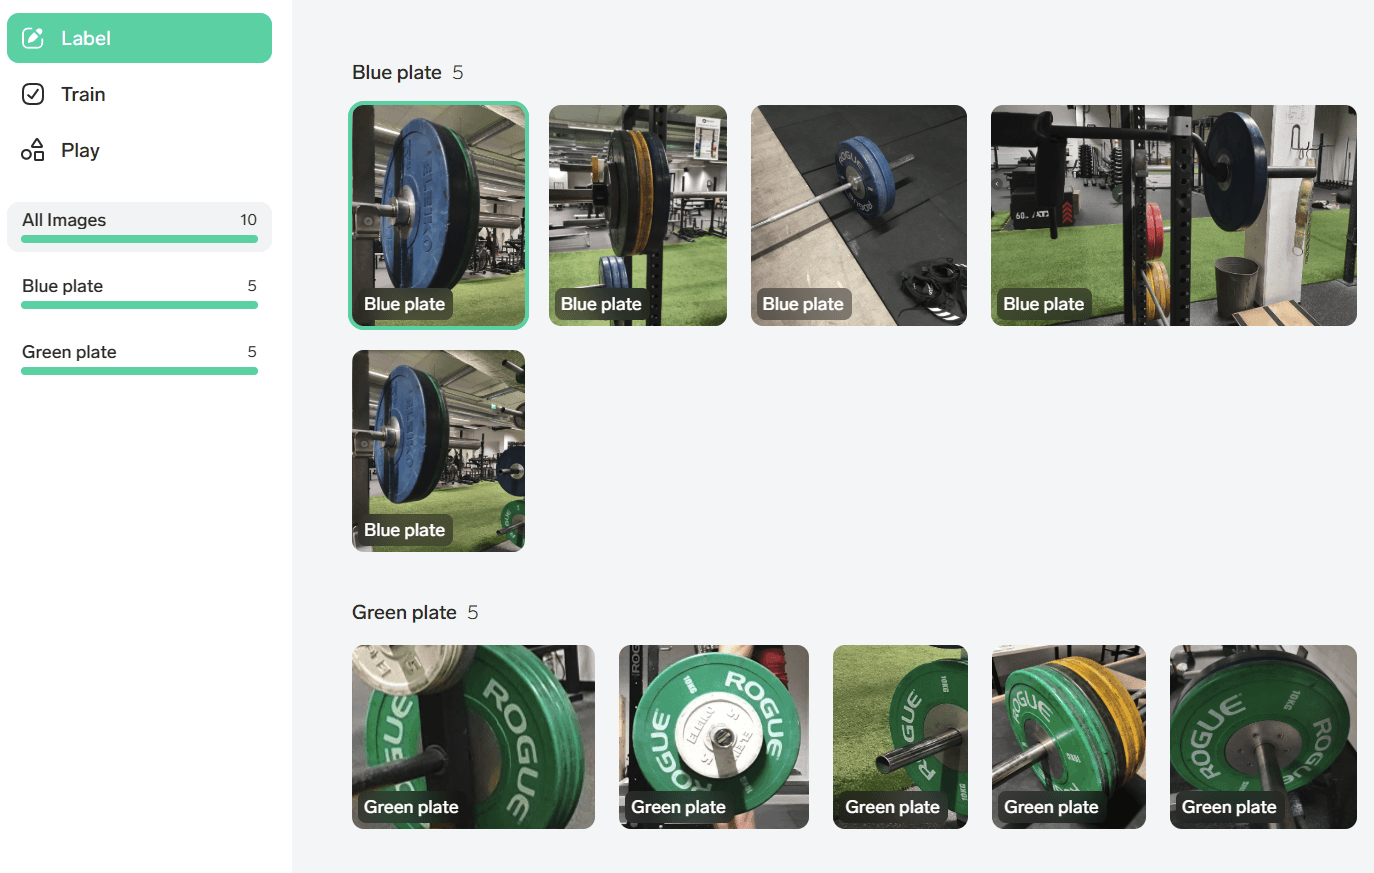
I clean up the green plate labels (and images), and end up with just five images of blue plate:
This machine learning thing isn’t too easy, it turns out! I add five new images of green plates, that are more cropped as not to confuse Lobe.
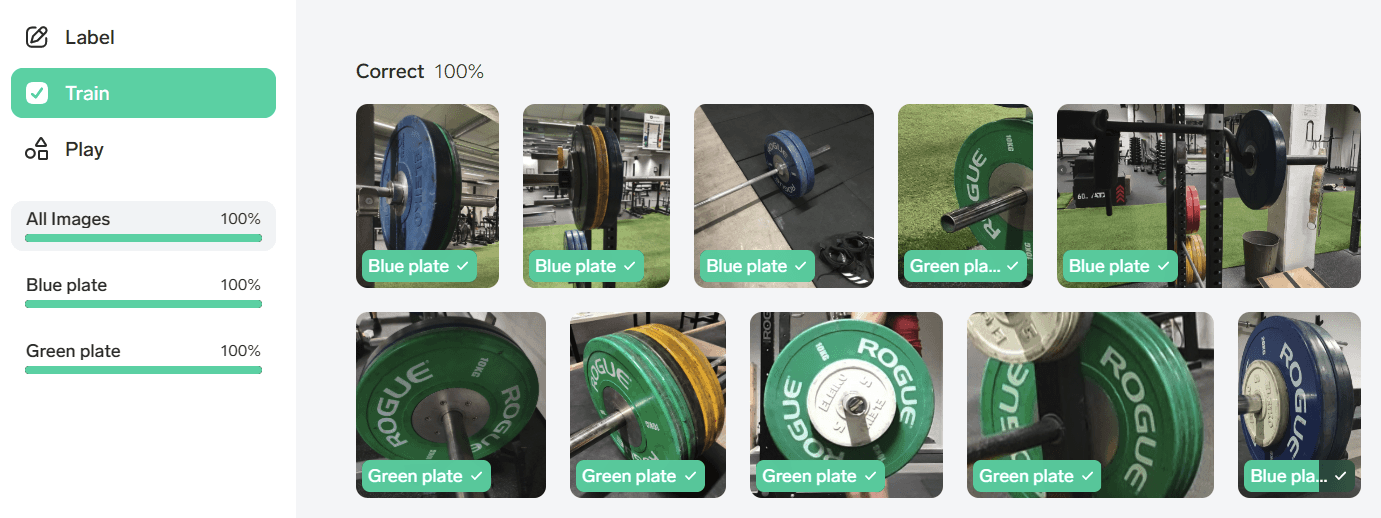
Finally I am getting past the errors! The training takes about 10 seconds, and happens in the background. Once done, all images are labeled correctly.
From the View menu you can choose to select which images were used as test images against the model.
Now I can move on to Play, where I can drag-n-drop images and see how the model understands them. Let’s start with this image:
That contraption, by the way, is called the seal row bench, and the idea is not to look like a seal when you pull the bar.
The result is from Play is:
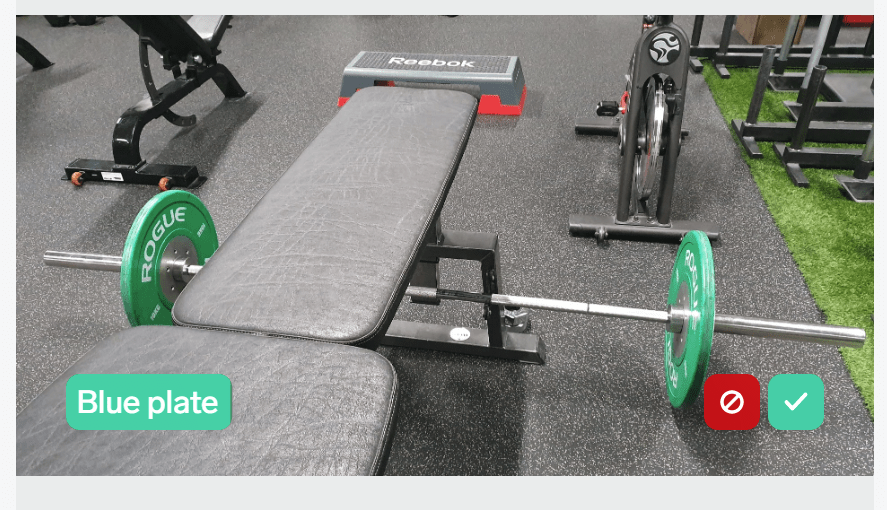
No, those are green plates – not blue plates! So I’ll click on the red icon to (hopefully) train the model to become a little bit better. It then automatically tries and identifies them as green plates! Perhaps this is a fallback, as I only have two labels.
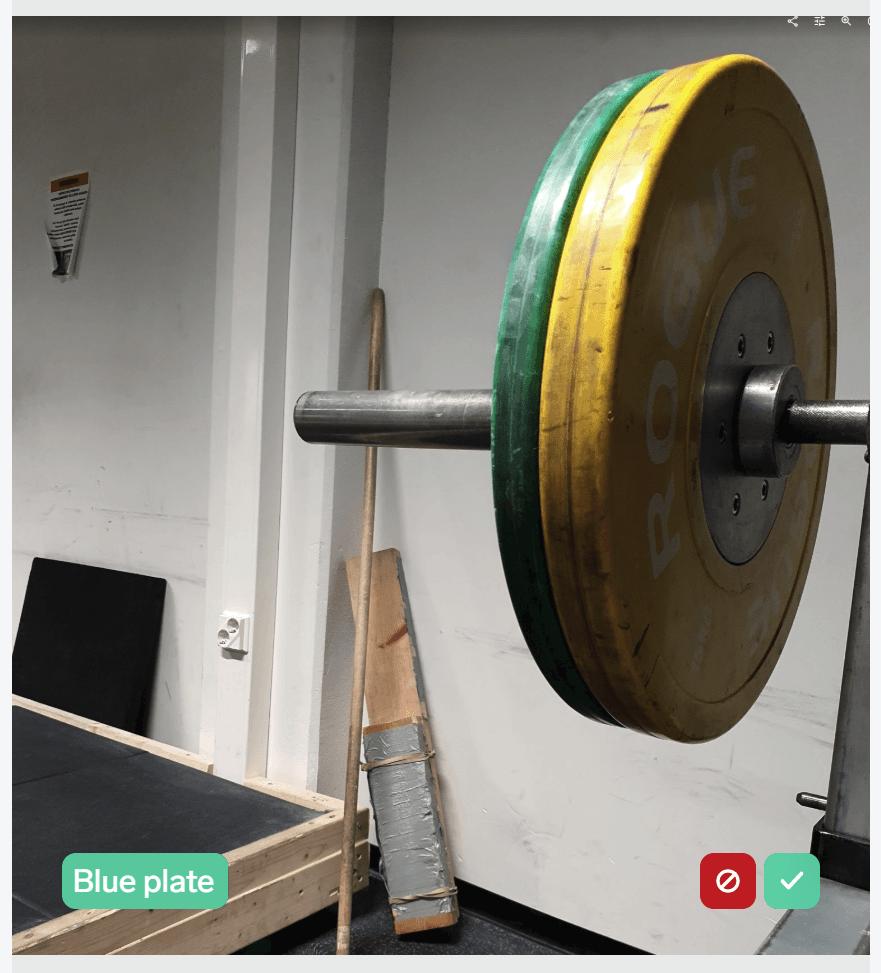
Next, I’m using a stock image from Rogue Fitness with both colors.

Yeah, it has a green plate. But also a blue plate. So I’ll click the green checkmark. Each time the model has trains again. I begin to wonder that I am in need of hundreds of images to train the model to become better. The suggestion was to have at least 100 images, I now remember. Perhaps that is also the reason why the autopilot in my car is not that good.
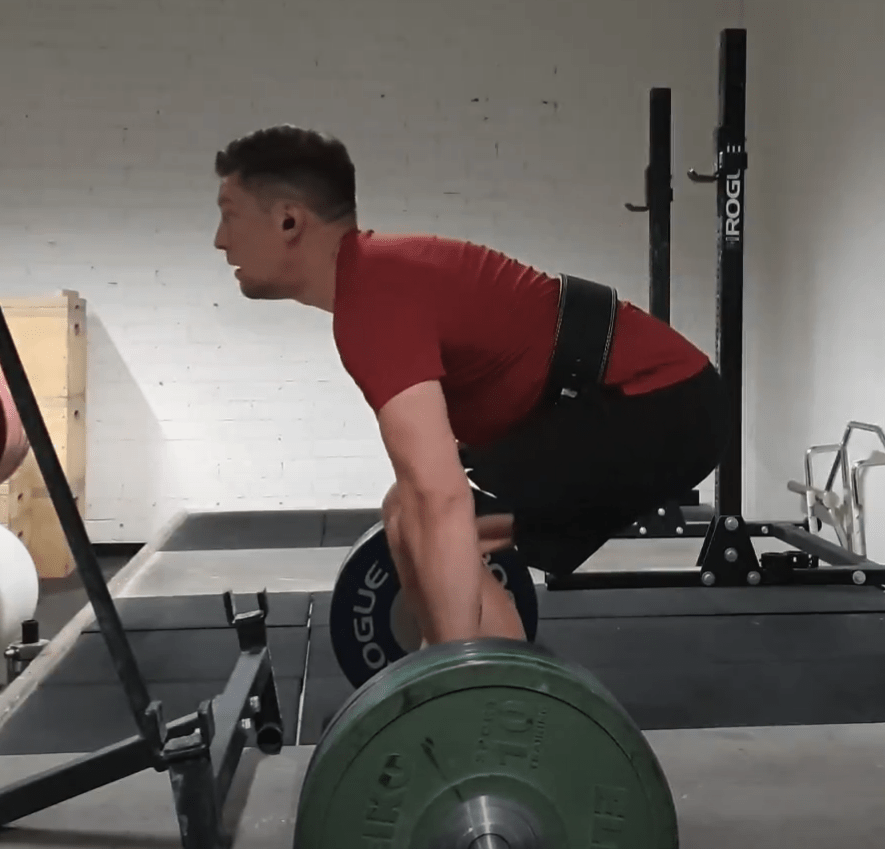
Once more, I’ll add a still image from one of my videos. This is me, doing a deadlift and it correctly spots the green plate. There is also a blue plate, but the green is more prominently visible.
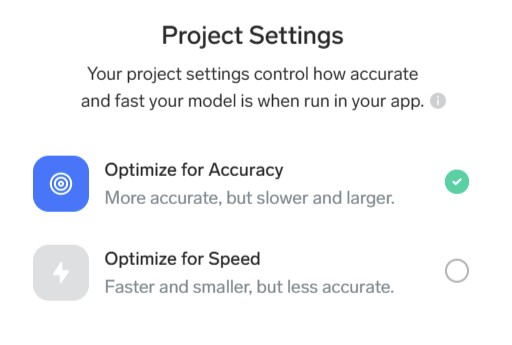
Lobe also has some configurable settings that I missed the first time around. You can choose to optimize for accuracy (default) or speed.
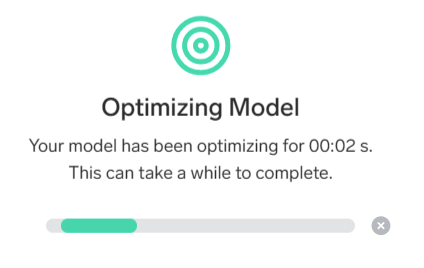
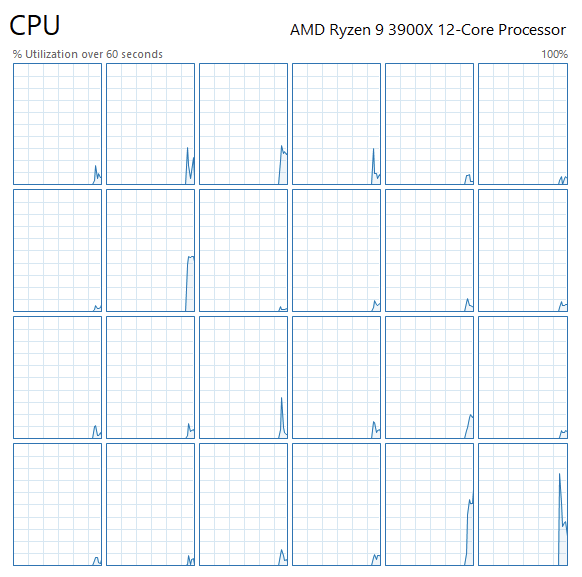
I then ran a model optimization, that promises to take ‘a while.’
With my limited image set it took about 10 seconds. My CPU utilization spiked from 1% to 11%.
After the optimization, I tried with another image. This time one with a yellow and a green plate. But alas, it’s still inferencing somehow that the image has a blue plate:
I click the red checkmark again.
Moving on with the model
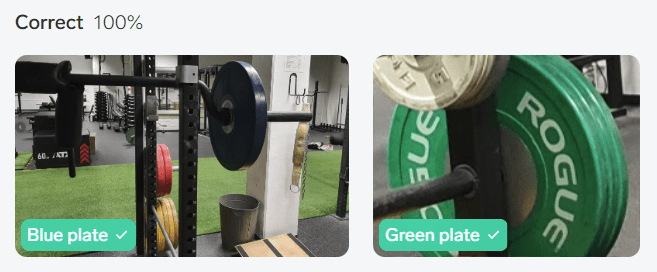
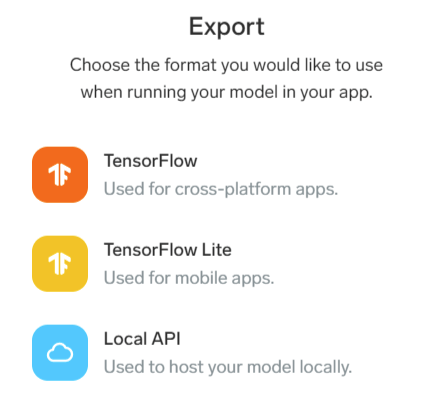
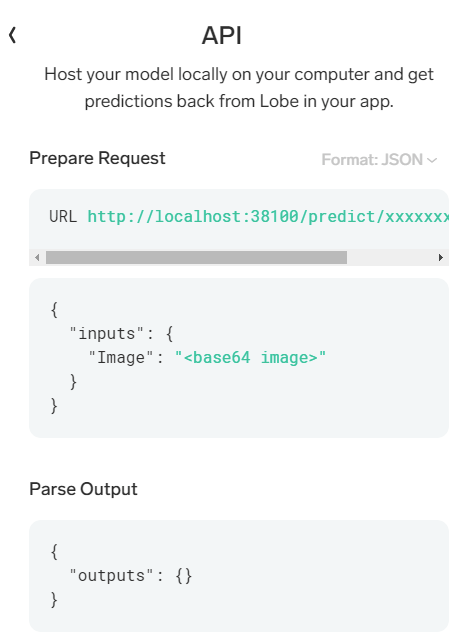
What now, then? I have a model, that mostly works, and only not-works 7% of the time. I can now export the model to start using it in my apps. The supported formats are TensorFlow, TensorFlow Lite (for mobile devices and edge computing), and a local API. The last one is a REST-based mock API to try out your model without deploying anything.
Local API is an easy choice, as the tool handily provides you with stub code for most major platforms:
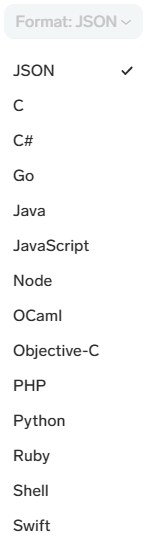
Selecting the dim dropdown menu from top right allows you to choose a different platform:
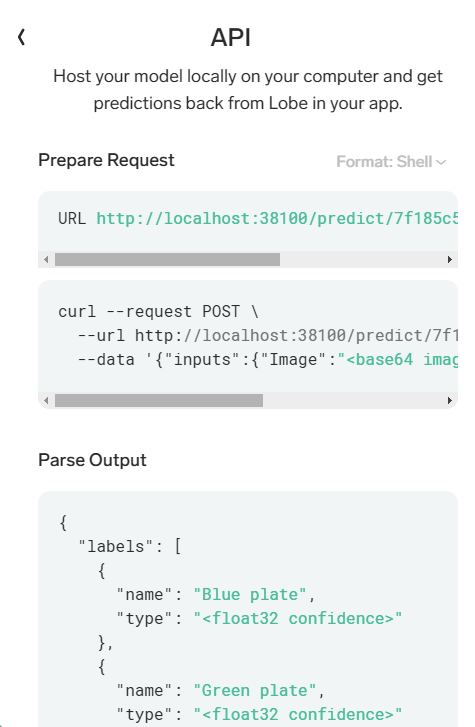
Shell gives cURL syntax, which I find insanely helpful as I can never recall the exact parameters:
I tried out the C# version, that relies on RestSharp for the parsing of JSON. I mocked up a simple skeleton of a tool to try out the API:
var client = new RestClient("http://localhost:38100/predict/<guid>");
var request = new RestRequest(Method.POST);

byte[] imageArray = System.IO.File.ReadAllBytes(@"c:\temp\lobe-training-01\17.png");
string base64ImageRepresentation = Convert.ToBase64String(imageArray);

request.AddParameter("undefined", "{\"inputs\":{\"Image\":\"" + base64ImageRepresentation + "\"}}", ParameterType.RequestBody);
IRestResponse response = client.Execute(request);
Console.WriteLine(response.Content);
When I ran it with one of my images, the results are looking good:
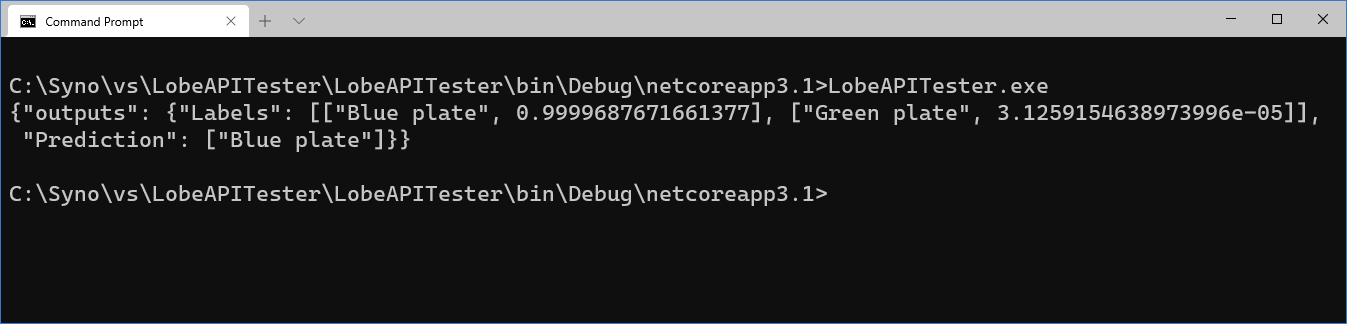
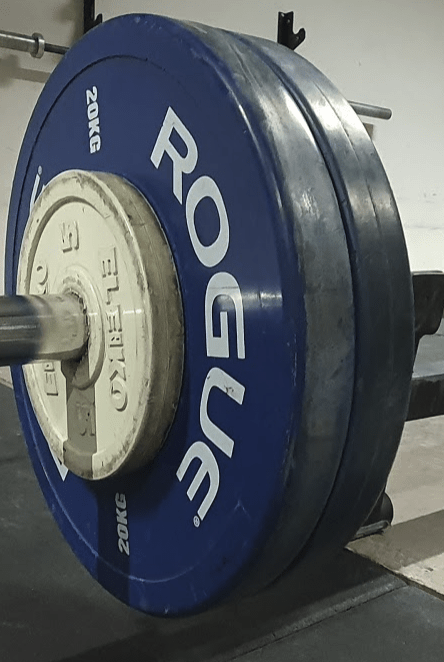
With 0.99 confidence the image has a blue plate. And yes, it certainly does have a blue plate:
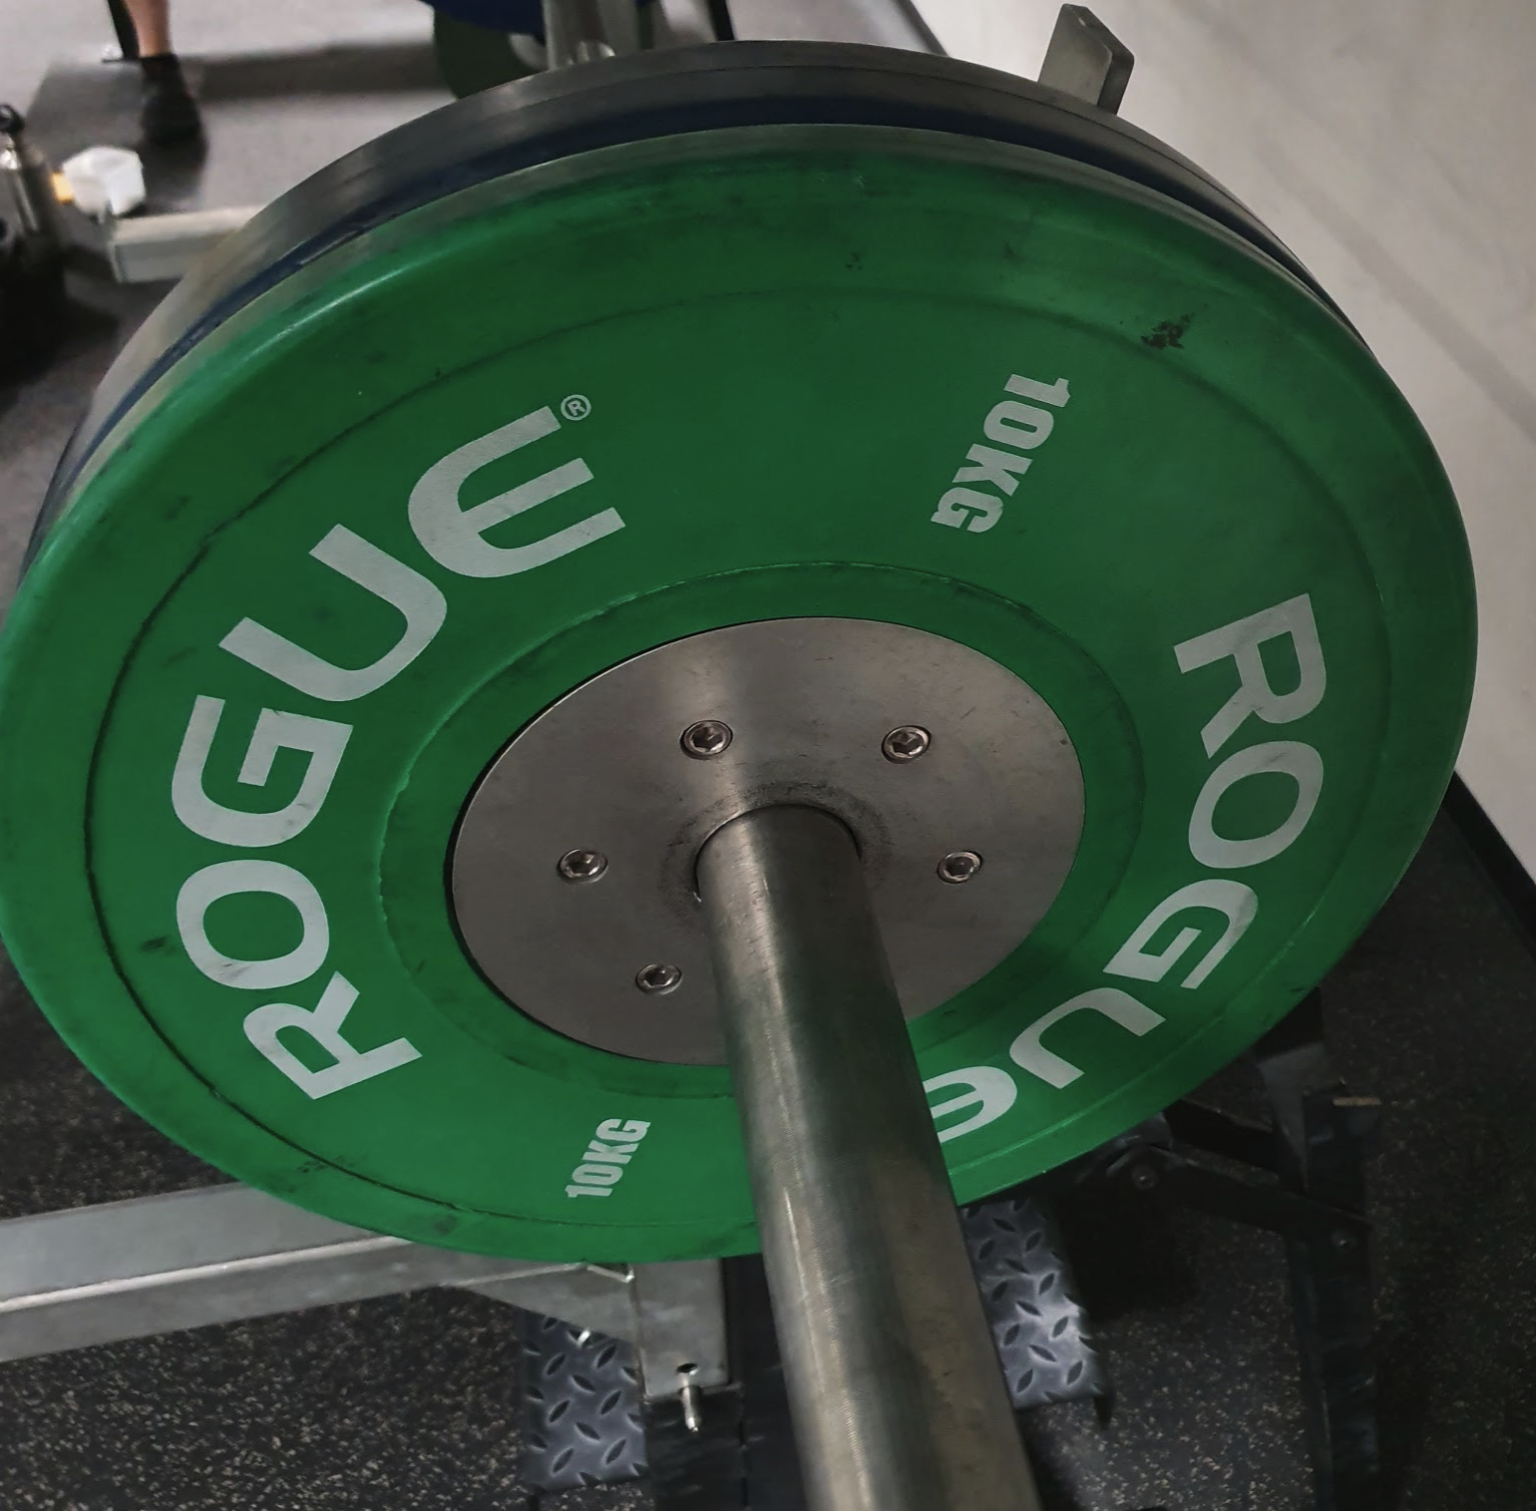
Switching to another image, which is now recognized as a green plate:

And the image in question:
In conclusion
I’m very impressed how easy it is to use Lobe. Admittedly, the amount of data one needs is massive, but perhaps for someone creating a real model this isn’t an issue. When testing a tool like this you often want to see results almost immediately, and with just five test images per label it’s a significant result.
I also tried exporting the model for TensorFlow. This produces a neat model with the .pb model file, a Python test app, the settings file, and guidance. I did not try to deploy this but found a sample project that utilizes ML.NET with a custom TensorFlow model.