Building a custom container-based API using Docker Desktop and Azure App Service

Many times when I’ve worked with Microsoft partners and customers in projects the need arises when we need a custom API to be implemented. Perhaps the reason is that we need the versatility and freedom this provides, or simply because the developer feels this is the best approach for the given business problem.
So, while you can host your APIs in multiple ways in Azure, I wanted to try out how easy (or complex!) it is to write a simple API in .NET Core and C#, and publish that to Azure and run it as a Docker container. Thankfully, Visual Studio 2019 aids massively in testing this, although I wanted to script the actual process to make it reproducible, and also malleable for future needs.
At the end of this small exercise, I should have a simple API running in Azure, as a Docker container on Azure App Service. How cool is that?
Configuring pre-requisites
I need to have the following assets in Azure in order to host my solution:
- A resource group to contain all my assets
- An Azure Container Registry to hold my container
- A Linux-based Web App to run my API – and this requires an App Plan also (these will be created once the container image has been created)
I tend to default to using Azure CLI with Windows Terminal. This allows me to spin up Azure Cloud Shell to run commands remotely from my laptop against my Azure subscriptions.
First, I’ll create a new resource group – just to keep things tidy:
az group create --resource-group custom-api-docker --location westeurope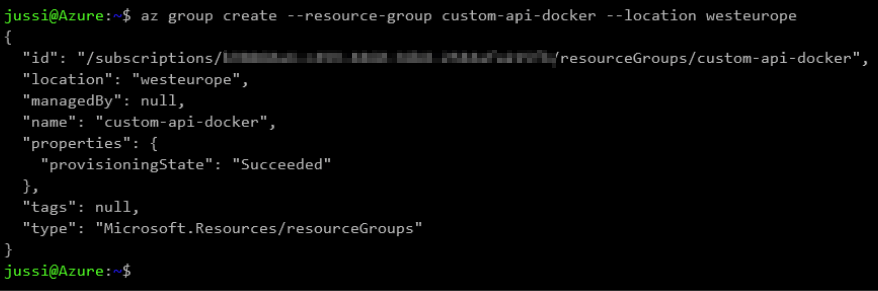
Next, I’ll create a new Azure Container Registry (ACR) instance. This is a service that will hold my Docker-container images.
az acr create --resource-group custom-api-docker --name customacrimages --sku Basic --location westeurope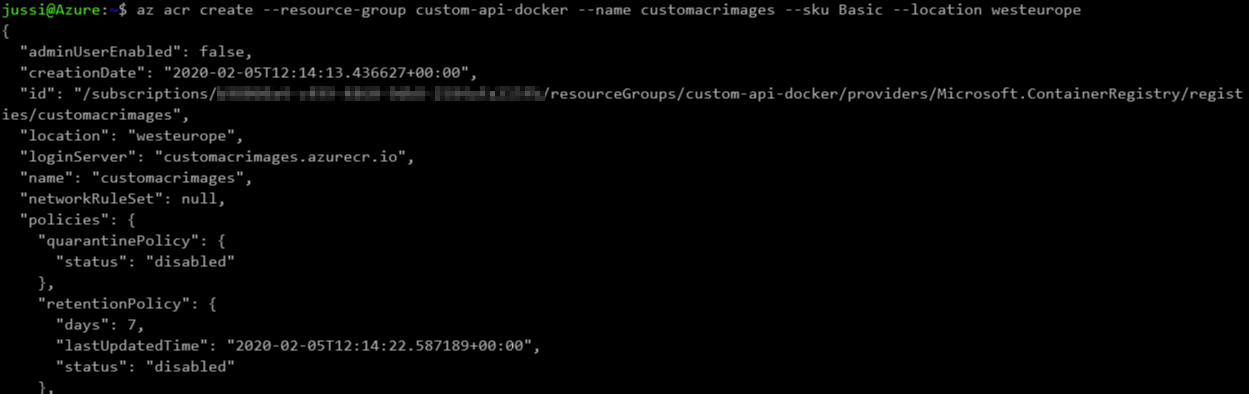
And last, I’ll need to enable the admin user account for ACR, as it is disabled by default:
az acr update --name customacrimages --admin-enabled true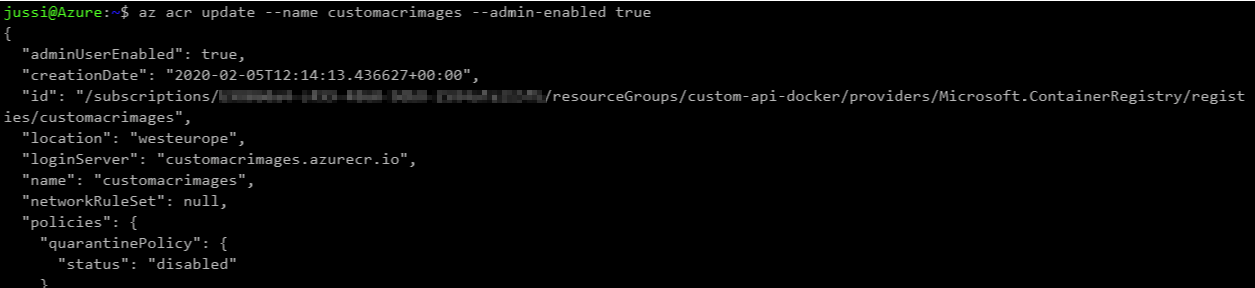
Finally, I’ll need a web app. It needs to be Linux-based, as my container will be based on Linux – this is also the default for Docker Desktop.
Next, I need to figure out how to authenticate with the ACR. Usually, you would use Azure Key Vault – I’ve documented this process (in length) with my friend Tobias Zimmergren in a blog post we authored in 2019. For this exercise, I’m using an alternative approach, which admittedly is less enterprise, but much simpler – and might be a better fit in certain scenarios. I’ll extract the credentials directly from ACR:
az acr credential show --name customacrimages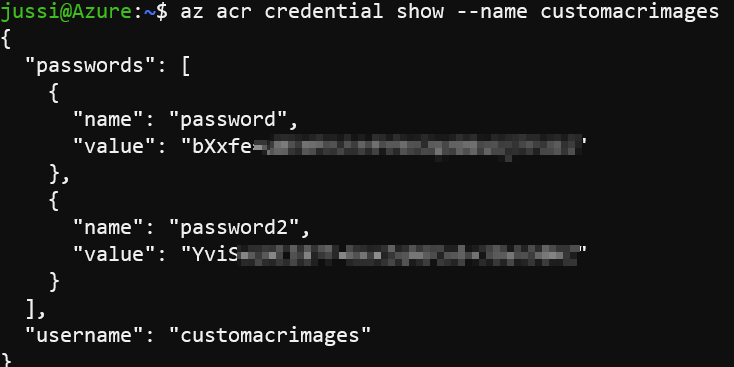
Record the password and username values, as we’ll need these later!
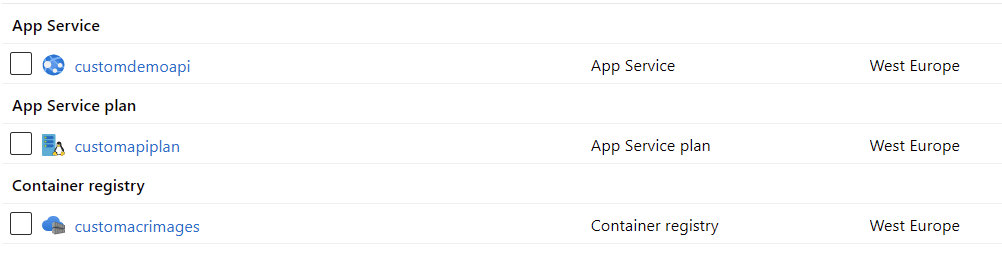
And that’s all there is! To confirm I’m in good shape, I can view the contents of my resource group in Azure Portal:

Creating the API using Visual Studio 2019
Moving on to creating the actual API. As I can easily create a test API in Visual Studio 2019, it’s worth noting that Docker Desktop is also required. This is because we’ll need to test, package and publish our API to Azure Container Registry, and these actions require Docker locally. It’s free, and you can download Docker Desktop (for Mac and Windows) here. It does require Hyper-V locally, though.
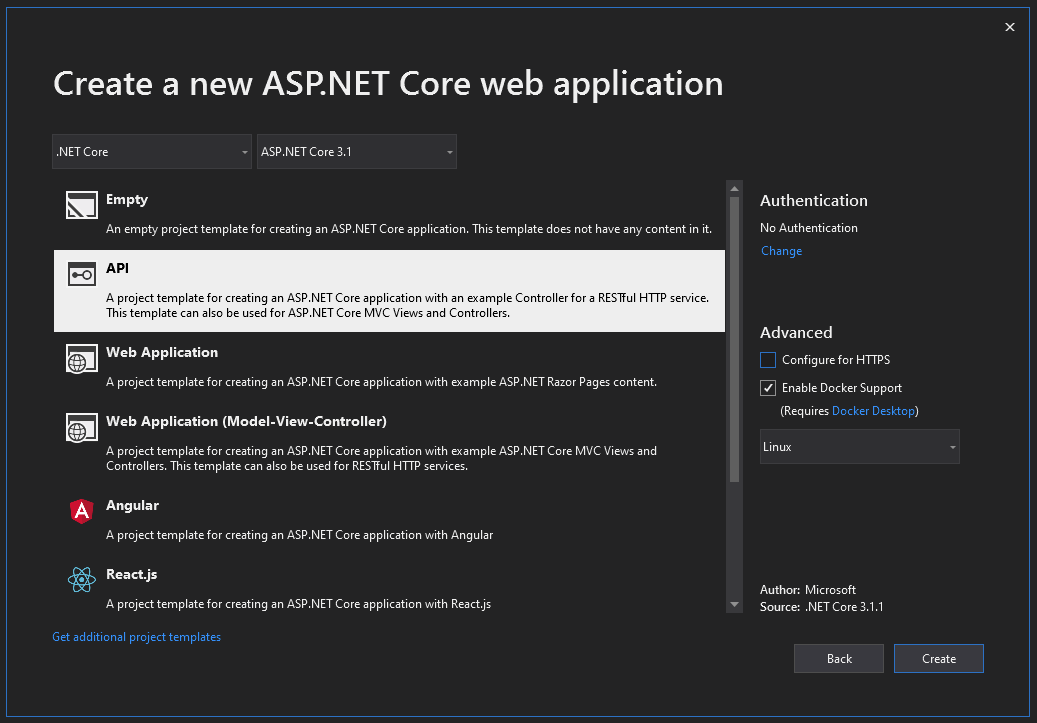
The configuration on Visual Studio 2019 is relatively simple, but I do need to set Enable Docker Support checkbox during the creation of a new ASP.NET Core Web App project. You will also need to uncheck “Configure for HTTPS”. It feels counterintuitive, as obviously you should choose HTTPS always, right? Well, the issue here seems to be that once you publish your container to a web app, it will manage HTTPS for you. So if you force your container to use HTTPS, things will fall apart in this scenario. See this FAQ for added details on this issue.
Once the new project loads based on the webapi-template, I can just hit F5 and see that everything compiles and works as it should.
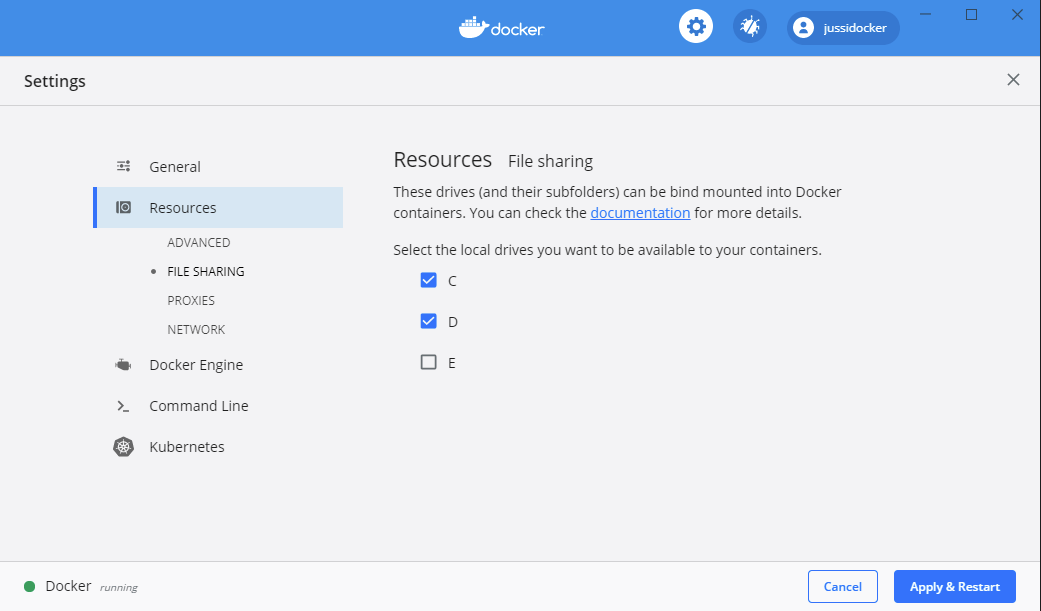
Note: If you hit this error: “docker: Error response from daemon: status code not OK but 500: {“Message”:”Unhandled exception: Drive has not been shared”}.” it’s because you haven’t shared a local drive with Docker. Do this by opening the Docker Desktop control panel (from System Tray), and select the drives you wish to share. I also noted that the mount is case-sensitive in recent Docker Desktop installs. Thus, C:\code\CustomAPI is different from c:\code\CustomAPI. Subtle difference!
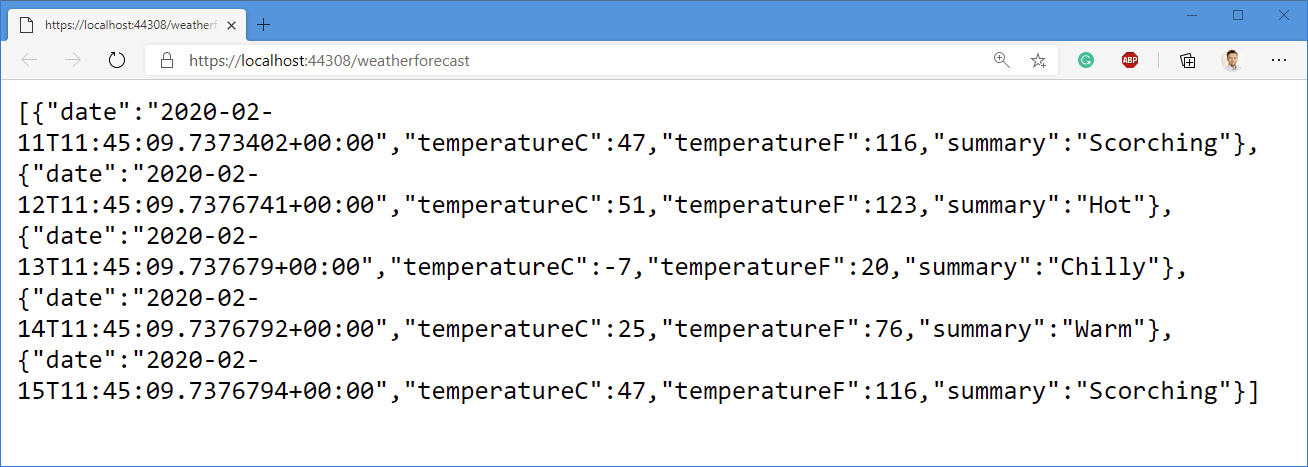
Once the project loads, you should see your custom API spewing data:
To verify that the API is, indeed, running through Docker as a container, you can type docker ps in Windows Terminal:

If you want to modify the custom API, open WeatherForecastController.cs under /Controllers. I chose to leave it as-is, just to make this small walkthrough a little bit more readable.
Next, we’ll package the API in a Docker-based container. Open your preferred command-line terminal and navigate to the project folder and run the following:
docker build --tag customapi .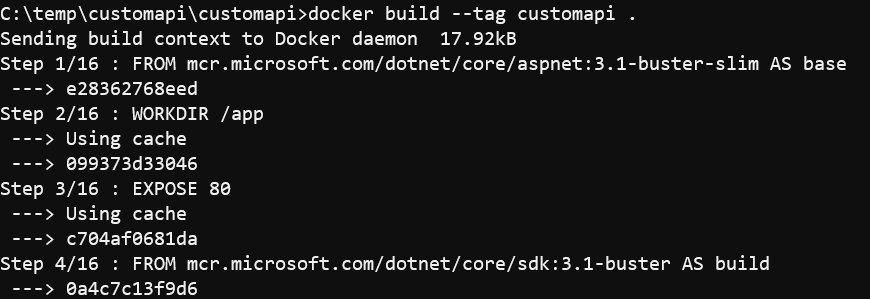
Then we’ll push our custom container to ACR. First, we’ll tag it.
docker tag customapi customacrimages.azurecr.io/customapi:v1.0.0
And then we’ll push the tagger container to ACR:
docker push customacrimages.azurecr.io/customapi:v1.0.0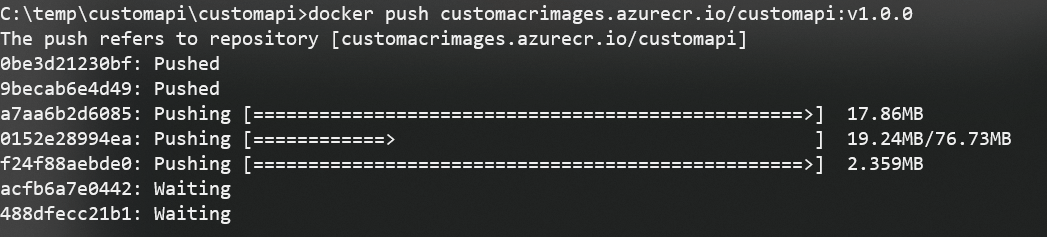
Let’s verify the ACR holds our image:
az acr repository list --name customacrimages
In order to provision a web app, an App Service Plan is required – and this is what actually specifies the host type to be Linux. I’ve set this to the B1 tier, as I ran out of F1 (Free) tiers. You can try using F1, or just go to the lowest-paid tier with B1:
az appservice plan create --name customapiplan --resource-group custom-api-docker --is-linux --sku B1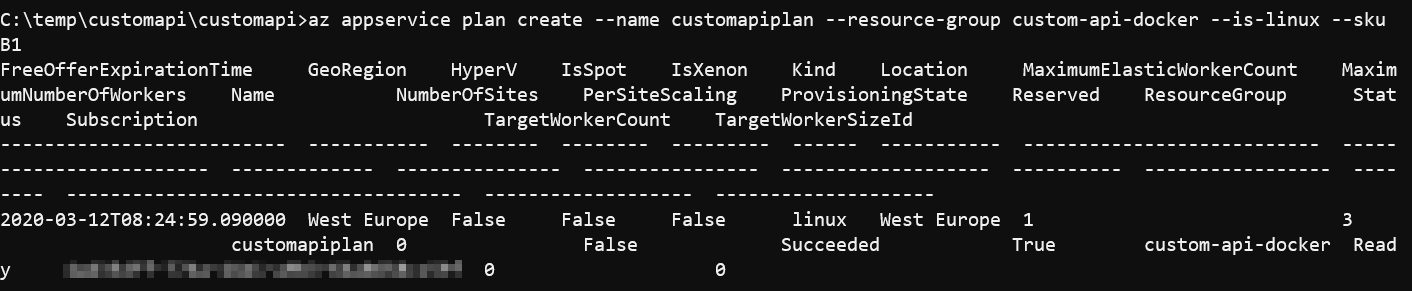
And then I’ll provision the actual web app. During provisioning, I’m pointing the web app to use my container from ACR.
az webapp create --resource-group custom-api-docker --plan customapiplan --name customdemoapi --deployment-container-image-name customacrimages.azurecr.io/customapi:v1.0.0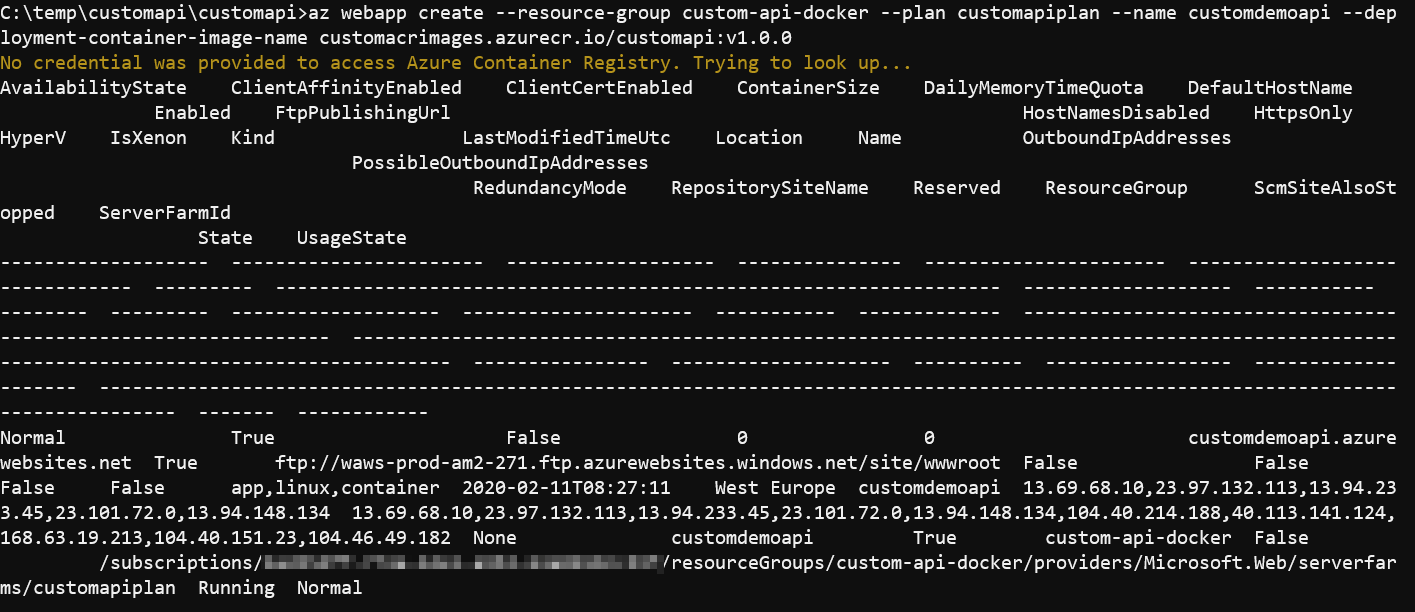
Finally, we’ll instruct the web app to pull our container from ACR:
az webapp config container set --name customdemoapi --resource-group custom-api-docker --docker-custom-image-name customacrimages.azurecr.io/customapi:v1.0.0 --docker-registry-server-url https://customacrimages.azurecr.io --docker-registry-server-user customacrimages --docker-registry-server-password P@ssw0rd1
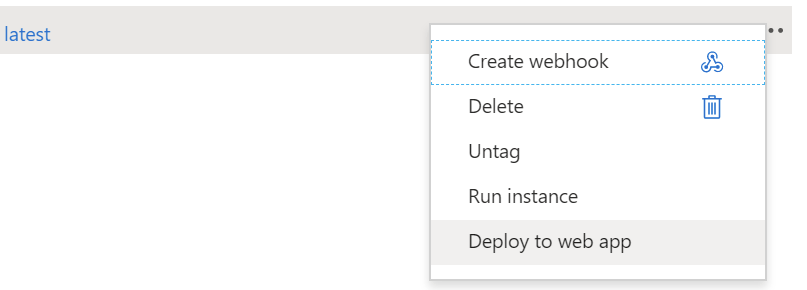
You could also just open ACR from Azure Portal, and provision it directly through the context menu:
Before we get to test our solution, let’s enable logging – just in case we run into any issues!
az webapp log config --name customdemoapi --resource-group custom-api-docker --docker-container-logging filesystem
Testing the API
By now, our resource group should resemble the following:
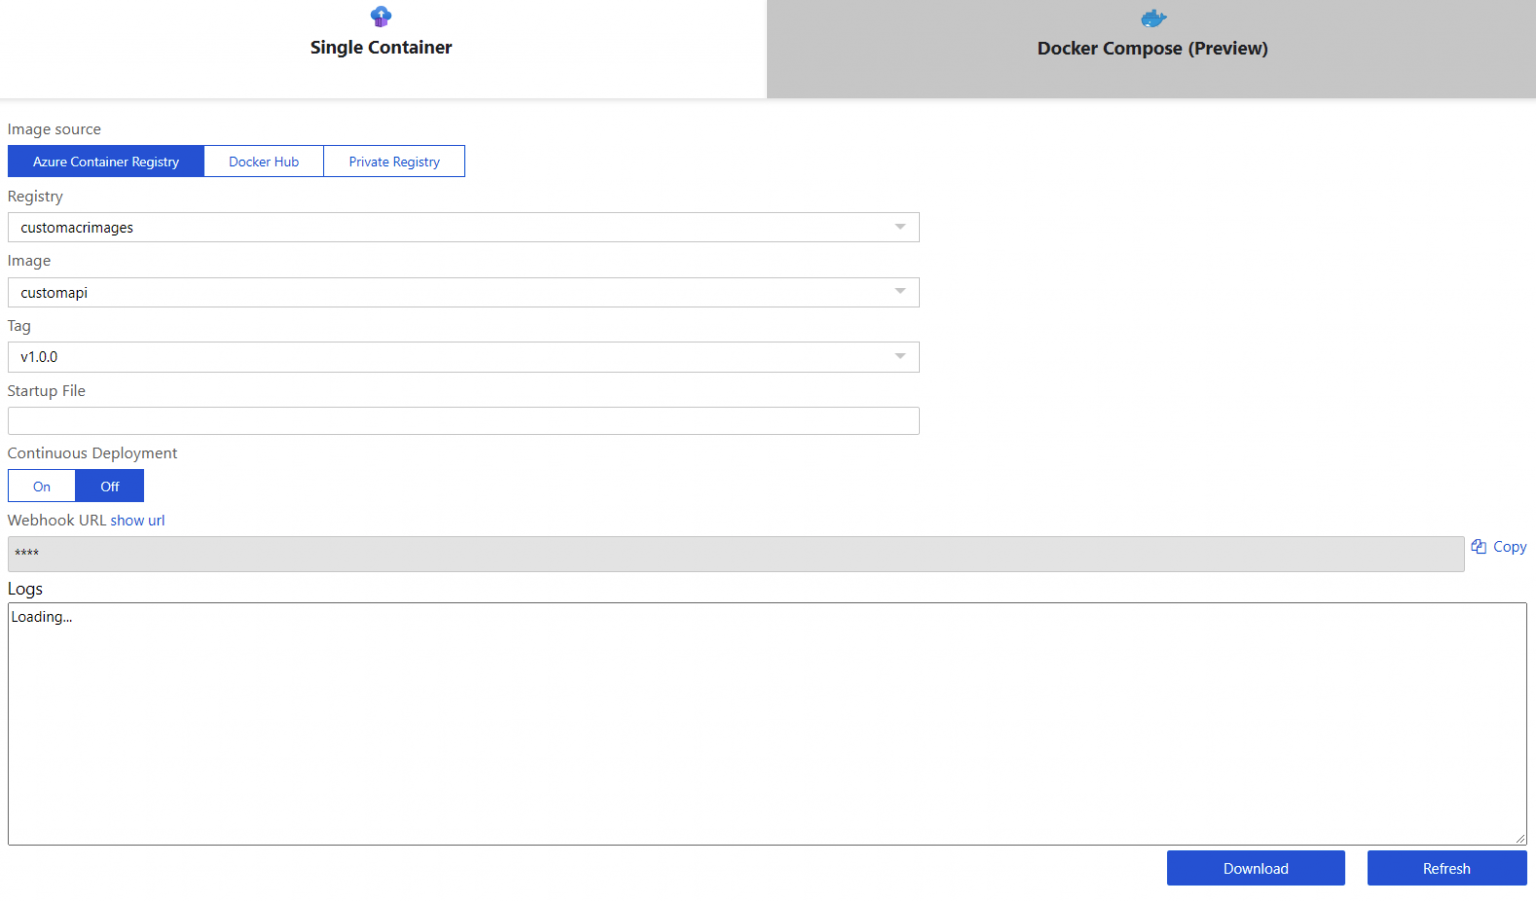
And the web app’s Container Settings shows as follows:
Open log stream first with:
az webapp log tail --name customdemoapi --resource-group custom-api-docker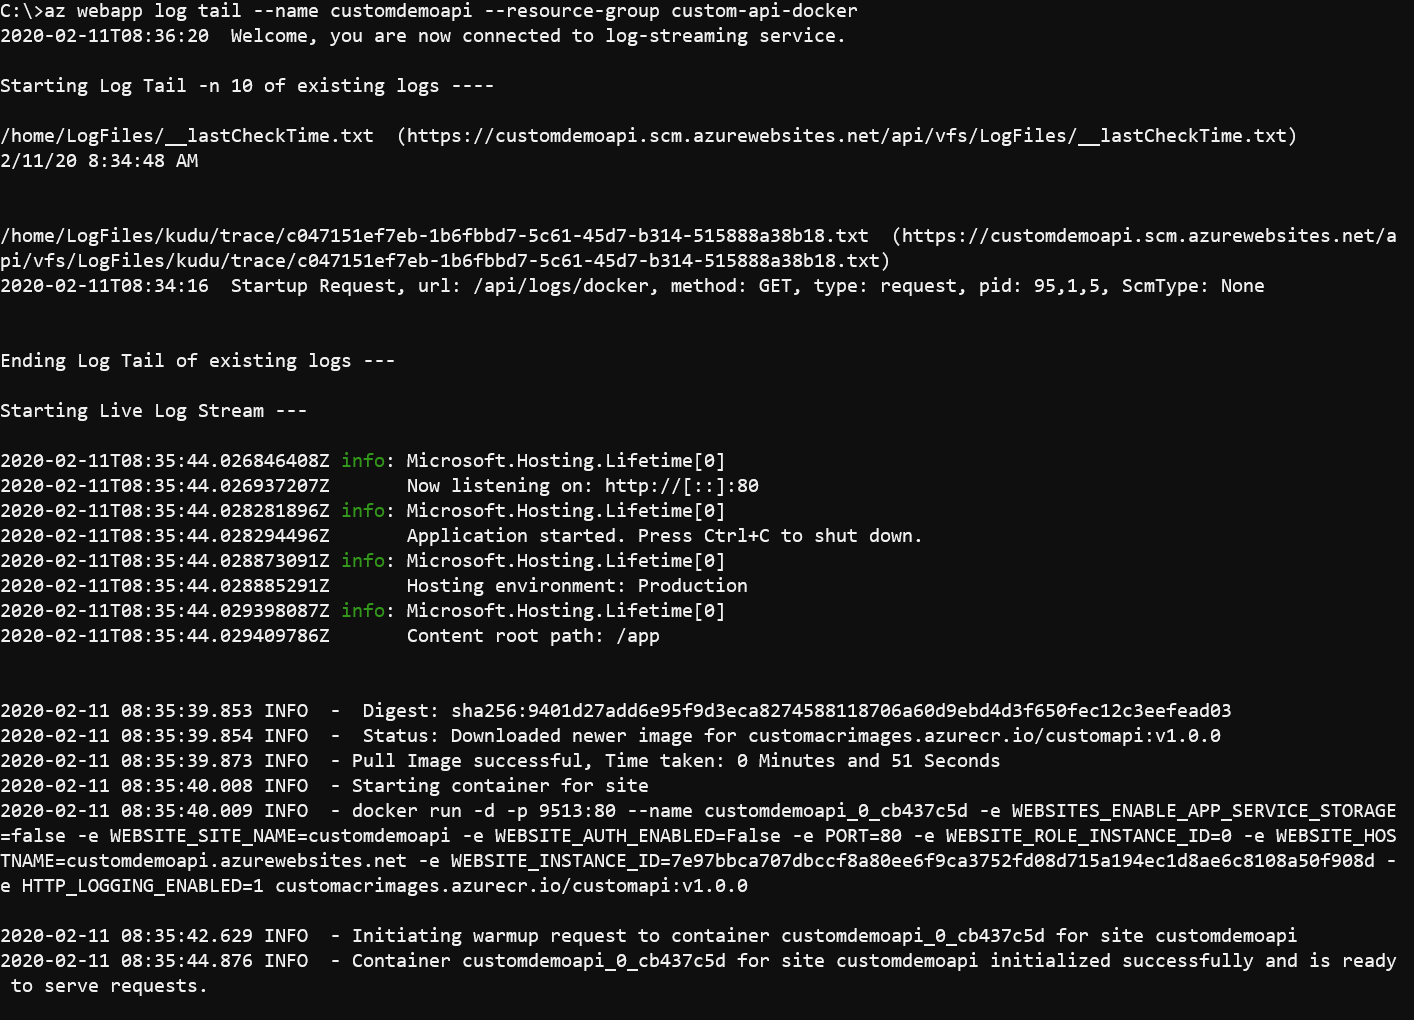
Navigate to https://<hostname>.azurewebsites.net/weatherforecast to verify your API is working:

In summary
And that’s it! A lot of steps, and a few moving parts. You could try publishing directly from Visual Studio also, but I prefer the approach where I’ll get to control how content moves to the cloud.
Additional resources
- Web App for Containers FAQ
- Remote Debugging with SSH on Linux-based Web Apps
- Web App for Containers
- Visual Studio 2019 download
- Docker Desktop download
- Install Azure CLI
- Containerize a .NET App
- Docker images for ASP.NET Core
- Building a .NET Core API, host it in Azure Container Instances from a private Container Registry and enable HTTPS using Application Gateway