
About three months ago, Microsoft announced a new command-line interface for Windows called Windows Terminal. Occasionally I am seeing it being called Microsoft Terminal also. The announcement was done during Microsoft Build 2019 in May, and you can view that introductory session here:
Windows Terminal
There is also an amazing video, which I think is called a sizzle video, here:
The idea with Windows Terminal is to go beyond the traditional Command Prompt, which has been around in Windows (and before that, in MS-DOS) for decades. We got PowerShell in late 2006, and that’s a very capable and viable alternative to Command Prompt. But then again, PowerShell is still very much a management and task automation framework with a scripting language.
Windows Terminal aims to be a powerful terminal, regardless of what scripting language you choose to use. As such, it isn’t tied to PowerShell, although it can host a PowerShell session easily.
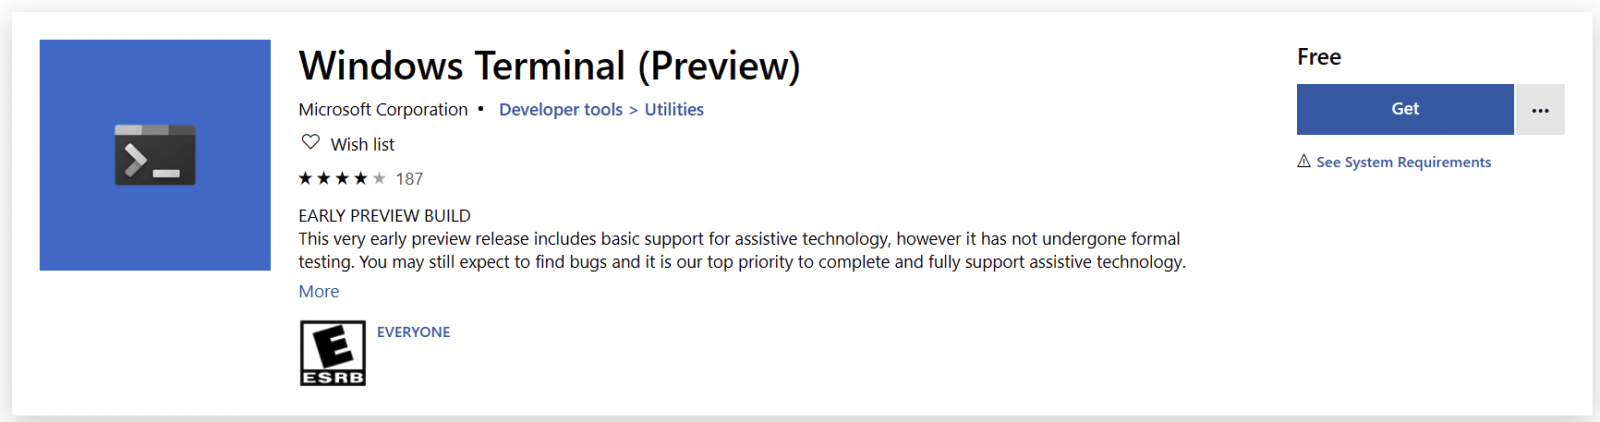
Windows Terminal is still in preview, and at the time of writing this, it’s in version 0.3 (Preview).
Installing Windows Terminal
Installing is easy but a prerequisite is Windows 10 build 18362 (or higher). This is a fairly recent Windows 10 build.
You can get Windows Terminal from the Microsoft Store here.
You can also use Chocolatey, a package manager for Windows, to install it automatically.
First, install Chocolatey by running the following in a Command Prompt:
@"%SystemRoot%\System32\WindowsPowerShell\v1.0\powershell.exe" -NoProfile -InputFormat None -ExecutionPolicy Bypass -Command "iex ((New-Object System.Net.WebClient).DownloadString('https://chocolatey.org/install.ps1'))" && SET "PATH=%PATH%;%ALLUSERSPROFILE%\chocolatey\bin"Then run the following to install Windows Terminal:
choco install microsoft-windows-terminalFinally, if you have trust issues or just like to do stuff on your own, you can compile Windows Terminal directly from the sources. Build instructions can be found here.
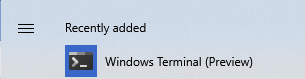
Once Windows Terminal is installed, you can run it from the Start menu by clicking on Windows Terminal:
Note, that you can also run Windows Terminal as an administrator, should you need elevated access within any of the shells. Simply right-click the icon, select More, and then select Run as Administrator (or Ctrl-Shift-Enter to run it from the Start Menu).
Using Windows Terminal
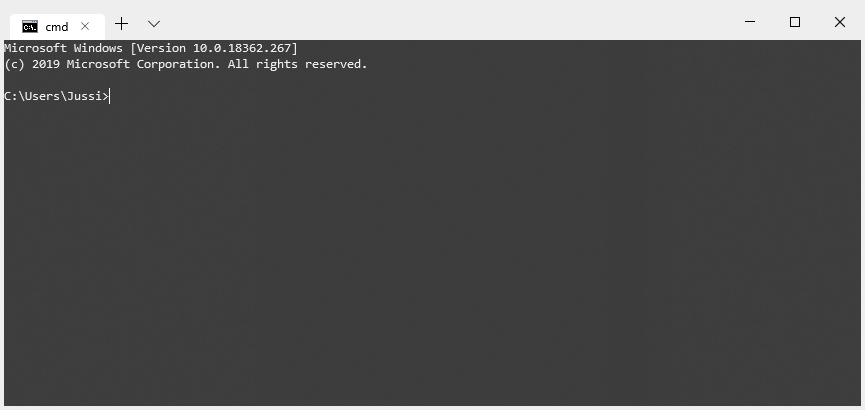
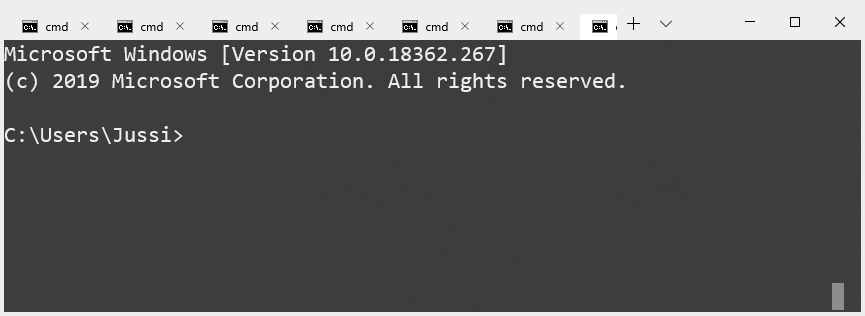
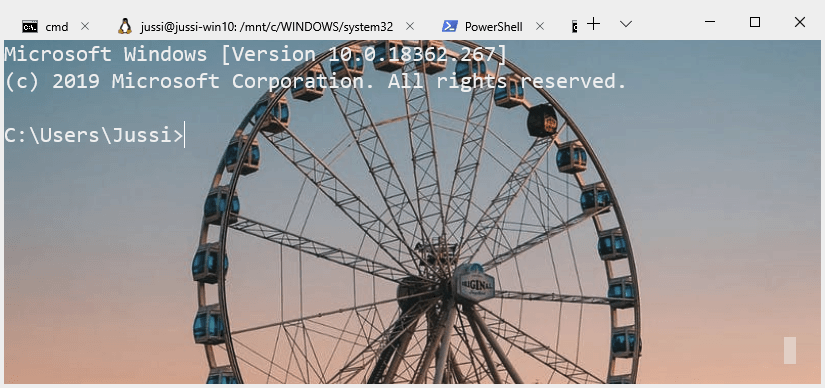
Initially, Windows Terminal does not look like much. It looks almost exactly like a traditional Command Prompt in Windows!
Support for zooming is built-in, so you can use the Ctrl + mouse wheel to zoom in and out:
To open multiple tabs, use Ctrl-T (or click on the + icon):
Navigating between the tabs works just like in a regular browser these days. To quickly close a tab use Ctrl-W.
To open another kind of tab, click on the small chevron icon to view what’s available:
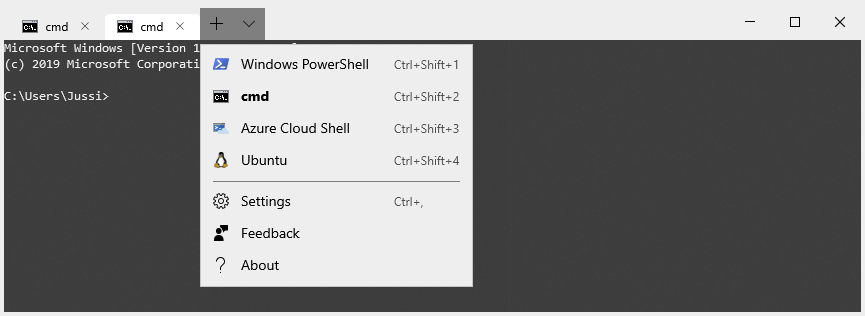
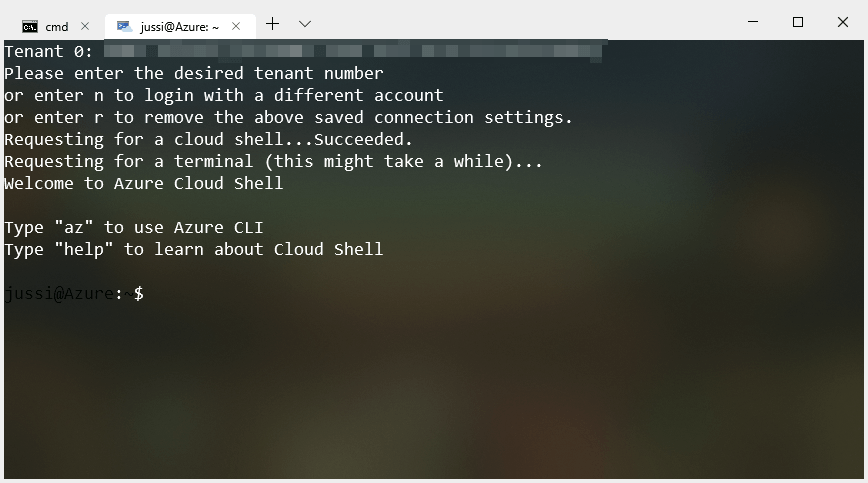
I’ve added Azure Cloud Shell manually, but Windows PowerShell, cmd and Ubuntu are readily available. You can use shortcut keys to open different types, or just click any of the ones you need.
Note, in order to use Ubuntu (or other Linux-based shells) you’ll need to configure Windows Subsystem for Linux (WSL) first. Instructions for that can be found here.
Settings for Windows Terminal
One of the advantages of Windows Terminal is its vast array of configuration options. To access settings, select Settings (or press Ctrl + ,). This opens a JSON-file, and it opens by default in the editor that you’ve configured for editing JSON-based files. For me, that’s Visual Studio 2019.
The JSON-file is stored in $env:LocalAppData\Packages\Microsoft.WindowsTerminal_\RoamingState\profiles.json.
At around +300 lines there’s a lot to digest. Thankfully it’s mostly repetitive with the following structure:
- Global settings (“globals”)
- Shortcut keys (“bindings”, under “globals”)
- Each shell profiles (“profiles”)
- Color schemes (“schemes”, under “profiles”)
Most properties are documented here.
I like to configure a few basic options with Windows Terminal, such as tabs so that they are always visible. This is done under globals with alwaysShowTabs:
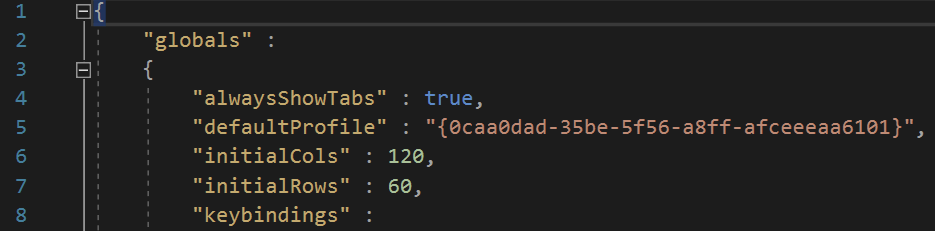
defaultProfile points to the GUID of your preferred default profile that will be opened when Windows Terminal opens (or when you open a new tab with Ctrl-T or the + icon). By default that is Command Prompt.
Any changes you perform for the JSON-file will be reflected immediately in any open Windows Terminals when you save changes. Adding a background image to your shell profile is easy with backgroundImage:
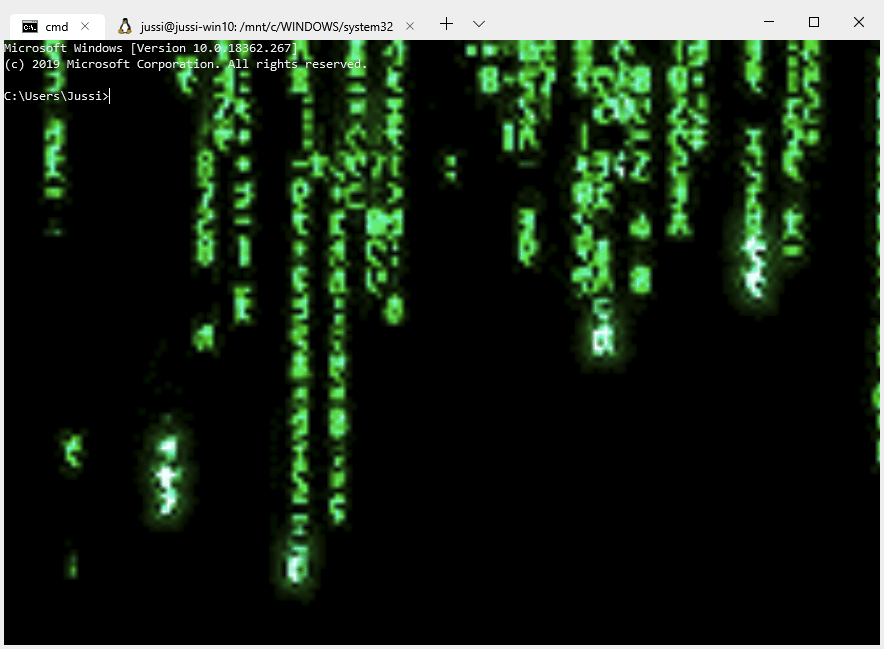
You can also add animated GIFs, should you for some reason want more distraction from work:

And yes, you can have the Matrix effect, too.
To add Azure Cloud Shell, you’ll need to add a new profile in the settings file. You can view further instructions here.
In summary
Windows Terminal is still in a nascent phase with version 0.3 Preview, but it’s already replaced both Command Prompt and PowerShell as separate tools from my daily usage. With great flexibility, a modern approach and GPU-accelerated rendering it’s a joy to use.
Jussi Roine
Microsoft MVP and consultancy founder with 30+ years of experience, passionate about Microsoft security, AI governance, and sharing what I learn along the way.