A practical look at using and building on Azure OpenAI, specifically the "ChatGPT-style" feature
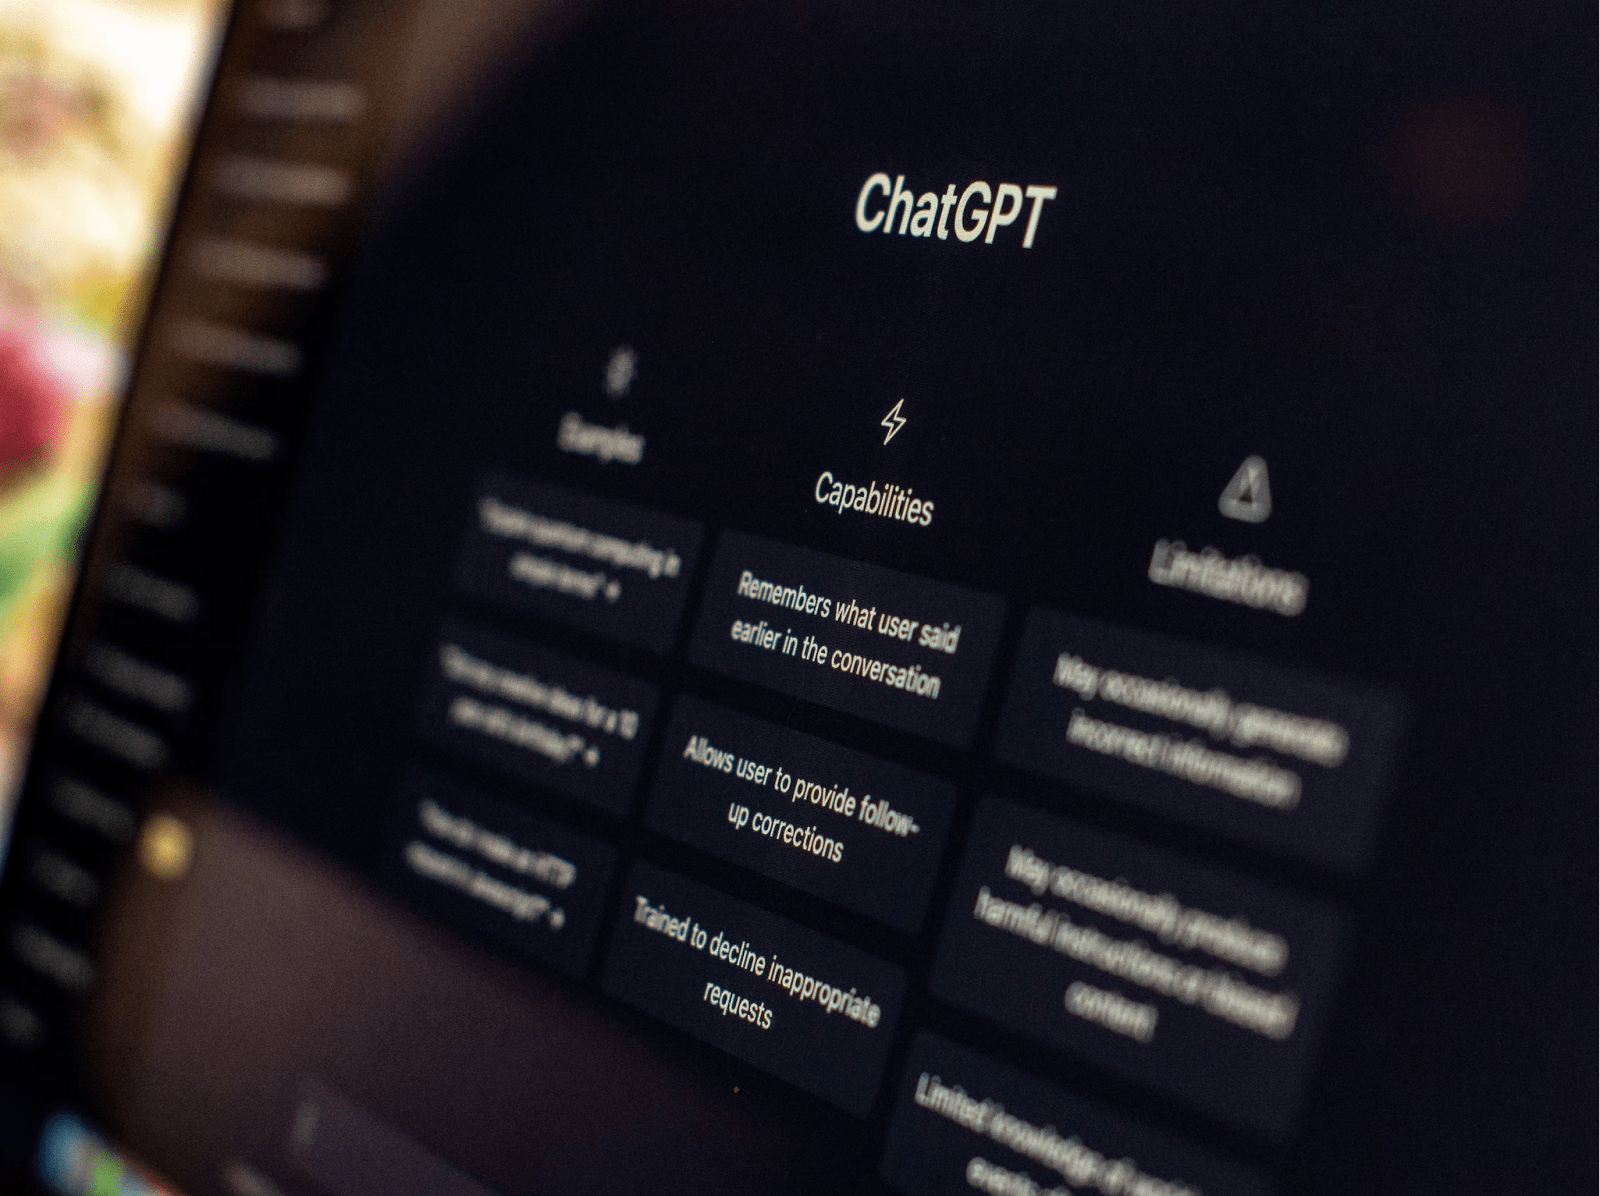
ChatGPT was announced in early January 2023 as an easy-to-use AI service. I feel it still is somewhat compelling, yet at the same time, I’m not utilizing it all that much. The hallucinations the AI engine gives me are offputting.
My favorite question during those honeymoon weeks with ChatGPT was, how can I bench press heavier sets in the gym if I can now bench press given kilograms? The answer, while lengthy, was, in essence, to “practice more, train supporting muscles, and you can do it!”. Thanks, but not helpful at all.
Yet, more specific requests – such as those asking to convert a data set from CSV to JSON, are close to magic. It’s doing my work for me!
Right now, ChatGPT is available for free at https://chat.openai.com. You can also subscribe to the Plus tier, which is faster and doesn’t limit you to outside peak hours. That’s $20/month, which I consider more or less in line with what I would still find worth the benefits. For the record, I’m currently not paying for the ChatGPT Plus tier.
What is Azure OpenAI?
Azure OpenAI is a commercial offering from Microsoft that allows you to utilize the OpenAI models in your applications. While OpenAI’s ChatGPT is the hosted version, Azure OpenAI gives you an instance of your commercial version. Azure OpenAI offers the same models as OpenAI offers but with more enterprise capabilities.
The models are:
- GPT-3 – the platform for ChatGPT, for example
- Codex – the platform for services such as GitHub Copilot
- Embeddings – additional families of models for more specific use cases
It’s worth noting that GPT-3 exposes several other models optimized for different purposes. DALL-E, the image creation model, is also part of Azure OpenAI offerings but is not yet fully available.
But can I just use ChatGPT via OpenAI.com?
Of course! But it’s much more limited, and while it does provide you with rudimentary APIs, they are primarily out of your control. If you want to build your solutions, I suggest tackling Azure OpenAI.
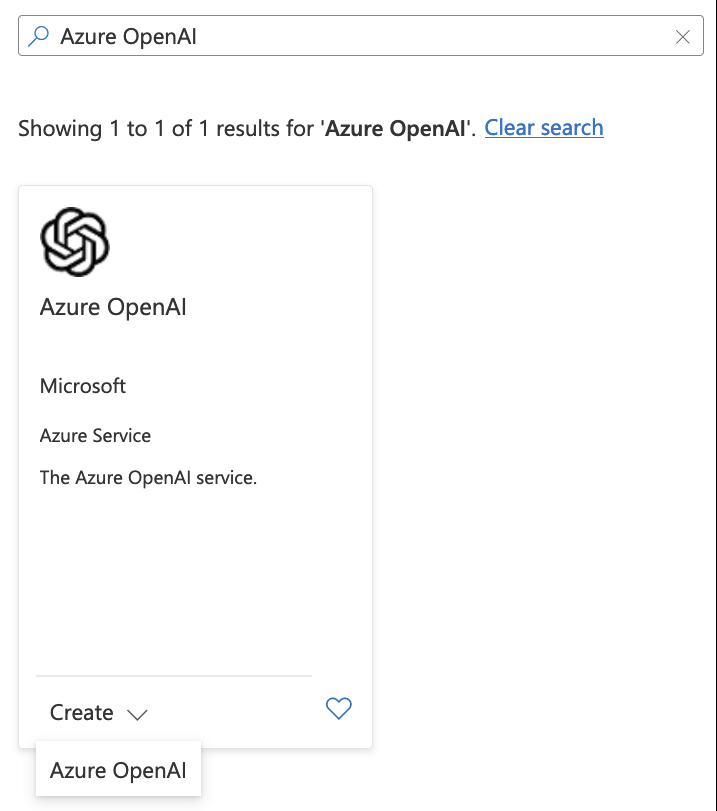
How do I get Azure OpenAI?
Refer to the latest guidelines here. Right now, you’ll need to fill out an application form and wait for the approval. It might take some time, so I suggest you complete the form pronto.
First things first: Provisioning your Azure OpenAI instance
Once your Azure subscription is enabled for the service, go ahead and provision the Azure OpenAI service in Azure Portal.
Provisioning is like any other Azure service and takes you a minute at most. The management interface is akin to any other Azure service.
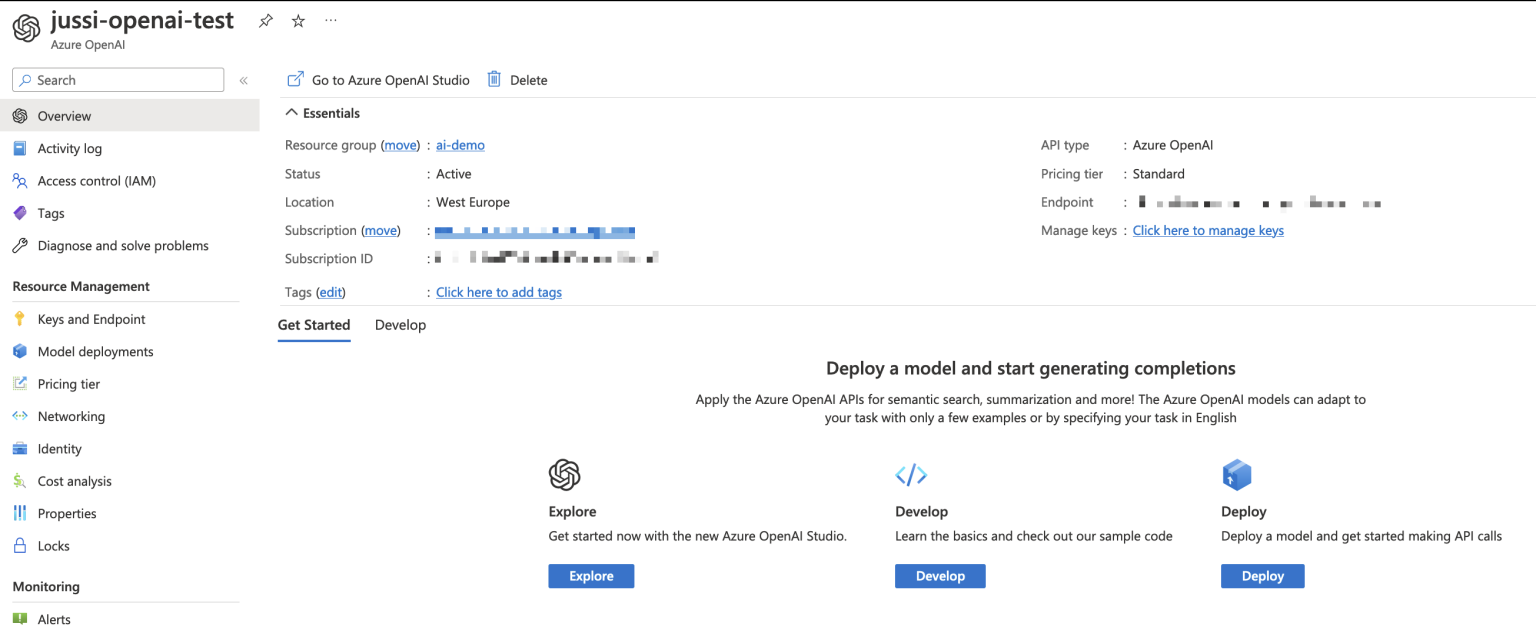
The only helpful thing you can do right now is to pick up the authentication keys under Keys and Endpoint. You’ll use these secrets to perform authorization when using the API later.
Creating your first model
Now for the fun part! Let’s create a model. But as so often happens, everything happens outside the Azure Portal. I’m always bummed when I have another admin interface outside the familiar https://portal.azure.com. But that’s how it goes when you want to move fast and break things.
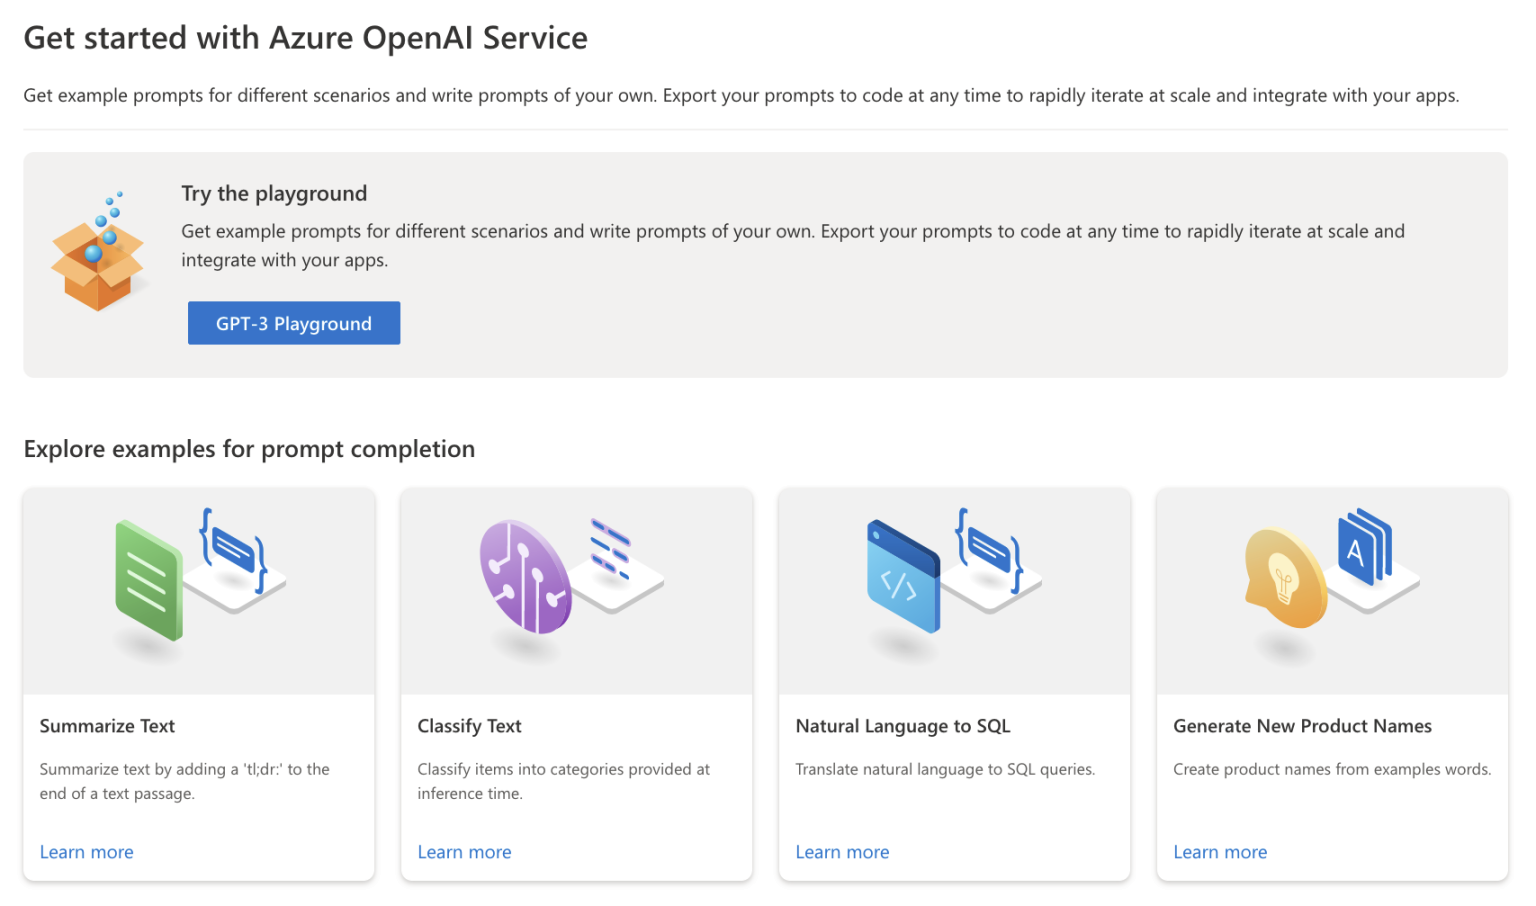
From this external portal (which is at https://oai.azure.com), you can get familiar with the models in the playground and deploy your models. The models can be the default OpenAI models, or you can tweak (such as fine-tuning or adding your custom datasets) to suit your needs.
You’ll first need to deploy a model. There are a lot of models.
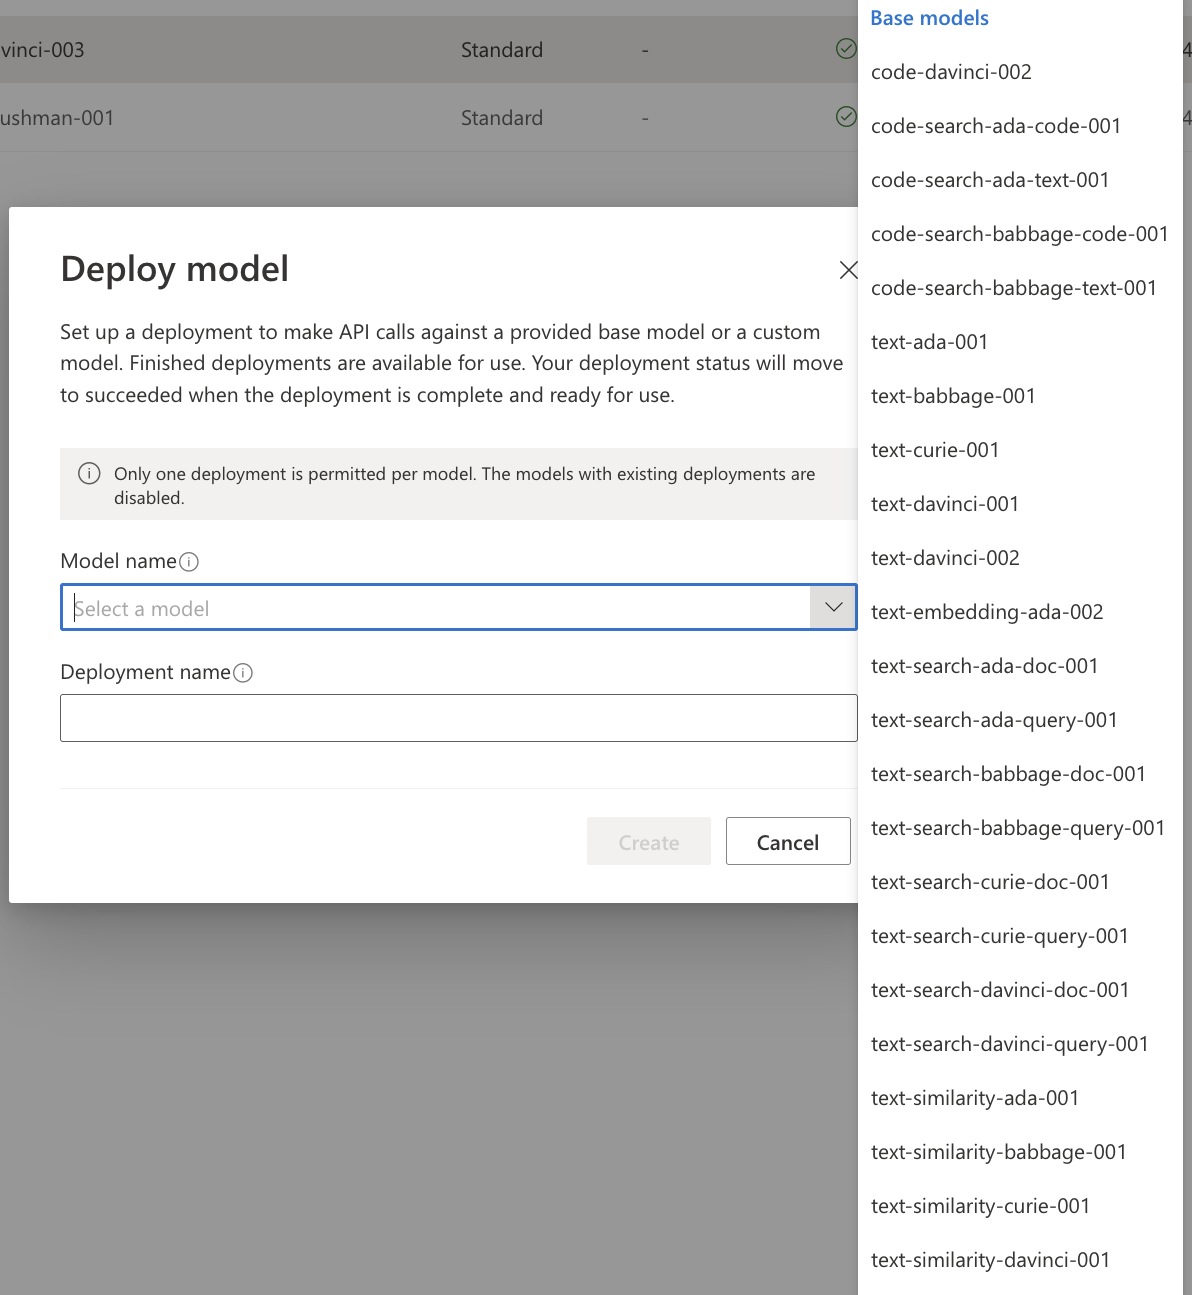
Which one to choose? Well, to get as close to ChatGPT, go with text-davinci-003. That’s also the slower and more expensive one. Once it’s deployed, you can return to the playground to try it. It works almost the same as the OpenAI public ChatGPT service.

Sorry, I couldn’t restrain myself. What’s noticeable here is that Azure OpenAI is blazing fast! No need to wait for the cursor-typing animation to complete a sentence. You type in your text, press Generate and in less than 100 ms, you have your entire response. It’s awesome.
This is just the playground so that you wouldn’t expose this to your users or clients.
Modifying the model
There are a few built-in parameters to tweak the model.

The max length (tokens) is crucial, as that directly affects your cost of the service. More tokens, more cost. One token is roughly four characters. And those tokens add up rapidly.
The above example was 66 tokens – including my question and the response.
You can fine-tune the model with your custom dataset. This is always based on one of the base models, and builds on top of that.

Calling the model via API
Now that we have a simple ChatGPT-style model deployed let’s try calling it via an API. Where is the API, though? You can eventually deploy fancy enterprise-grade architectures with Azure API Management and Web App Firewall. To keep this simple, let’s just hit the API directly from the command line.
The API is exposed automatically via your instance. You’ll need the auth key (which you fetched earlier via Azure Portal) and the prompt. That’s it.
To save up on efforts, the Azure OpenAI portal neatly generates a stub code for you to use – you can choose between Python, curl (for command-line invokes) and json, for getting the payload (perhaps for Logic Apps, for example). I love that curl is now part of the default examples! Here’s one for my GPT-3 model:
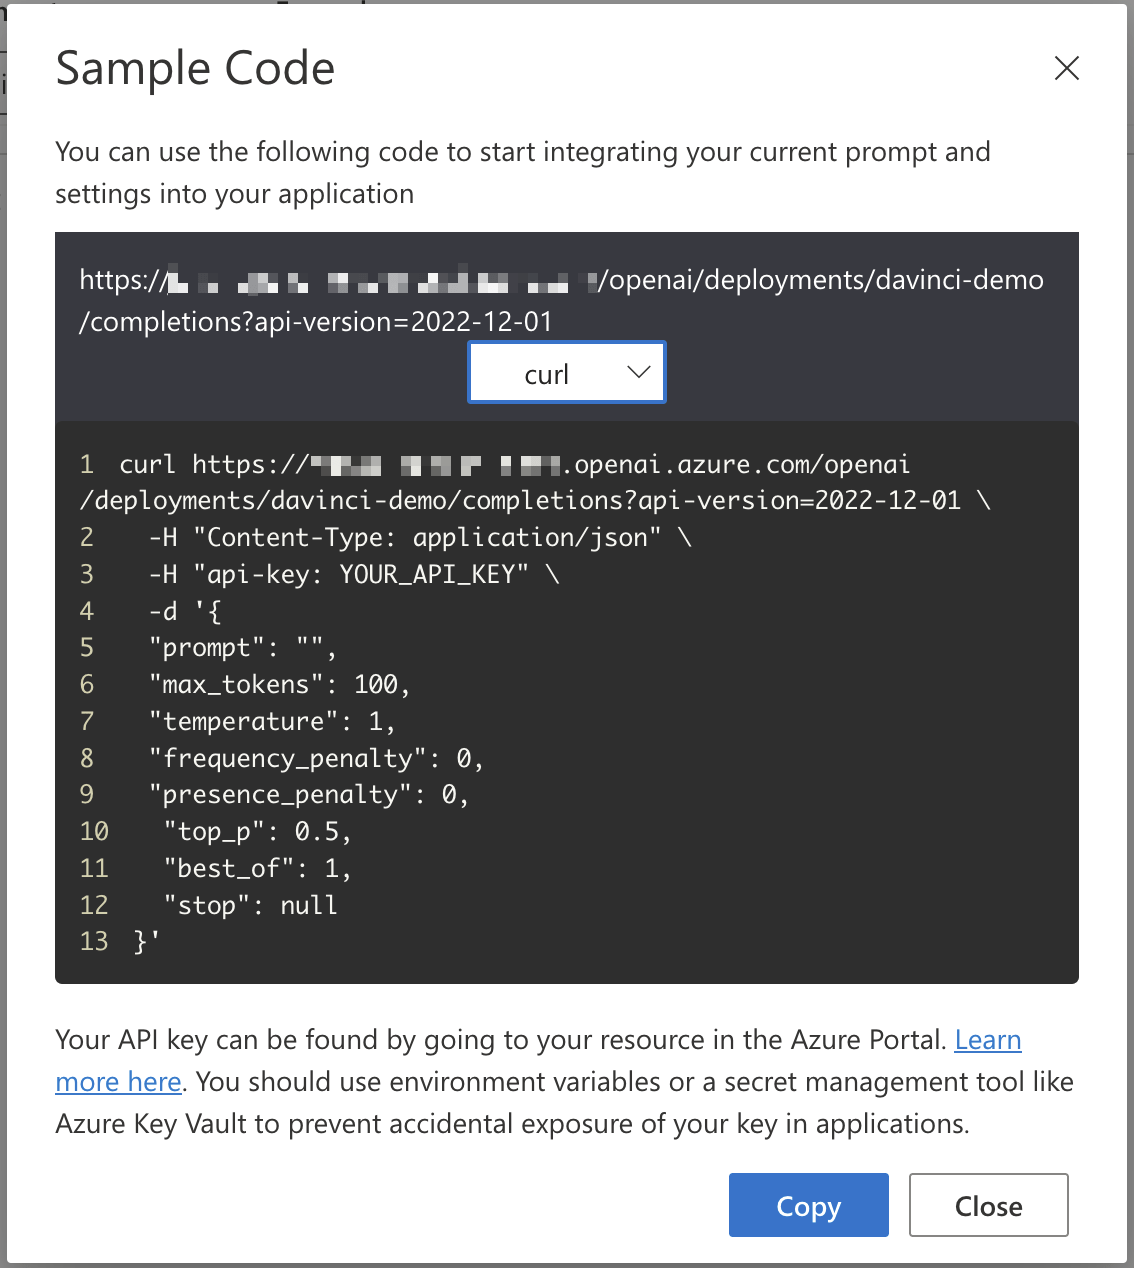
If you’re not familiar with curl, what happens in that sample is a call to the REST endpoint of Azure OpenAI, and we’re expecting JSON back. We pass on the API key, and add the necessary parameters for the model through the payload. In response, we’re getting data back:
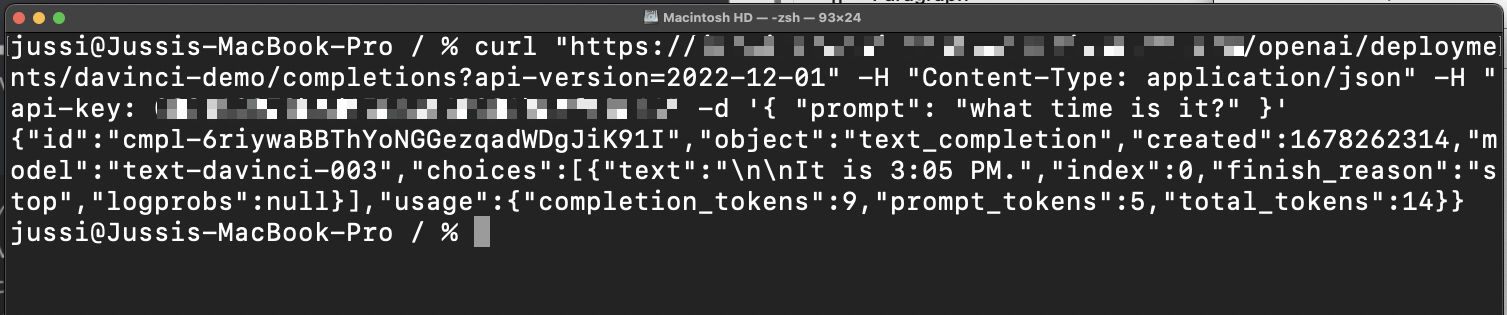
I’ve left out the additional parameters, as the model seems to work with just the API key and a prompt. The prompt I put in was what time is it?, and the response from the model was It is 3:05 PM. It certainly isn’t 3:05 PM at the time of writing this, but perhaps the model lives in a different time zone from West Europe. It’s still super confident on the fact, though.
How can we leverage the API?
Now that we have a working endpoint that exposes our model, it’s trivial to embed the knowledge and dexterity of GPT-3 (or any other AI model) to our applications. On Azure, this could be through a PowerShell automation, anything in Azure Functions, a Logic App-based orchestration or a proper piece of code you implement with your preferred language.
For Logic Apps, which admittedly is an easy way to piece together information from numerous sources, there doesn’t seem to be a native Azure OpenAI connector to reach the models. But Logic Apps supports raw HTTP actions. Let’s quickly try that to see if how the model could be used in a real context.
Within the Logic App, just add the HTTP connector, and fill in the details. You’re going to need to perform a HTTP POST, and embed the api-key and Content-Type in the headers. Add prompt within the body.
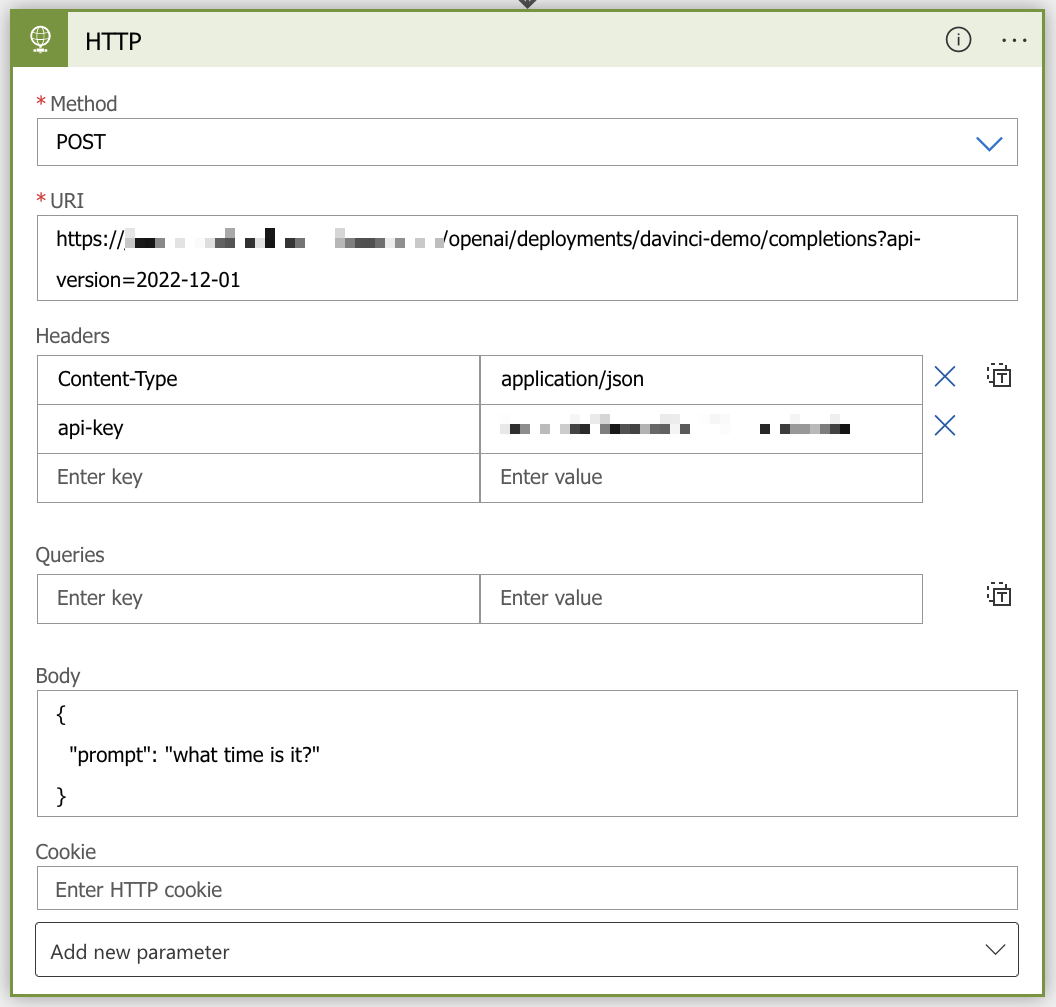
And that’s it! It works exactly as you would expect it to work:
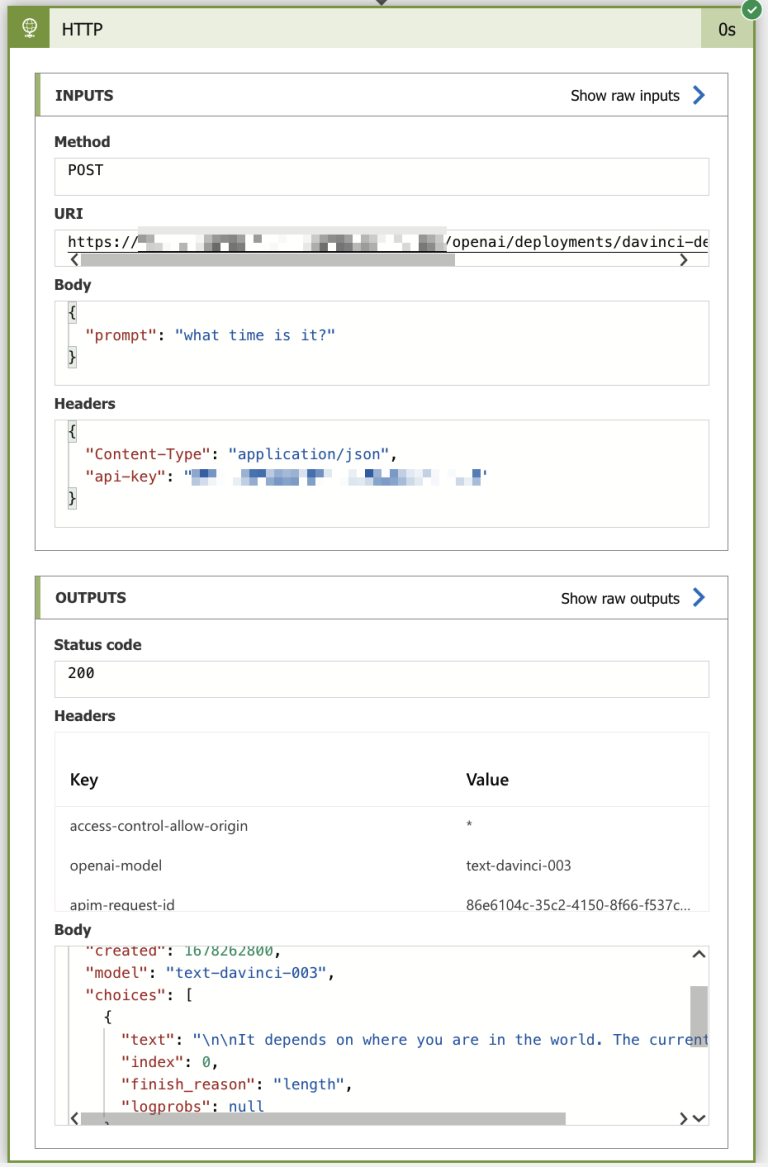
With Logic App, you could now trigger this logic through a Webhook, perhaps from SharePoint Online or Teams, for example. Obviously, this same logic would work within Power Automate, also.
In closing
The service seems great, even if it’s still a bit limited. It’s easy to use, and gives you the power of the GPT-3 and other models in just a matter of minutes. For real-world usage I would definitely enrich the models with my own datasets, and I would also not expose the API directly but perhaps consider using API Management to shield it.
It will be interesting to see how to best weave this type of intelligence to custom apps in the future!
Jussi Roine
Microsoft MVP and consultancy founder with 30+ years of experience, passionate about Microsoft security, AI governance, and sharing what I learn along the way.