Building a modern data integration to Azure using SFTP with a Storage Account

I was about 11 years old when I first tried transferring a file using FTP. This was sometime in the late 1980s or very early 1990s. Since then, I’ve used FTP a lot, but in the past decade, much less also. There is very little reason to utilize unencrypted FTP for anything anymore. With more prevalent and secure alternatives, together with cloud-based and unlimited storage, FTP is not that relevant today.
Or so I thought.
Now and then, and this is intermittent, the need arises that some data must be ingested (a fancy way of saying transferred) to Azure from an external system. This type of data is quite often a .CSV file. Rows upon rows of data from an esoteric system become precious once ingested to Azure, stored, transformed, and presented through a proper reporting interface. These data files must then travel from a mainframe or some other system to Azure daily or weekly. Perhaps these are rows of data with sales figures that are highly useful for predicting and estimating future needs.
I’ve used an FTPS service a few times for this need. It sits within an App Service, so you end up provisioning a non-visible Web App to get an FTPS endpoint.
But hold on, the title of this blog post says SFTP, but here I am casually telling you that I’ve used FTPS. What’s the difference between SFTP and FTPS?
FTPS
FTPS, or File Transfer Protocol Secure, extends the old FTP protocol. It essentially adds support for Transport Layer Security (TLS). Upon connecting via FTPS, you can choose if you wish to use implicit or explicit mode. Azure App Service supports this method natively, but it’s a bit old-fashioned and cumbersome to use. For more details on how to utilize FTPS in Azure, see here.
SFTP
SFTP, or Secure File Transfer Protocol, is based on Secure Shell (SSH). It utilizes the SCP protocol, which allows for file transfers, and this is essentially what this new feature for Azure Storage Accounts enables. A secure way to transfer files to and from Azure Storage without hassle.
Thus, we’ll now focus solely on SFTP as that is the new capability in Azure, allowing us to integrate data flow between systems where legacy requirements are still warranted. See the preview announcement here.
Getting started: Enabling the SFTP preview feature in Azure
This capability is, at the time of writing, in public preview. It’s also a slightly different public preview, as you are required to fill out a form and then manually enroll in a preview feature for your Azure tenant. The form to fill out is here. Don’t worry, and it takes practically 45 seconds to fill with auto-complete on the browser.
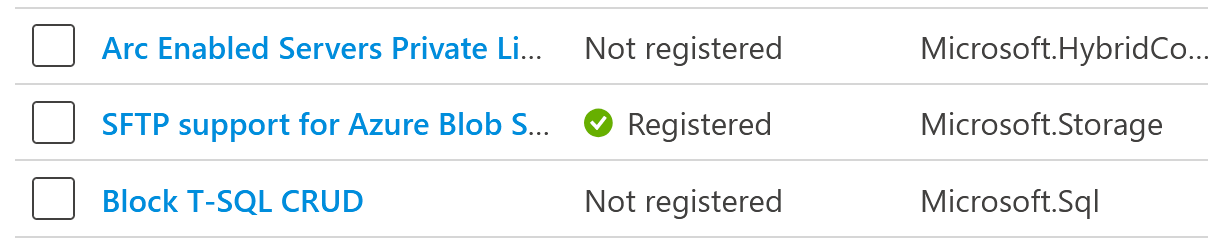
Next, head to https://portal.azure.com > Subscriptions > select your subscription > Preview features and enable SFTP support for Azure Blob Storage.
Provisioning the Storage Account
To prepare to test this, provision a new Storage Account. You can use Azure Portal, the CLI, or any other means you would use for this. Make sure to create it in one of the supported regions:
- North Central US
- East US 2
- Canada East
- Canada Central
- North Europe
- Australia East
- Switzerland North
- Germany West Central
- East Asia
- France Central
I’m using North Europe myself for this test. Here’s how my Storage Account looks:

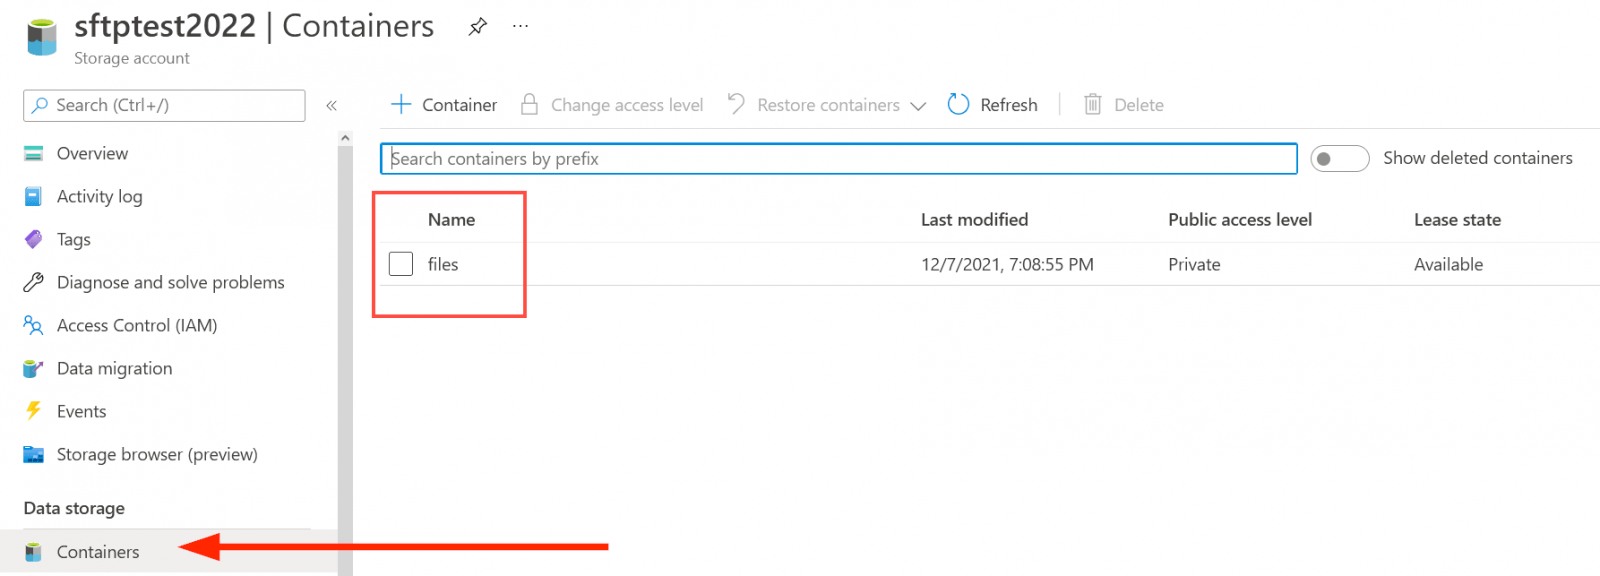
It’s a general purpose v2 and has nothing fancy configured. Select Containers and create a new container. This will be the home directory for the SFTP user also. I’ve created one called Files:
Once done, provision the SFTP user by selecting SFTP from the left blade navigation.
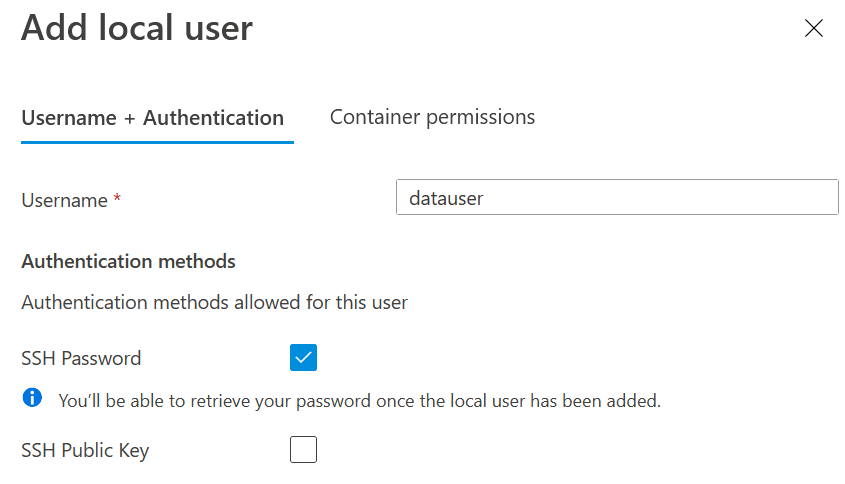
When adding a new user, you can use an SSH password for authenticating or the standard SSH Public Key approach. Either one is fine, and if you choose to use the Public Key, you can retrieve one that you already have around in Azure or let the portal generate one for you.
On the Container permissions tab, specify the new container you created (Files) and mark that as the home directory for the user with /files. Grant the proper permissions (perhaps all BUT delete), and you’re good.
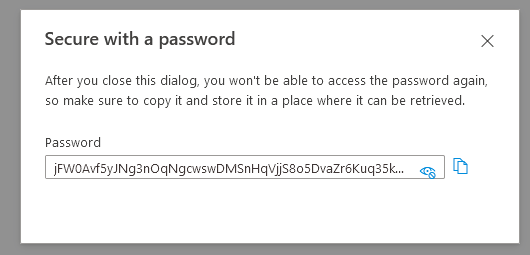
Once created, you have a chance to retrieve the password (if you chose an SSH password for authentication). Note the syntax for logging in with the user, which is in the form of storage account.useraccount. Make sure to save the password in your preferred password management service.
Don’t worry, that password isn’t valid any longer 🙂
Testing SFTP
That’s it! All you have to do now is to test the service. You can use the built-in OpenSSH capability in Windows 10/11 simply by using the command-line sftp to test this. You can also utilize many other tools, such as Filezilla or Putty. An easy way to install one is to use winget install filezilla. (See my guide on how to use winget here).
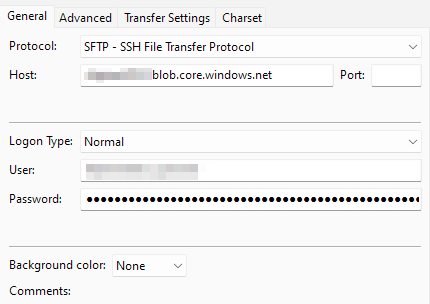
Once Filezilla (or any other tool that supports SFTP) is installed, you can connect. The login has to be in the form of storageaccount.username, and the protocol has to be set to SFTP – SSH File Transfer Protocol:
To try connecting directly from a Windows command line, use sftp:
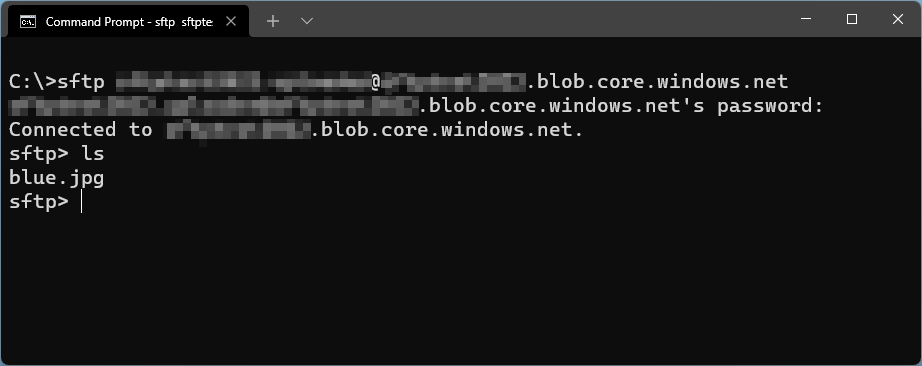
And that’s it!
In closing
This capability is very welcomed for many scenarios. It remains a bit unclear for pricing as the feature is still in preview. It’s free (beyond the typical cost involved with Storage Accounts), but Microsoft is hinting there will be an additional cost to utilizing this feature.