Building a mailbox sensor solution using Raspberry Pi and a wireless sensor
Does anyone use the term ‘snail mail’ anymore? Anyway, I still use it to refer to regular posts and mail I seem to be getting each day through my door. We have a sticker on the door to avoid getting spam, so usually, it’s something we are either expecting or something useful.
I’ve wanted to build a solution that detects when I get regular mail. There are numerous solutions like this already out there, but I had semi-specific requirements: it would have to be wireless, and it has to work on a Raspberry Pi Zero. Why this model of the Raspberry Pi? Because I have one I’m not using, and it’s small enough to be left in the entryway of our home.
Design
The purpose of the solution is clear – have some mechanism to detect when paper mail is inserted through the mailbox in my front door and alert or notify me accordingly. For alerting, I plan on using Azure Logic Apps. It’s a versatile service, very affordable, and well suited for a task such as this.
A rough design looks like this:
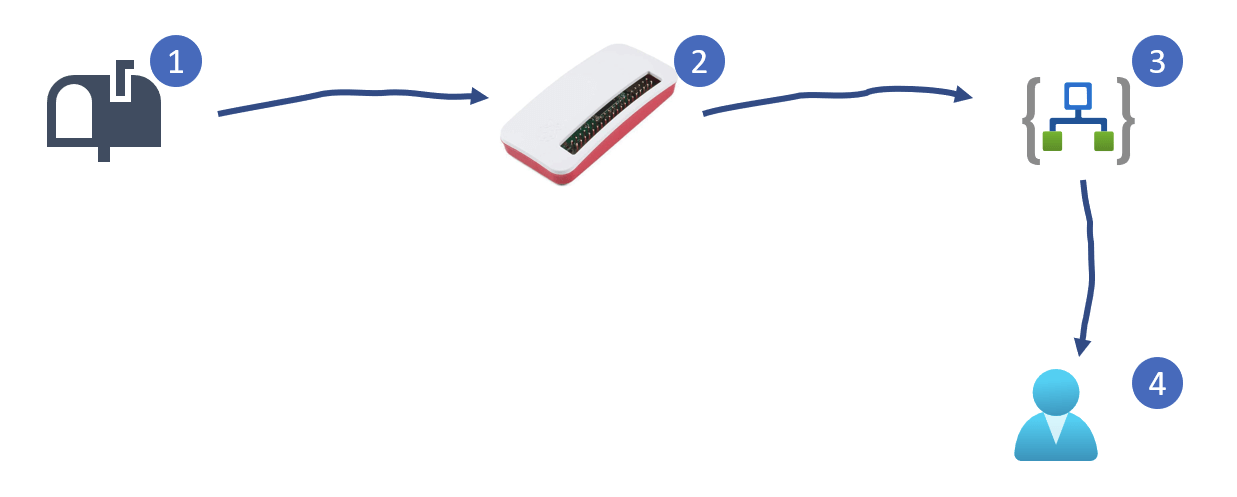
- Mail arrives, and triggers the sensor
- Raspberry Pi polls the sensor (or the sensor pings the Raspberry Pi device) in return
- Raspberry Pi calls Logic Apps with relevant data
- Logic Apps notifies me – perhaps via email, or as a message via Microsoft Teams
I already had the Raspberry Pi Zero, and the exact model is the Raspberry Pi Zero WH – and I paid about 20 € ($25) for it. It’s powered with a regular Micro-USB adapter, and it connects to my internal network with Wi-Fi. It also has Bluetooth, which is critical so that it can ping or poll the wireless sensor.
I researched the sensor before realizing that the sensors I already use – the Ruuvitag beacons – have a built-in accelerometer. I’ve previously used the Ruuvitag beacons in numerous projects; see the other builds here. It’s a small, battery-powered device that can measure humidity, temperature – and acceleration.
Implementation
Before any real project can start, you really have to start with the hardware. I taped the Ruuvitag beacon on my mailbox. In Finland, you have a real mailbox if you live in a house. I live in an apartment complex, so we have a mail flap on the door.
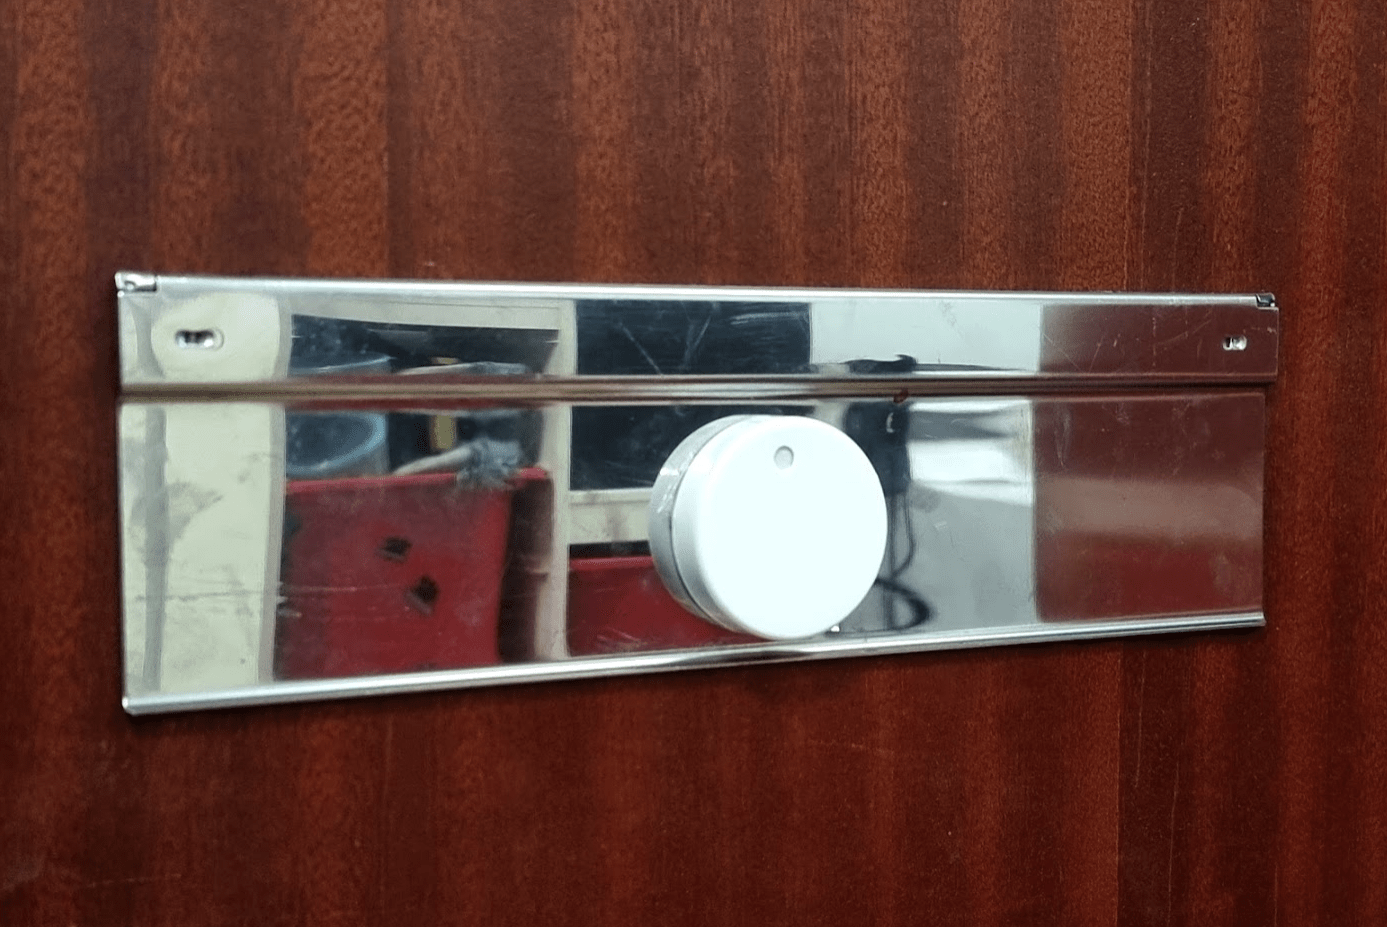
I replaced the battery to ensure my solution will run for years. Now that the hard part is done, I provisioned a fresh Raspbian OS to the Raspberry Pi Zero. Once there, I installed Python 3 and the necessary libraries for the Ruuvitag. First, I installed the bluez and bluez-hcidump – the Linux Bluetooth System:
sudo apt-get install bluez-hcidump
Once done, I updated pip3, the Python installer thing:
sudo pip3 install --upgrade setuptools
And finally, I installed the Ruuvitag sensor package:
sudo pip3 install --user ruuvitag-sensor
Because the Raspberry Pi Zero is quite poor in performance, it took more than an hour for these commands to complete. I rebooted the device to ensure it’s still coming back up.
I then figured I didn’t want to build a script that runs every minute to poll the sensor. Perhaps my morning newspaper arrives at 03:23.23 am, and if I’m not polling the sensor at the exact time, I will miss this crucial event. It turns out you can use a Reactive wrapper that reacts to events from the Ruuvitag sensor. My Python knowledge is still minimal, so I hacked together this script:
import json
import requests
from ruuvitag_sensor.ruuvi_rx import RuuviTagReactive
ruuvi_rx = RuuviTagReactive()

def foo(accvalue):
    if (int(accvalue) > 80):
        print(accvalue)
        url = 'https://URL-TO-LOGIC-APPS'
        response = requests.post(url, data = { 'movement': accvalue });
        time.sleep(60)

ruuvi_rx.get_subject().\
    filter(lambda x: x[0] == 'MAC:ADDRESS:FOR:SENSOR').\
    map(lambda x: x[1]['acceleration_z']).\
    distinct_until_changed().\
    subscribe(lambda x: foo(format(x)))
And it works! It took a few tries. What happens, in essence, is that we filter the messages, using a Python Lambda function, and only poll for acceleration_z, which is the z-axis of the accelerometer. Remember, the sensor is placed on the mail flap, and once mail is inserted, the z-axis will start emitting accelerations. It’s an STMicroelectronics accelerometer, and the acceleration values are between 0 g and 16 g. As I learned, an accelerometer measures proper acceleration, and the unit of measure is G-Force (G). I’m expecting 80 mg, which is equivalent to 0.08 G of acceleration.
Once we get an event (from acceleration_z), we call a custom function accvalue and verify that the value is above our threshold (80). If so, a simple call to our Logic Apps-based REST API is all that’s needed. I added a 60-second sleep to avoid getting numerous alerts if mail is being inserted very slowly.
There is something magical when you run the script and gently tilt the sensor between your fingers – the readings are instant!
The last thing is to create the Logic App. This was easy, and it looks like this:
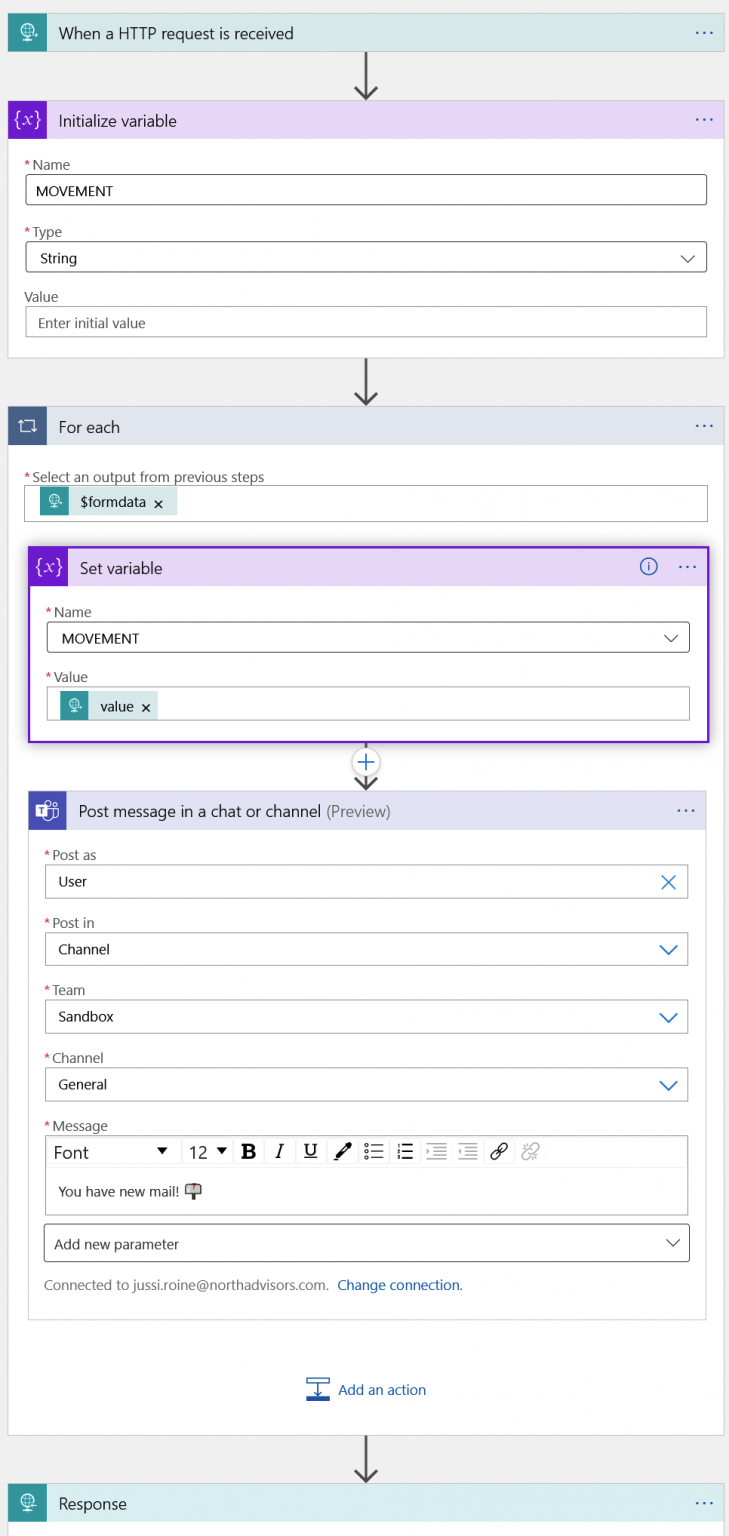
It’s quite simple – out of habit, I’m defining a variable to hold the data I’m receiving. I then pick the value (with the actual force used for inserting mail) and post that to my test Teams channel. I don’t worry much about spamming the channel, as my script on the Raspberry Pi sleeps for a minute after each notification. Rarely do I get mail that takes minutes to insert through my door.
One last thing – running the Python script on the Raspberry Pi in the background. Once you log out from the SSH session, the script dies. So I found this simple and somewhat lazy way to put it in the background:
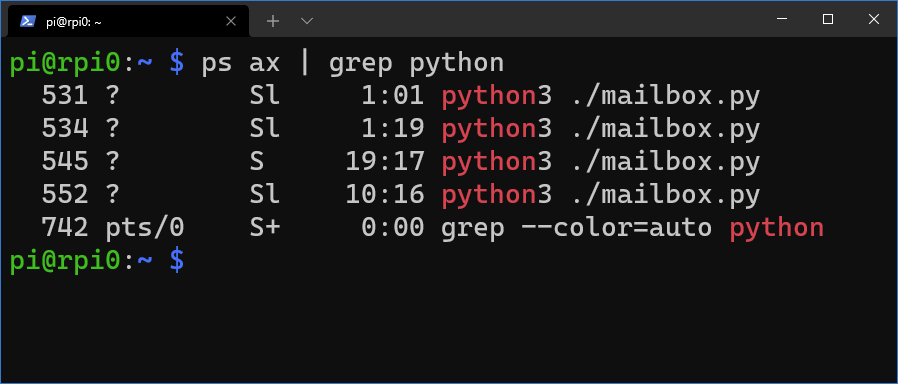
nohup python3 ./mailbox.py &
And verifying that the script is running in the background with ps ax | grep python:
Testing the solution
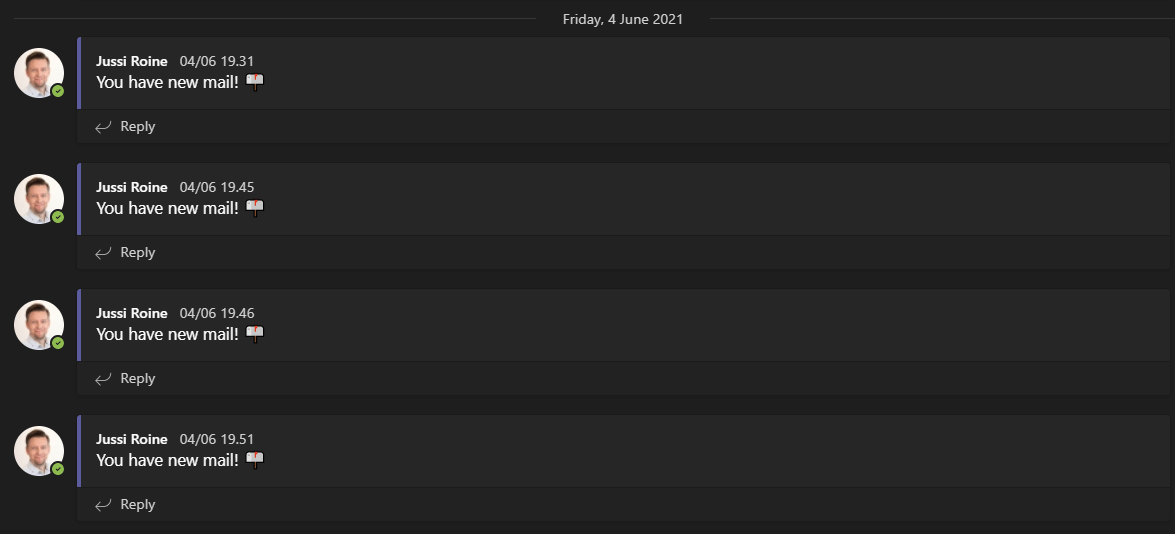
I inserted mail through my door. And after just two seconds, Teams notifies me there’s a new channel message!
And looking from Logic Apps, I can see it completes quite rapidly – in about 0.8 seconds:
You can see the G-force was 0.2 G in my test. And I was quite gentle.
Closing thoughts
Project completed! It’s a simple solution, utilizing just a Raspberry Pi Zero and a Ruuvitag sensor. The logic in Azure is also straightforward to replace if that’s needed. Obviously, there are possible issues in the future: what if mail is stuck in the flap? Well, I will be getting an alert each minute then. I need to build a simple check somewhere that once mail arrives, perhaps we don’t need to worry about mail arriving again any time soon. Also, it would be useful to store the data and timestamps for long-term analysis.
In addition, the Raspberry Pi Zero occasionally loses Wi-Fi and requires a power cycle. As a quick fix, I disabled power saving on the Wi-Fi adapter of the device, and it seems to have fixed most connectivity issues.
Upon seeing me install the sensor, my family asked me – “why?” but I guess if you read all the way here, you know the answer – because you can.
Jussi Roine
Microsoft MVP and consultancy founder with 30+ years of experience, passionate about Microsoft security, AI governance, and sharing what I learn along the way.