Building a print-anywhere setup using Universal Printing and an old HP LaserJet

This time we’ll build a modern solution using legacy hardware – my old HP LaserJet color printer. The idea is that I can share the printer through the cloud and then print from anywhere – as long as the printer is turned on. I often see this called cloud printing or a print-anywhere solution.
The same idea goes if you have on-premises printing devices and have the need to offload all printer queues to the cloud – thus slimming up your on-premises footprint and, more importantly, manage cost.
The big picture
Microsoft announced the preview for Universal Print in early 2020. Since then, the private preview turned public preview, and I can see it today in a few of my (paid) Azure and Office 365 tenants. For a partner-related benefit tenant, I didn’t see it, though.
In essence, Universal Print allows you to install one or more connectors that connect to your on-premises printing devices. You’ll then publish these printers using the connector to Azure and share them with your users. It reminds me a lot of the Azure AD Application Proxy and possibly utilizes the same trickery. Finally, you’ll provision the printer queue settings to your users via a custom script.
Users can now print from anywhere, as the print jobs are queued in Azure and then sent to your on-premises printer, as if by magic. I see this as hugely beneficial for businesses who want to get rid of third-party printer management servers and services and use something readily available from the cloud. Newer printers – should – start supported Universal Print by default, but as of now, I think most printers require the connector to translate between on-premises and the cloud.
Setting this up isn’t a trivial exercise, but not utterly hard, either. It took me about an hour to get this working end-to-end, and perhaps someone who actually reads any of the guidance would get this done in 30 minutes. I didn’t have time to read the manuals first.
What you’ll need
The requirements are:
- A printer that supports TCP/IP and is relatively recent. That old Brother matrix printer will not cut it, so do a PC LOAD LETTER on that, now.
- A Windows Server box that has a line of sight to the printer and has Internet connectivity
- A working Azure tenant
- Universal Print license (the ability to add the trial license)
- Microsoft Intune (via Endpoint Manager nowadays) – for deploying the printer settings to your workstations – currently, this is the only supported mechanism.
- A Windows 10 workstation that can be enrolled as an Intune managed device – and it has to be Windows 1903 or newer.
My printer is a HP Color LaserJet Pro M252 PCL 6.

I can’t recall when I purchased it, but it was probably around 2015. It’s a solid machine, insofar that it always prints when needed. It’s connected to my local network with an Ethernet cable and has a static (internal) IP address. As it’s a laser printer, the color cassettes don’t “dry up” even if I don’t use it that often. Surprisingly, many government agencies still require paper pieces, which warrants the actual need for a printer for myself.
You’ll need a separate server – and you can reuse any spare ones you have – to host the Universal Print Connector. I provisioned a simple Windows Server 2019 Virtual Machine using Hyper-V in my local network for this need. 8 GB of RAM, 2 CPU cores is all it takes.
Configuring Universal Print
You have to enroll in Universal Print while it’s in public preview. I found it easier to add the trial option through Microsoft 365 Admin Center, but you can also use this magic link for it. It doesn’t work for trial subscriptions.
If you want to add the trial option manually as I did, go to Microsoft 365 Admin Center > Billing > Purchase Services and search for Universal Print.
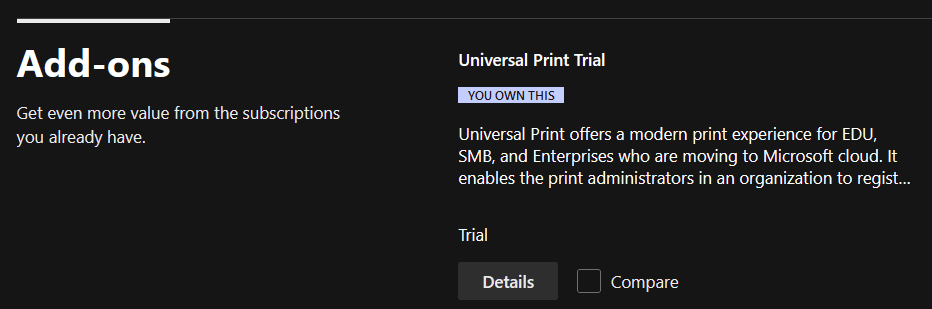
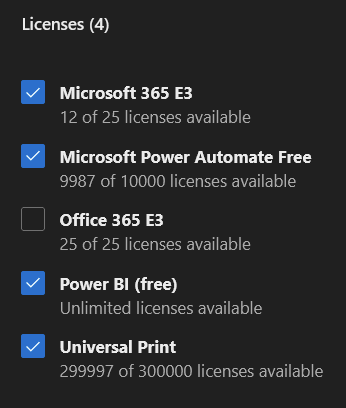
Once added, you can enable the license for your test users like you would normally under Users.
Great! We’re getting somewhere now. The Universal Print trial (public preview) is valid for a year.
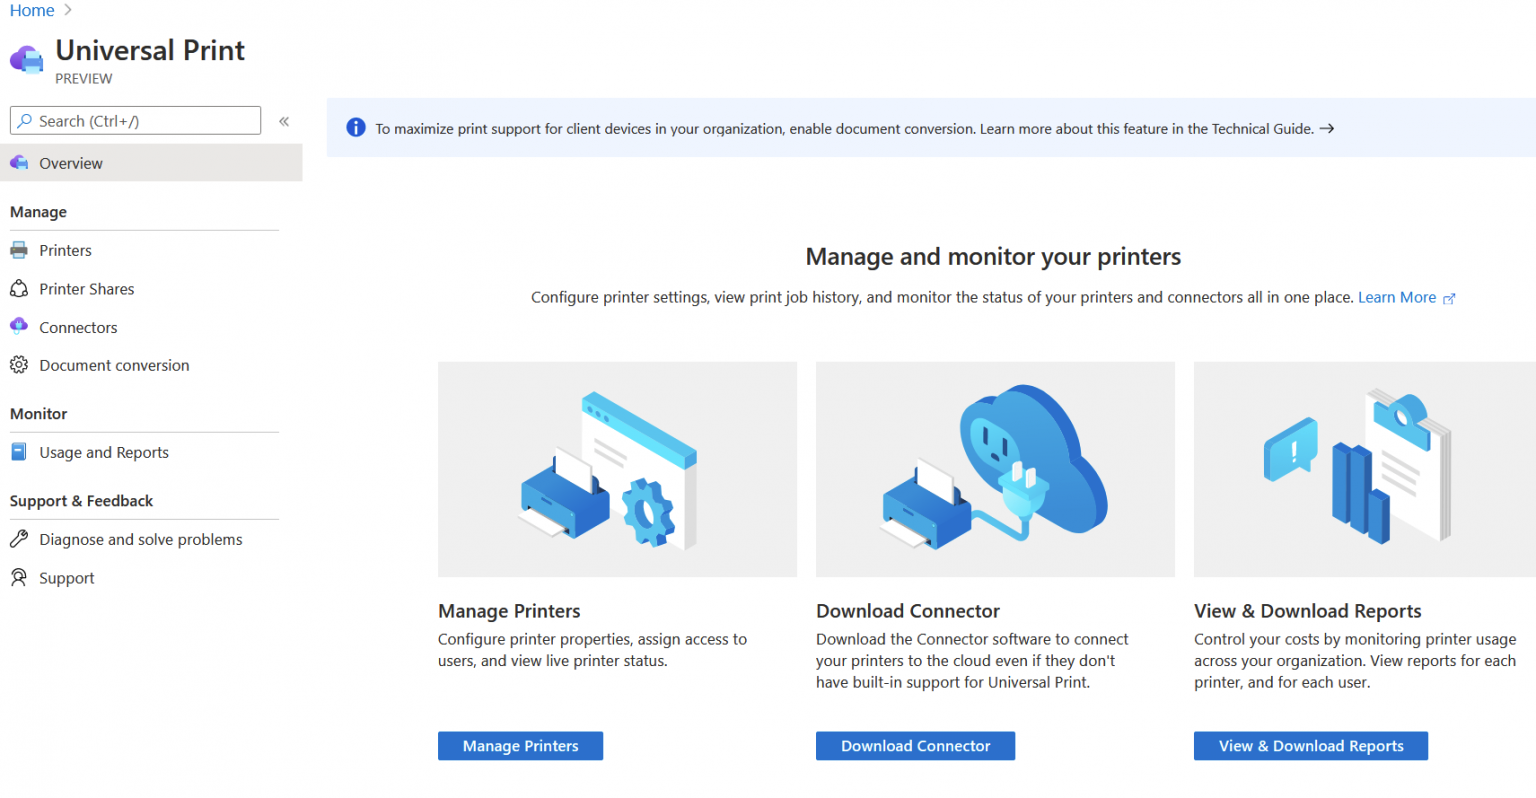
You can take a peek at Azure Portal and go to Universal Print.
Now, log on to your server that will host the Universal Print connector, and download the connector from here. Run the installation:
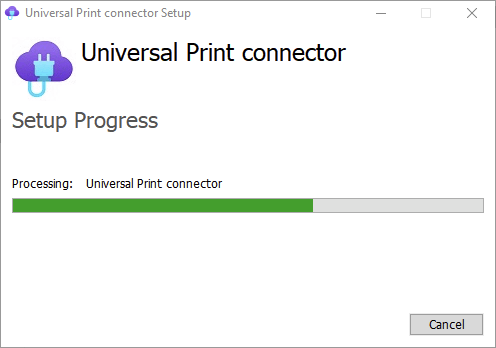
Sign in to your Azure subscription first by clicking on Sign in. Then, register a connector as shown below.
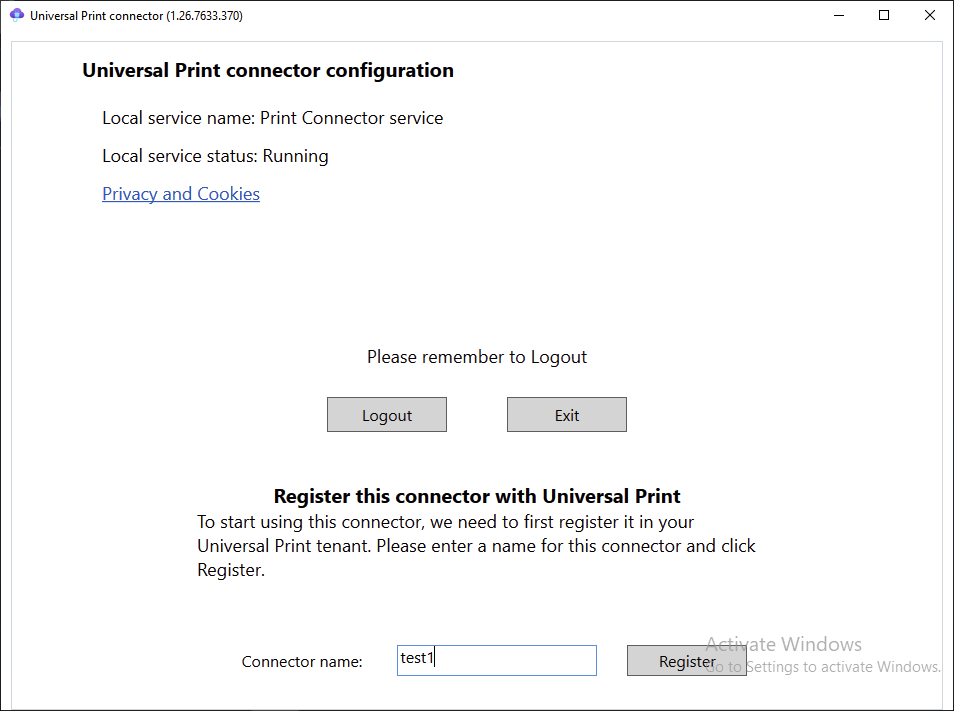
I had issues here initially – I added a new connector, but it always failed to finalize the registration. Upon re-trying, it would complain the connector name was already taken. The initial issue was that the user was a Global Admin and not just a Print Admin. I then provisioned a new temp admin account with just the Print Admin privileges and registered the connector.
To clean up old connectors that failed to register, install the PowerShell module for Universal Print, and remove the connector manually. The commands are Get-UPConnector and Remove-UPConnector.
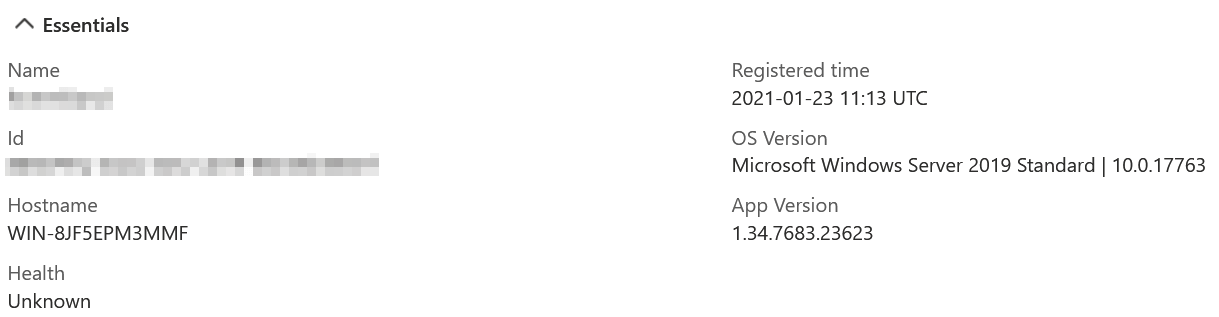
Once you have the connector registered, check on Azure Portal it lights up.
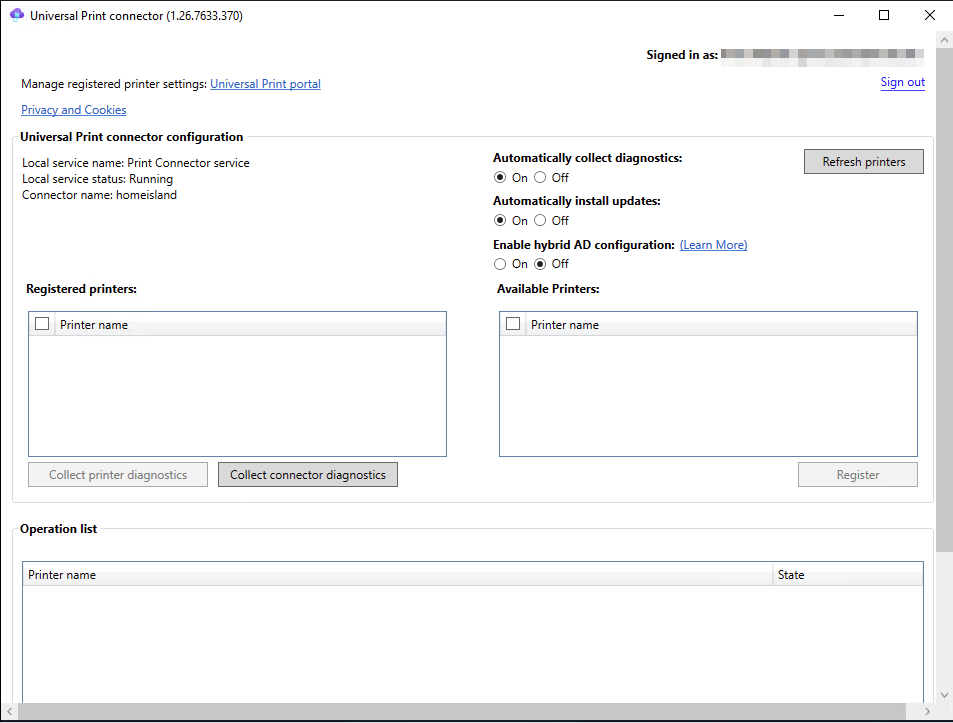
Now it’s time to register the printer. Within the Universal Print connector setup, click Refresh printers.
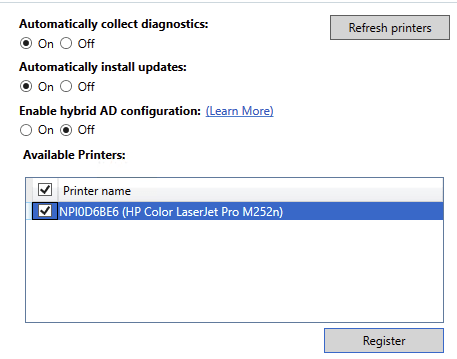
And again, in Azure Portal you should see the printer light up:
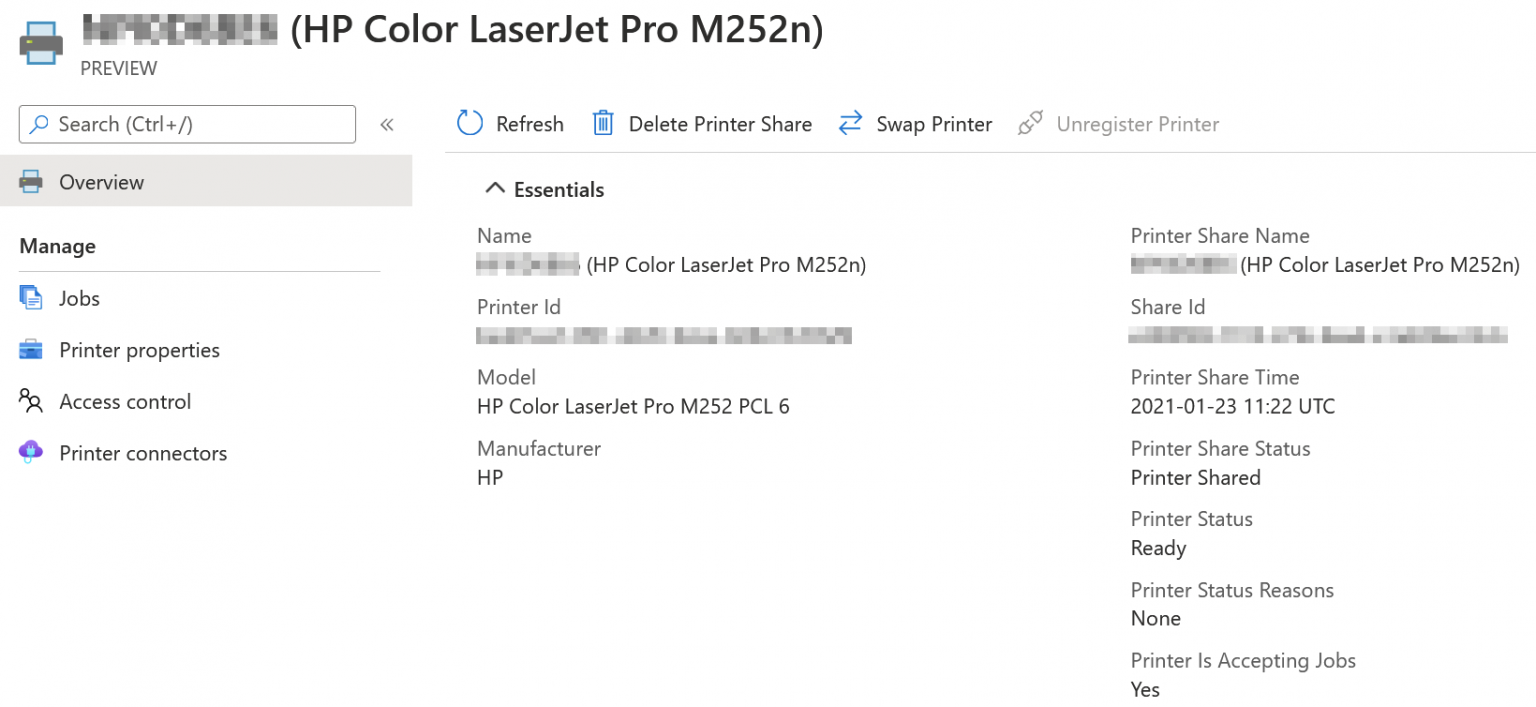
Your printer is now cloud-enabled!
Configuring Windows 10 for Universal Print
This next step is a little bit trickier. Once the connector and printer are configured, you’ll need to configure Intune to distribute a custom app and custom settings for your Windows 10 clients. This way, users will find the cloud-enabled printer automatically.
I struggled slightly here, as I didn’t have Intune provisioned for my test tenant. I also wasn’t sure why the printer wasn’t showing on the client-side, but there was an obvious reason for this – more about that in a bit.
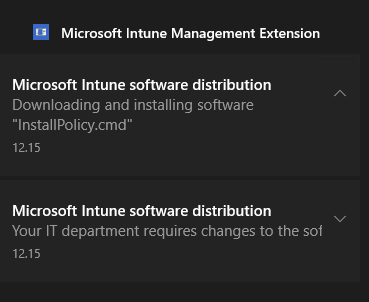
Intune is now managed via the Endpoint Manager Admin Center. Log there as a Global Admin, and verify that your test Windows 10 workstation is not already enrolled. You can check it under Devices > All devices. Once you’re done with this exercise, Intune should be showing something like this:

To enroll your Windows 10 to Intune, you can follow the usual instructions here. In essence, you’ll click on Accounts > Access work or school > Connect from the Windows Settings panel and log in using an account that has the Universal Print license enabled.
Once a Windows 10 box is ready, move on to Intune and add two new apps: One with the Universal Print guidance for Windows 10 and another with your printer configuration. I followed the specific instructions here. To make it slightly easier, I’ll paraphrase the steps here:
- Download the Universal Print printer provisioning tool – get the .intunewin file and the SamplePolicy.zip
- Unblock (in Windows File Explorer) the .intunewin file
- Add a new Intune Win32 app (32+64 bit, minimum Windows 10 1903, etc.)
- Unzip the SamplePolicy.zip file, and modify printers.csv with your printer Share ID and the exact printer name. You can get those from the printer properties:

The CSV-file should look like this:

Next, place the printers.csv and InstallPolicy.cmd in the same folder and use the Win32 Content Prep Tool to generate a new Intune app package. Check the specific parameters from Microsoft Docs. Now you have another Intune app, which you’ll need to publish.
How it works is that the first Intune app – the Universal Print Provisioning app will configure Windows 10 to understand cloud printing. The second package places the CSV-file with your printer data for the provisioning logic to pick up upon user login. So each time you want to test this, you’ll need to log-off and log in again on the Windows 10 box with your test user. I used this same trickery in one of my previous solutions, and I’m happy to see that it’s a valid case here, too.
Once done with all this, check on the Windows 10 box if you have %AppData%\UniversalPrintPrinterProvisioning\Configuration. This folder will host printers.csv once it’s applied to your machine.
So, what else is needed? I had a blocker here, as everything deployed properly, and I could see on Windows 10 that Intune provisioning had completed:
But in Windows 10 settings, no new printers had appeared. The trick was to click Add new printer 🙂
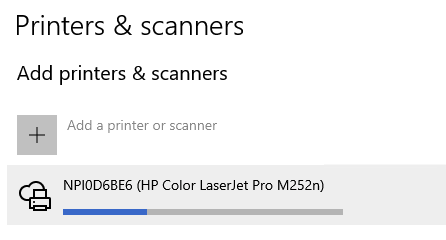
And it appears then! I’m not entirely sure if this is by design, part of the public preview, or if something additional can be done to set the printer as added automatically. The IsDefault value in the .CSV file does not seem to control this, either.
Once done, the printer is visible. I went to Wikipedia to print the infamous PC LOAD LETTER page:
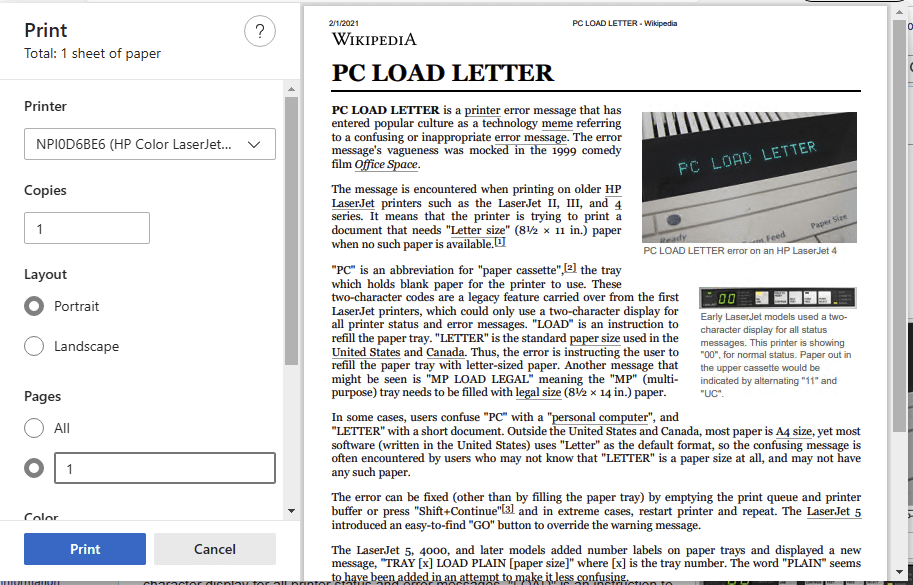
And printing was underway in less than 2 seconds! The print jobs in Azure Portal also reflected this nicely:

In summary
This is a neat feature and nicely fits into cloud-first thinking for any modern deployment. I was slightly disappointed that the printers’ provisioning is only supported via Intune, as one could perhaps quite easily just run a custom PowerShell script or deploy the necessary resources through plain old SCCM or Active Directory GPO. If your organization is not already using Intune, this is the reason perhaps to get started with it, as well.