Developing remotely on Raspberry Pi 4 and Linux using Visual Studio Code

For a very long time, I’ve SSH’d to my Raspberry Pi and Linux boxes whenever I need to do something with them. Before this, before SSH, and before Raspberry Pi was a thing, I obviously used telnet so seeing a terminal is something I’ve grown to both like, and dislike at the same time.
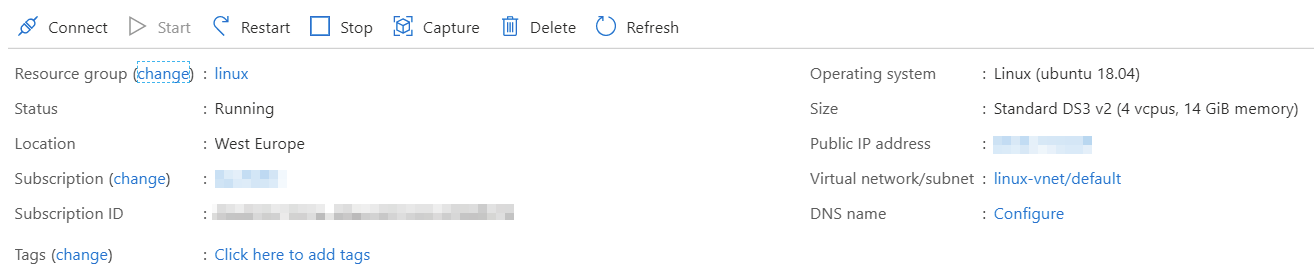
Then, Visual Studio Code introduced support for remote development. I provisioned a simple Ubuntu Linux VM in Azure to test this out. I configured SSH access from my home IP address to the VM.
To get started, I’ll open the Visual Studio Code. If you don’t have it installed, it’s a breeze with winget – just type the following to install:
winget install vscode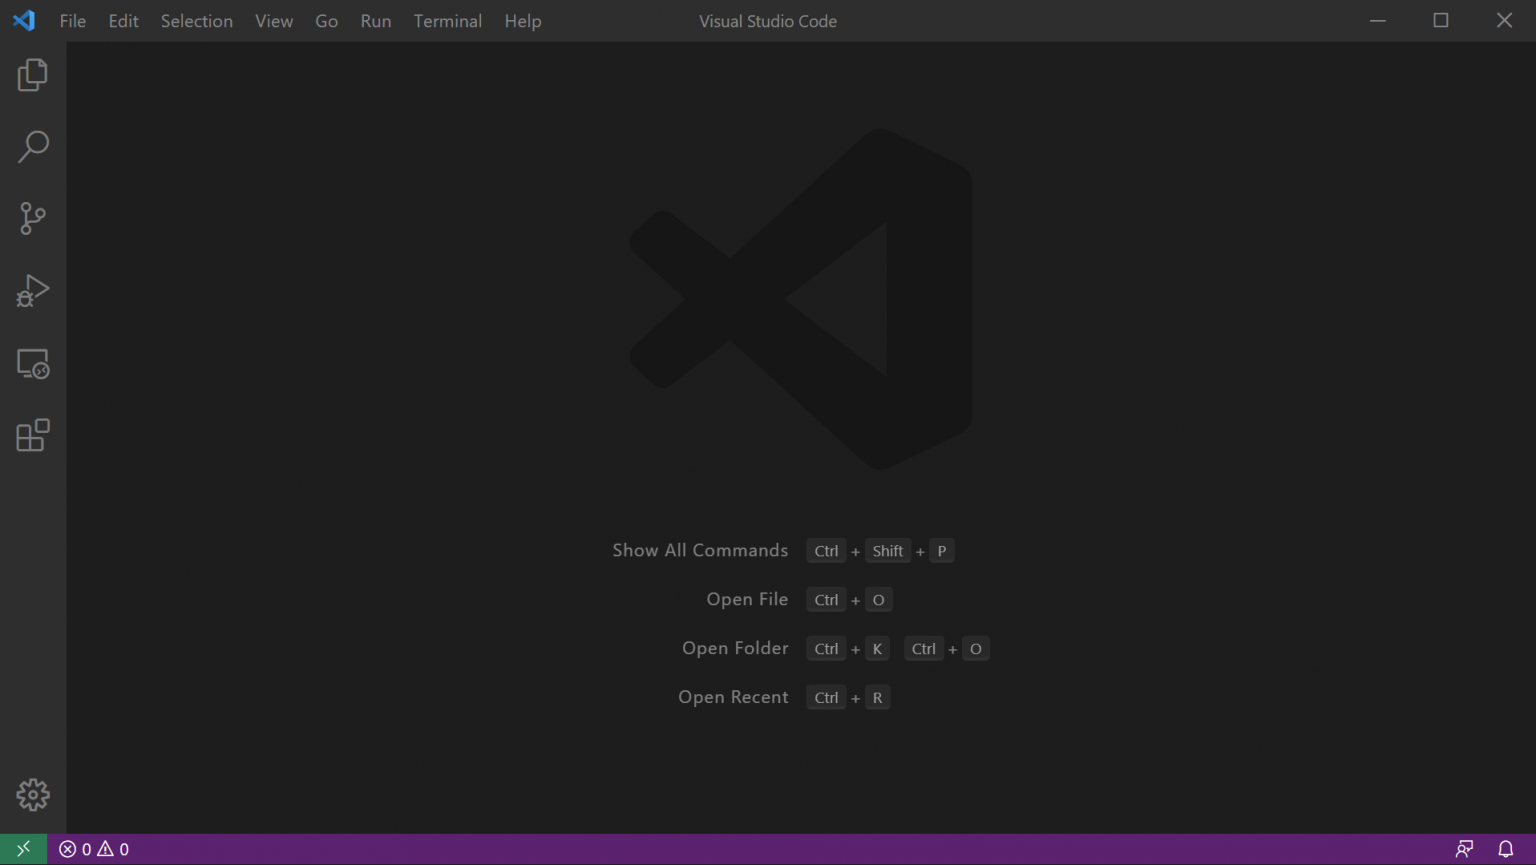
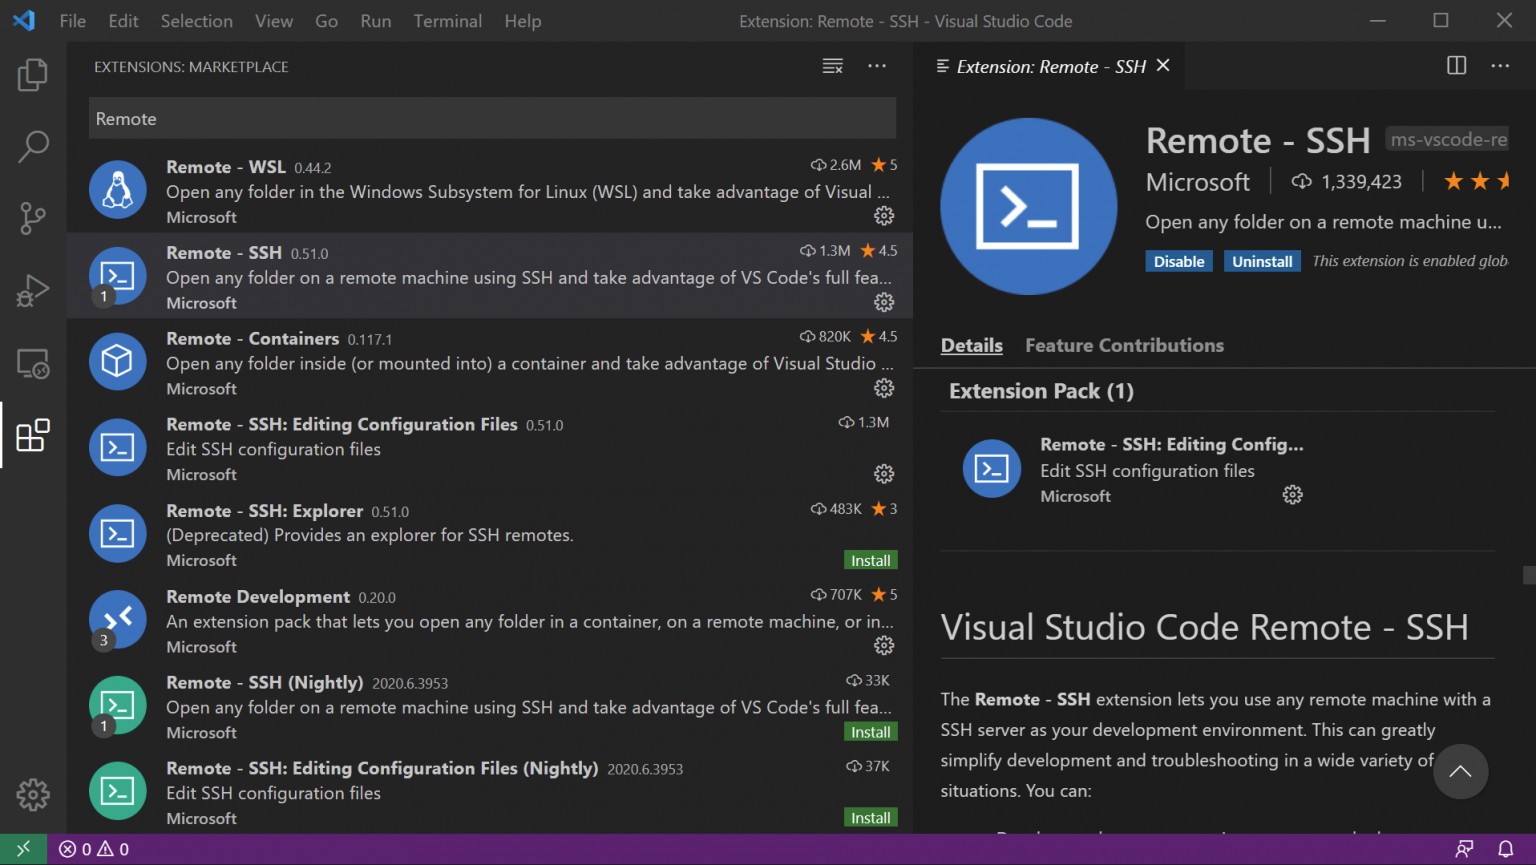
First, we’ll need to install a new extension. Click the last icon on the left navigation, or press Ctrl + Shift + X. Search for Remote, and install Remote – SSH extension.
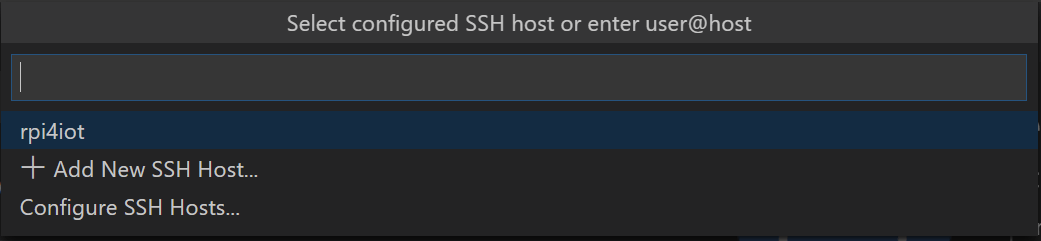
Next, press F1 and type remote, and select Remote-SSH: Connect to Host..

Then, click + Add new SSH Host
Type in the connection command, such as
ssh jussi@linux-in-azure.foo.fi
Select your preferred configuration file. I use the default, %USERPROFILE%\.ssh\config on Windows 10.
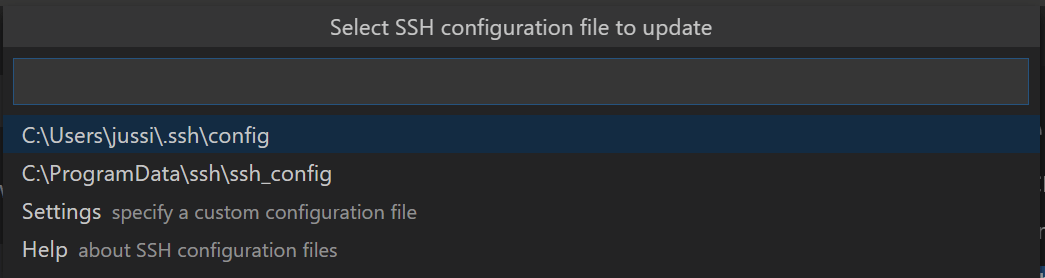
And that’s it! But don’t connect yet, click Open Config instead.

This opens the configuration file for your SSH connections. If you’re using a secure way to access your Linux VM, such as an identity file, this is the place to add that. This would be the default approach for Linux VMs in Azure, also.
Host linux-in-azure.foo.fi
  HostName linux-in-azure.foo.fi
  User jussi
  IdentityFile c:\files\jussi.pem
By adding IdentityFile you can specify that instead of using a plain password, you’re actually using an identity key (that Azure generated for you, presumably with ssh-keygen). You could simply specify the identity key with the -i parameter but for me, this often seems to fail so using IdentityFile seems like a more proper solution.
Now we can connect! Click F1, click Connect to Host, and select your Linux VM. On the first connection you’ll also specify the host type, so choose Linux. This installs the necessary bits on the VM to support remote development.
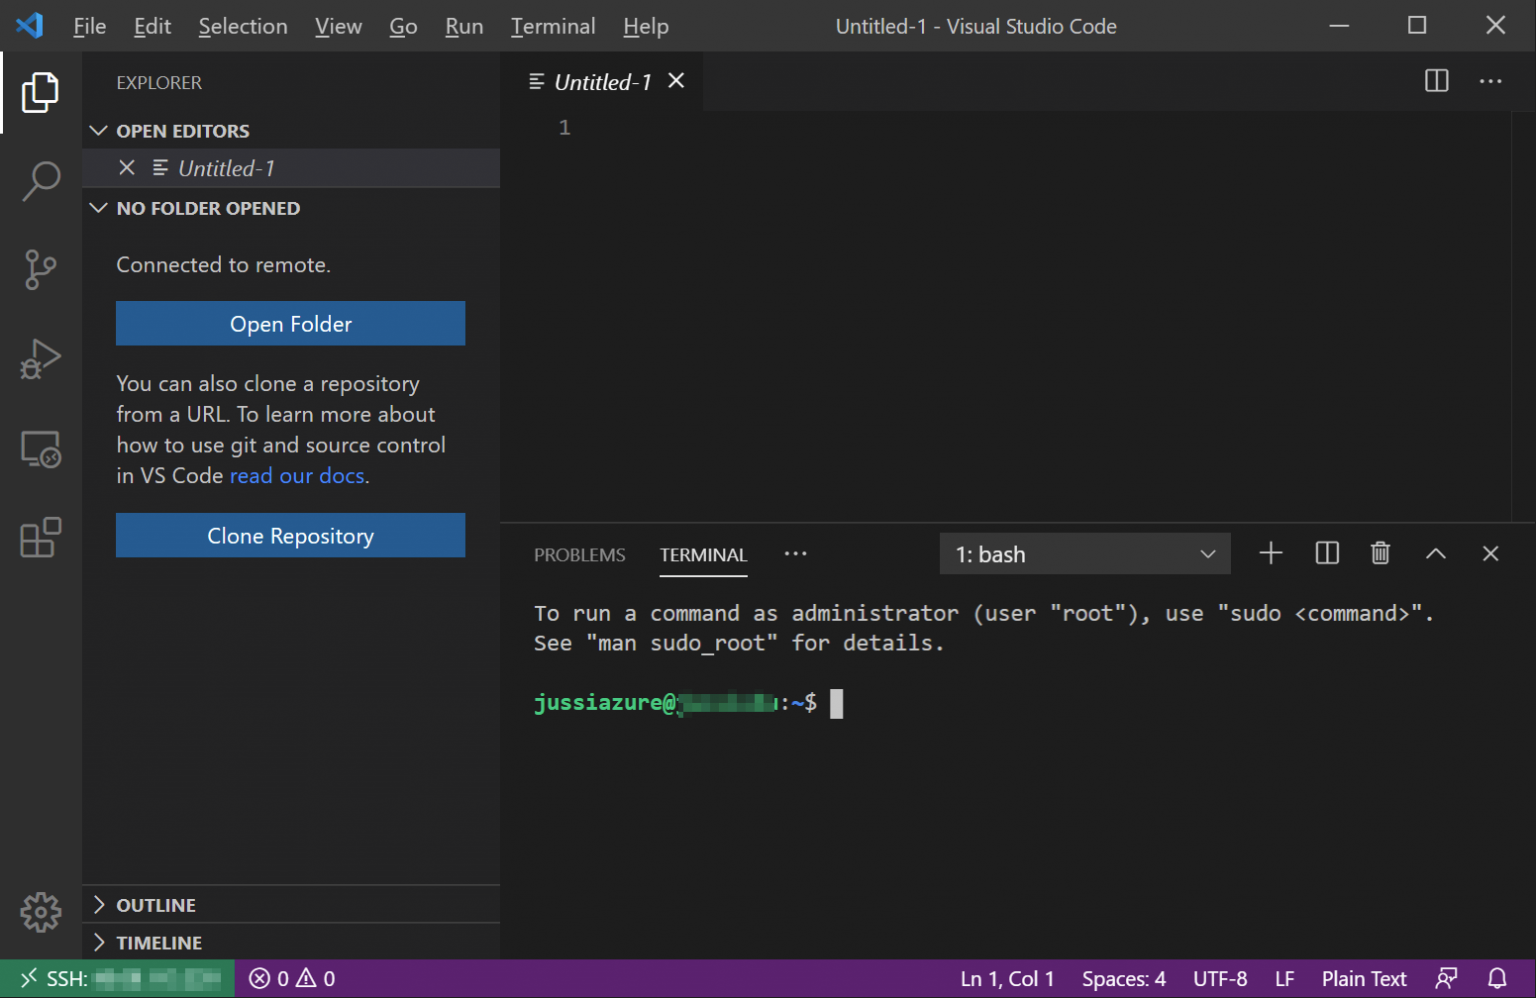
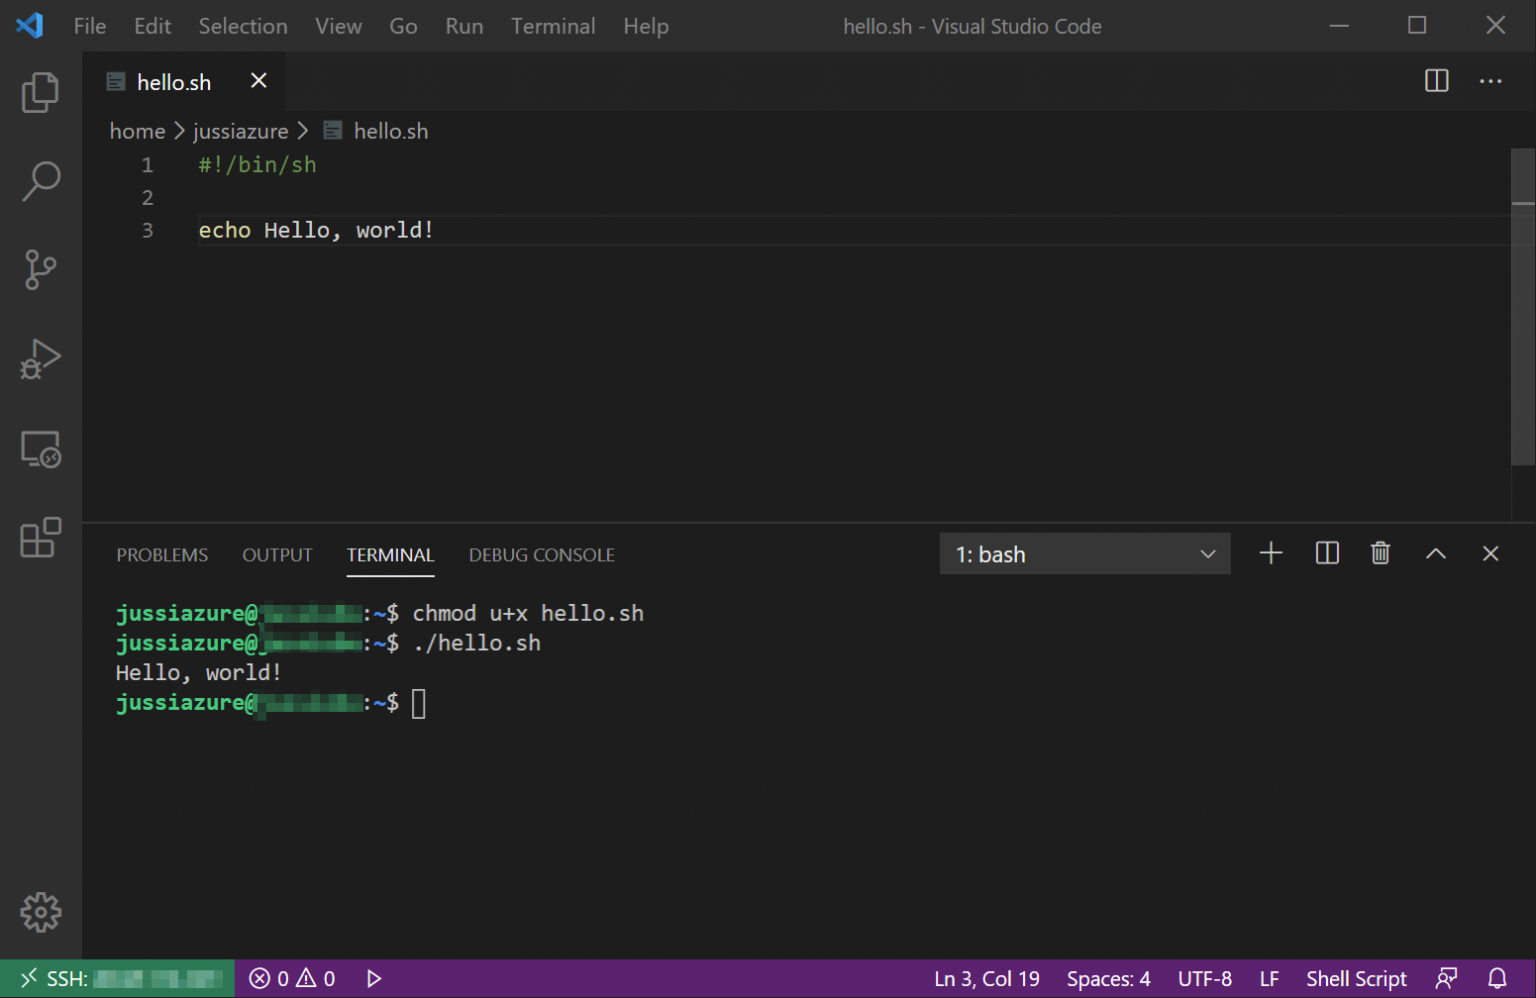
You can now create new files, edit existing files, and work as usual within the system. The benefit is that you can use familiar tools, yet modify files and code on a remote system without any extra hassle!
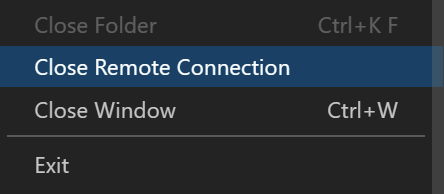
To disconnect, click File > Close Remote Connection
This same approach works for a Raspberry Pi, also.