Getting started with Microsoft Teams Live Events

Microsoft Teams was made available in public preview back in November 2016. Since then, the platform has matured and is used by millions daily. As part of Teams, people can schedule and organize meetings – with audio and video. I use this functionality frequently.
Microsoft Teams includes another aspect, which is called Teams Live Events – or just TLE for brevity. It’s meant for events, where you need to control the delivery more, and where perhaps it’s a few people presenting to hundreds or even thousands of people in the virtual audience. TLE is a great platform for organizing community events, internal announcement calls, and conferences. In this blog post, I’ll dive into what TLE is, what is required to use it, and how to get started in running your events with Teams Live Events.
Licensing
Licensing is where it starts. In essence, you’ll need a Microsoft or Office 365 E1, E3, E5, or Education A3 or A5 license for anyone scheduling (producing or presenting) a Teams Live Event. People joining to your live events do not need a license.
Microsoft Teams must be enabled for these licensed users also, so if your organization has chosen – for some reason – to disable Teams, then this must be fixed first. A Microsoft Stream license must also be allocated. Both of these (Teams and Stream) are part of the aforementioned licensing packages.
Authenticated users, so those who would participate in a meeting (as opposed to just attending), will need a valid Office 365 license. And this is dependent on how the event is produced – if you produce them in Teams, these users need a Teams license. If you produce them elsewhere (such as in a 3rd party app or a hardware solution), then a Stream license must be assigned.
You can view the up-to-date licensing requirements here.
Configuring Teams Live Events in your Office 365 tenant
The next step is to ensure you’ve configured TLE in your Office 365 tenant. Once Teams is enabled, you need to set up live events policies. This is done via Microsoft Teams Admin Center, under Meetings > Live events policies.
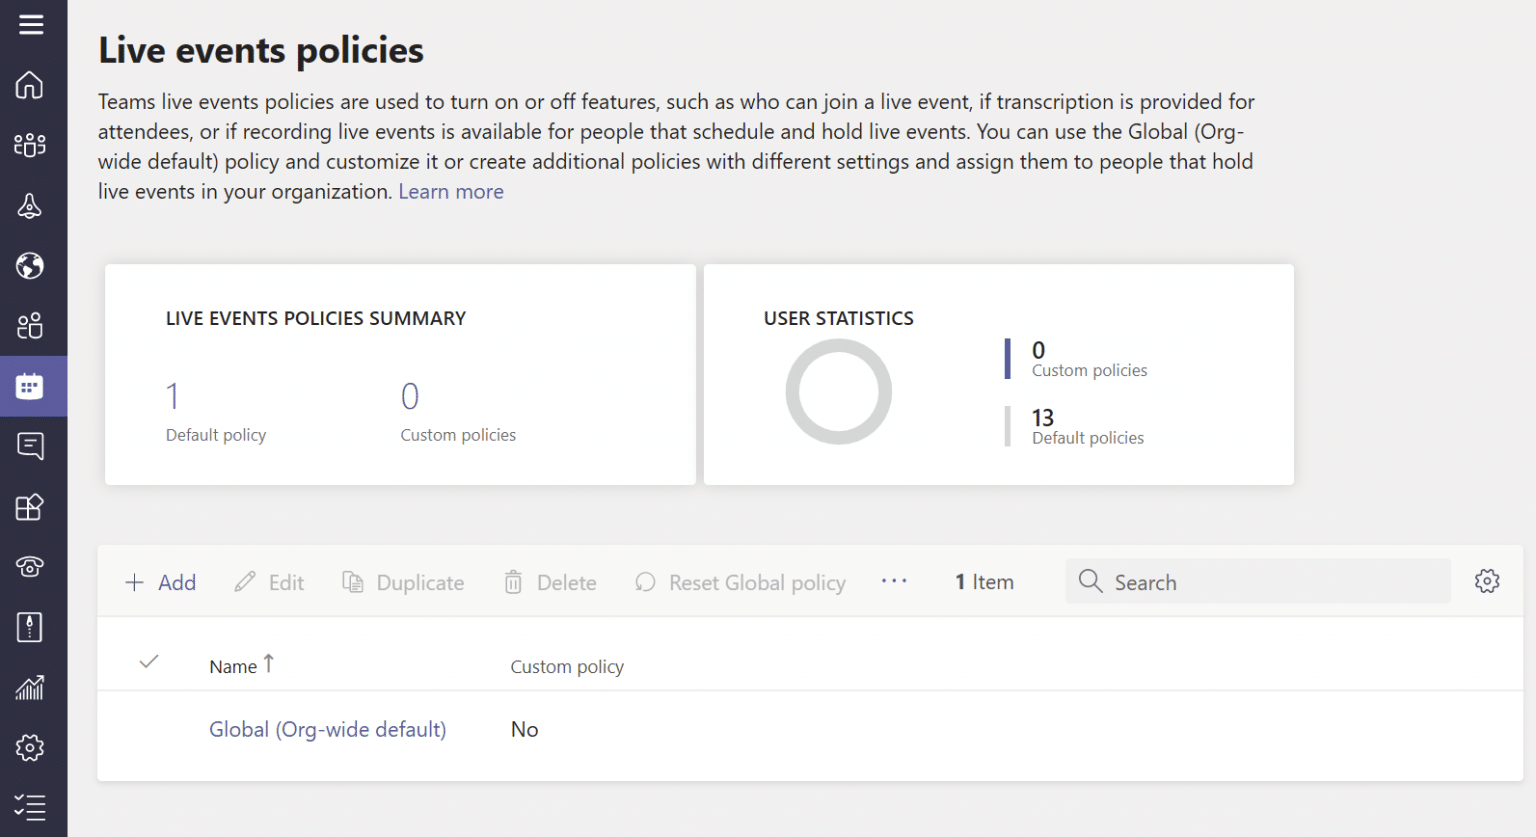
You can either edit the existing policy, that is named Global (Org-wide default) or create a new one. If unsure, edit the existing one.
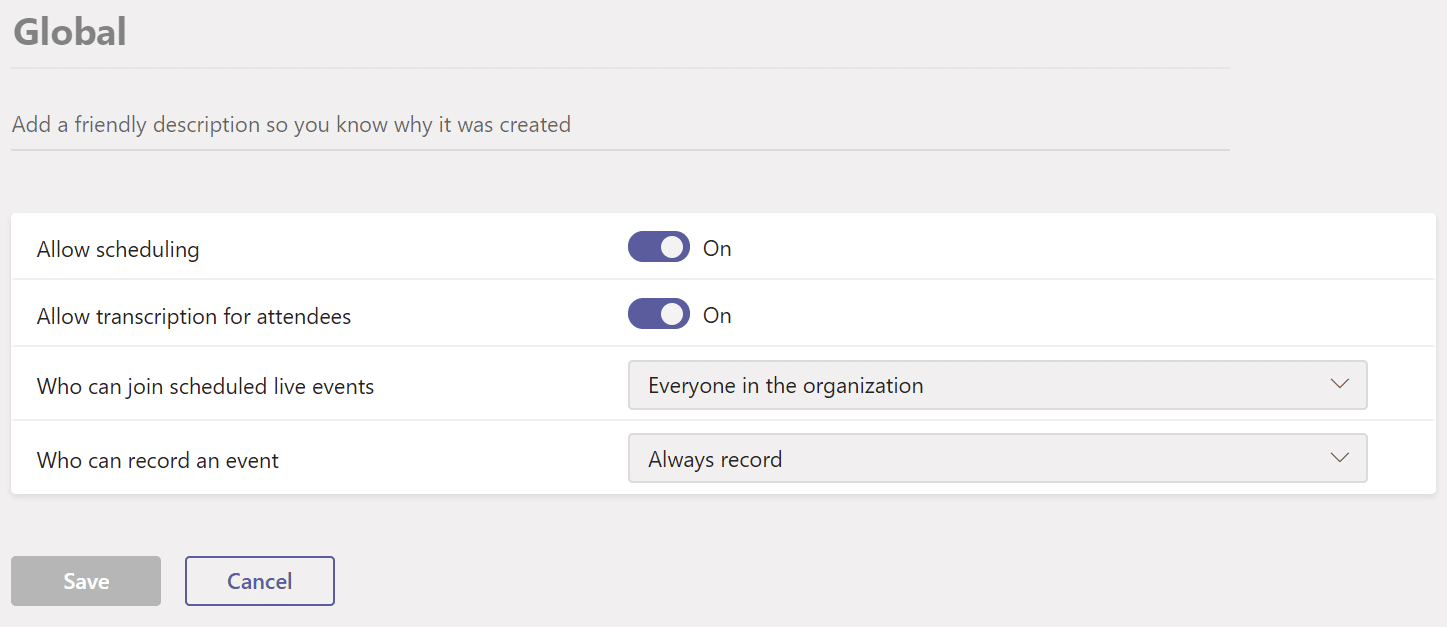
Within the policy, you should have Allow scheduling enabled, and depending on your needs, the specific audience Who can join scheduled live events configured. Note, that you can set the latter setting to Everyone, which means anyone – including people outside your organization – can join these events. If you plan on doing internal events, choose Everyone in the organization.
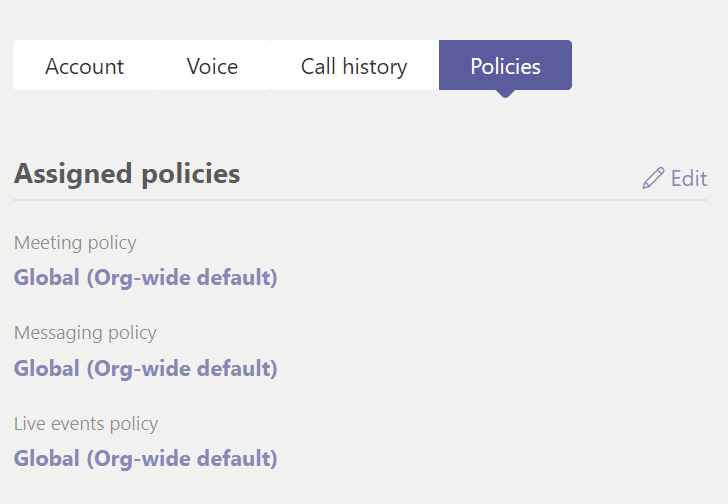
Next, make sure the policy is assigned to users by selecting Users, selecting a specific user and checking what Assigned policies that user has.
If you want, you can also use PowerShell to define these policies.
Scheduling your first test live event
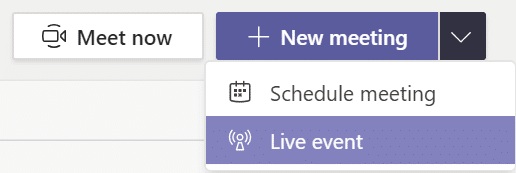
Now you are ready to schedule your first live event as a test! Open Microsoft Teams, click Calendar and then in top right, click the small chevron arrow and select Live Event.
This will let you specify the basic information for the event – when it takes place, and who will be the presenters.
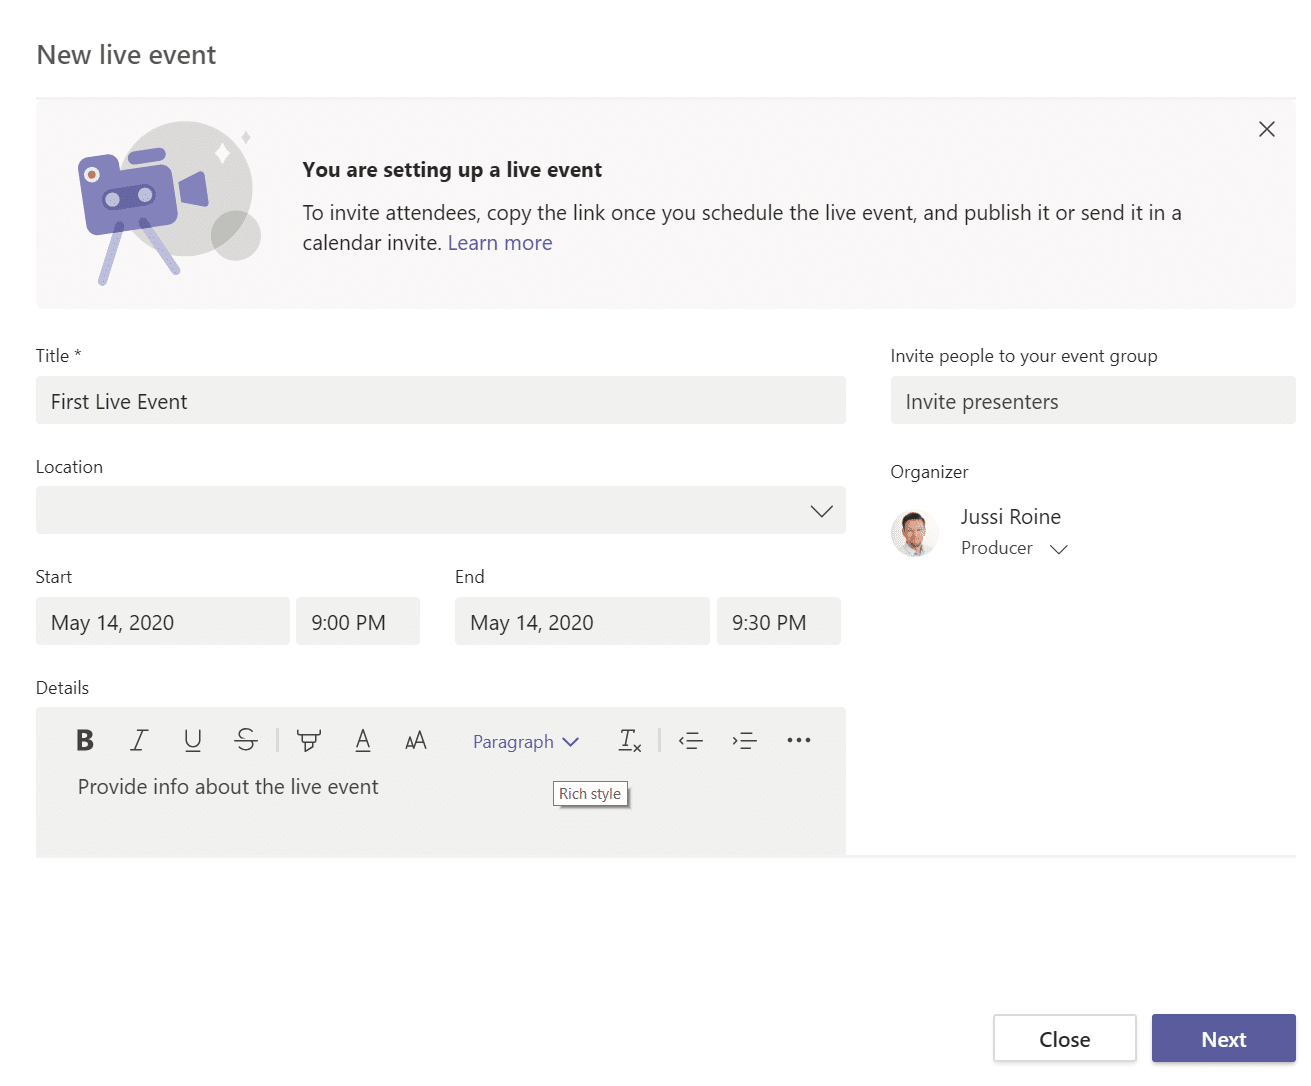
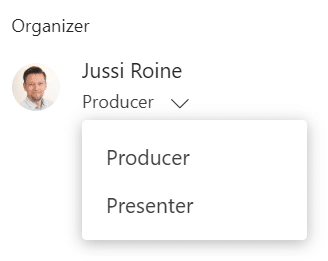
You’ll be the Producer (and the Organizer), and the other role is thus a Presenter. You can have multiple presenters, of course. The difference between these roles is that the organizer schedules and ascertains the meeting is set up correctly, while the producer makes sure attendees are receiving what is intended. The presenter can then focus on the content and moderating Q&A.
You can view the specific responsibilities of each role here.
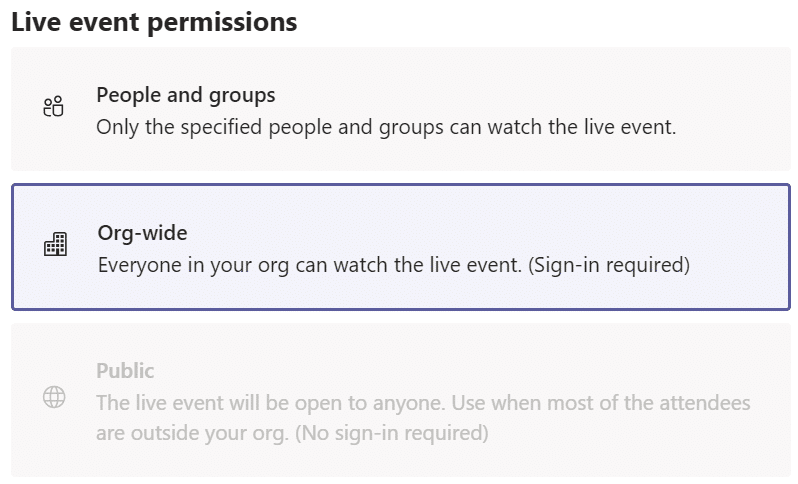
When you click Next, you can choose permissions for your live event. This is also based on the policy you defined previously:
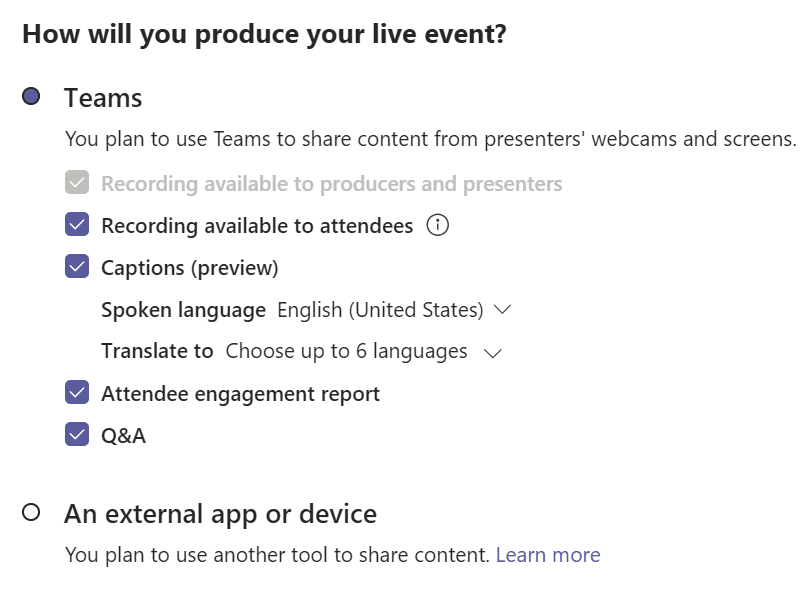
Underneath permissions, you’ll define details for the live event, such as if the recording will be made available, and whether Q&A capability will be used. You can enable all of these for your test live event to see how they work.
Finally, click Schedule to create your live event. It’s visible also in your calendar.
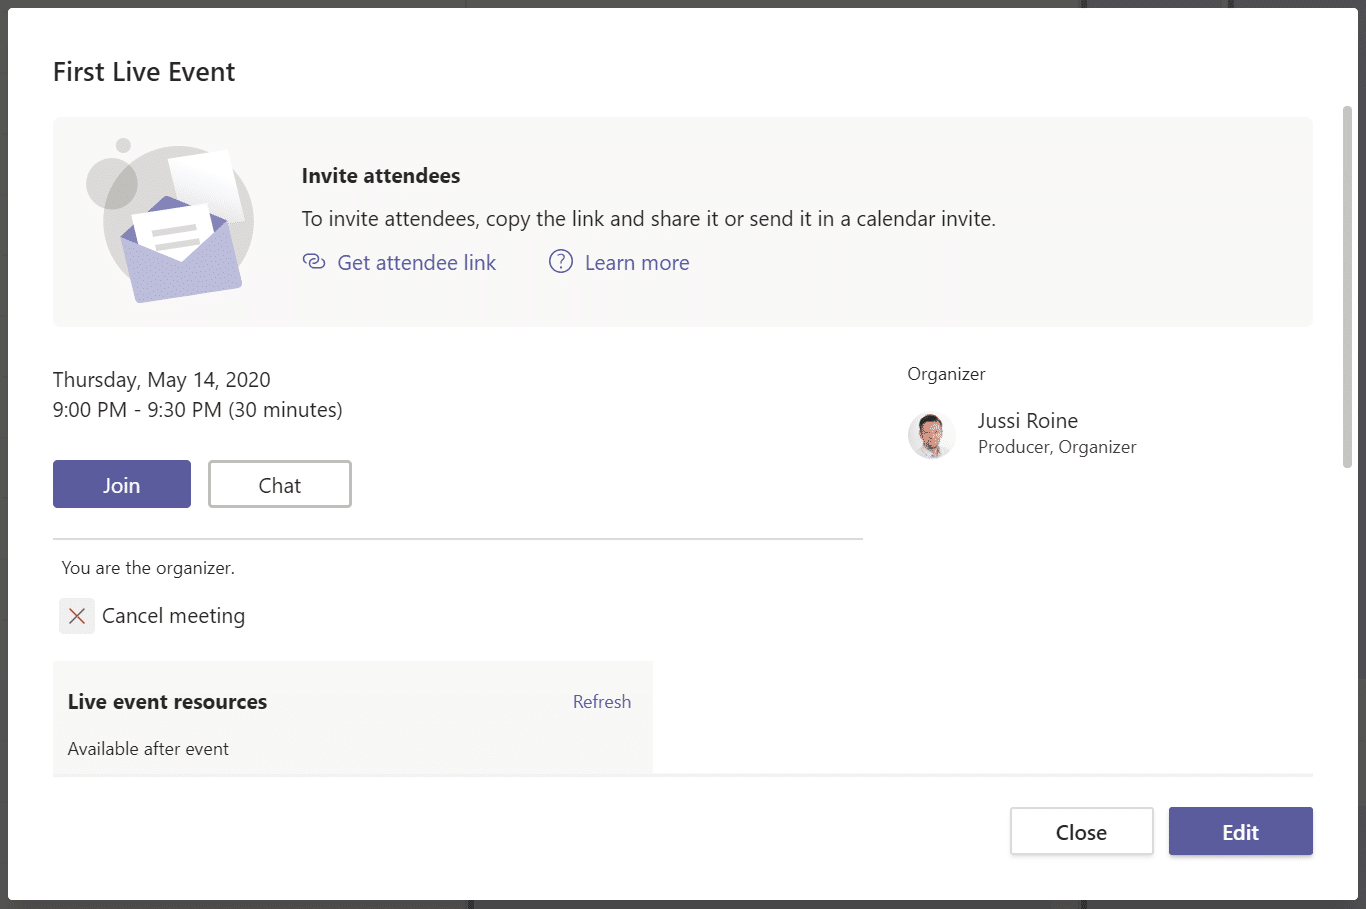
You can join the live event anytime, so click Join. Upon joining, you have the option to add a room.
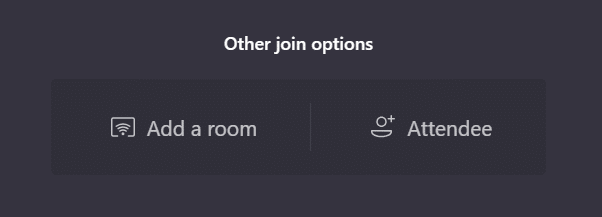
The thinking here is that you might have a team of people presenting, thus you’d join the whole room instead of each laptop or PC individually. For now, click on Join now to join as a producer, without a room.
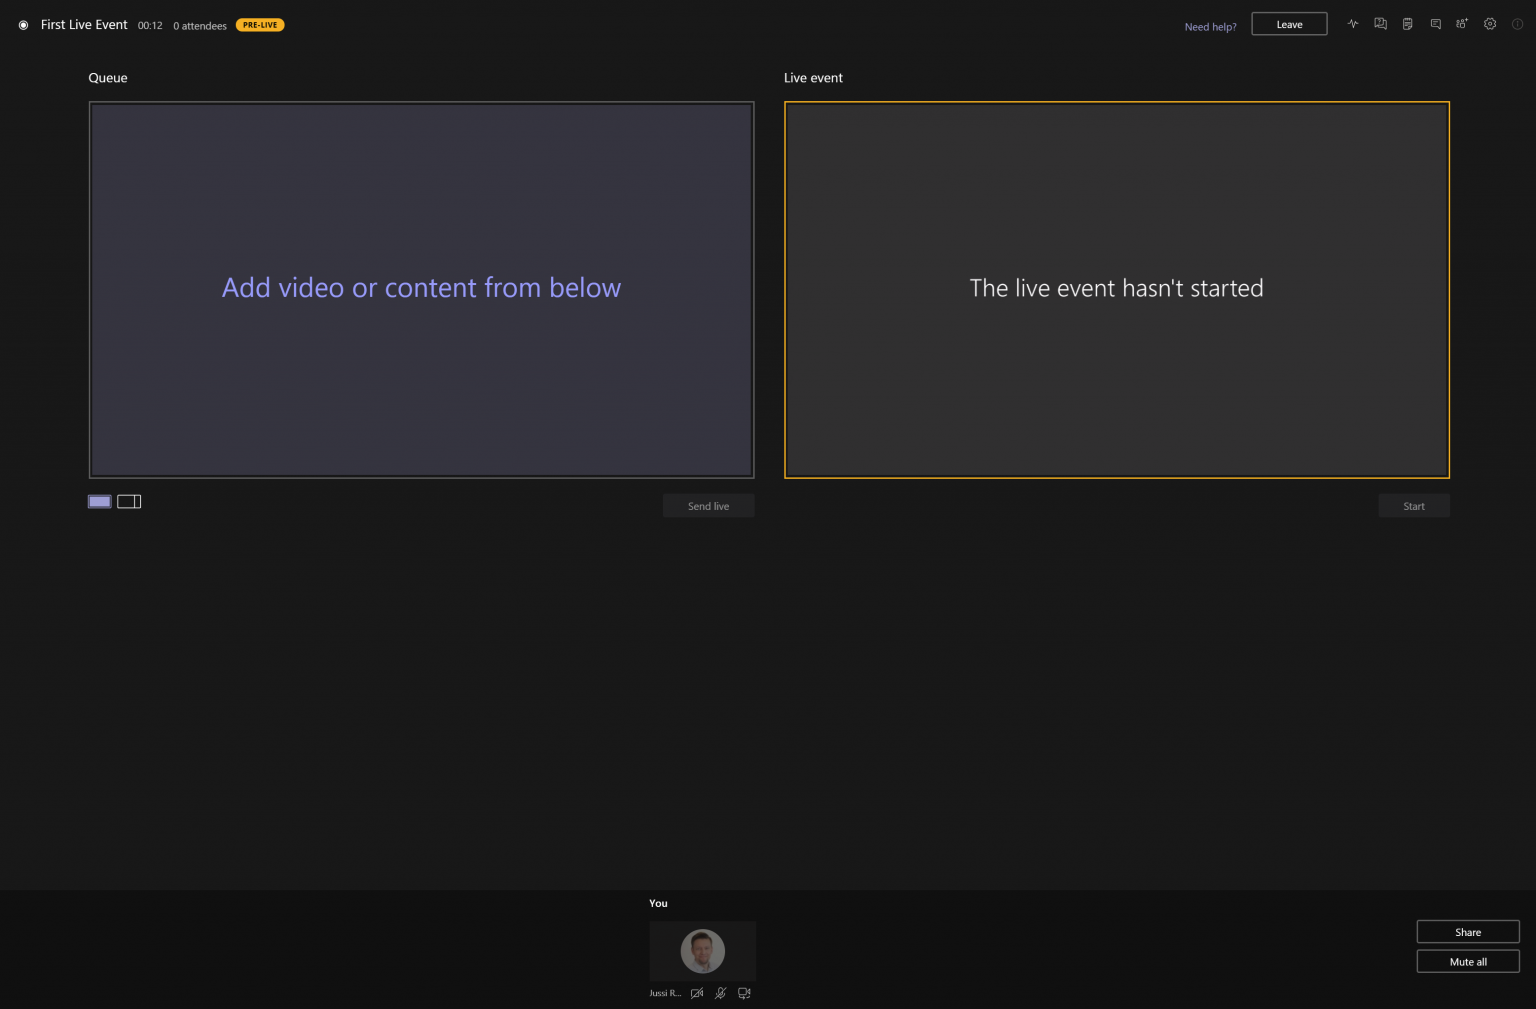
TLE gives you a few tools more than you would normally have in a Teams meeting. You can add content from the bottom toolbar, such as a PowerPoint or share your screen. Notice, that adding content does not send it live, until you click Send live.
On top right, you have a set of tools also that give you access to metrics, Q&A, meeting notes, conversations, participant view and the settings panel.
Metrics will give you insights on how your connection is performing.
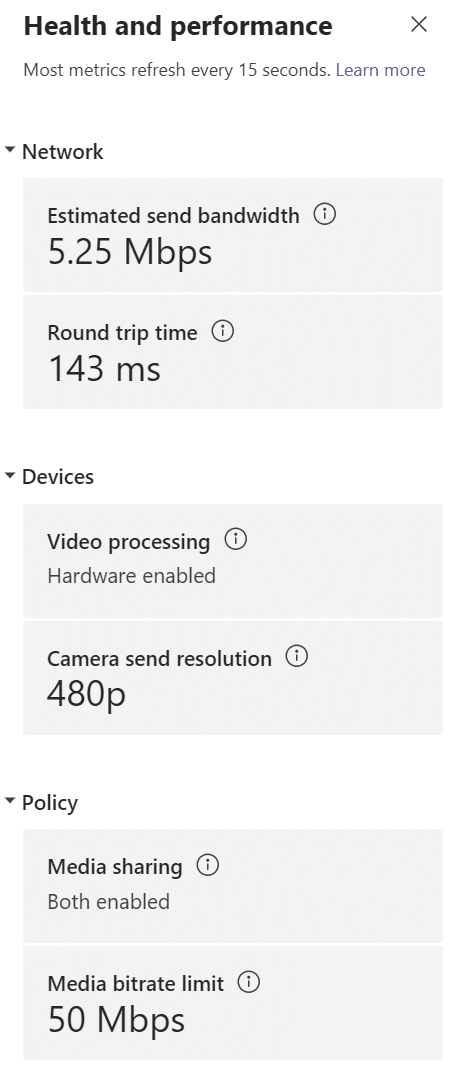
I took this screenshot when I was working over a wireless connection on my laptop, with video and audio on. The camera resolution was downgraded from 720p to 480p when wifi started to get congested, so this is one of the tasks the producer needs to follow to verify the event is streamed and recorded well.
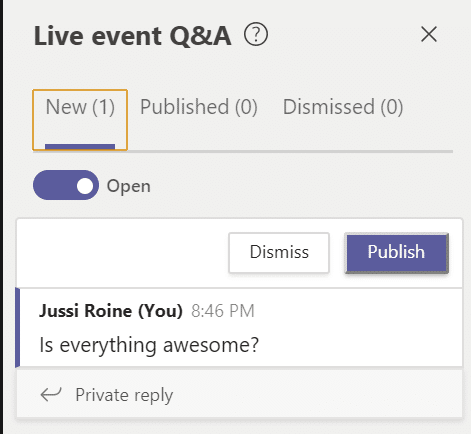
Under Q&A you can moderate questions that your attendees might ask. You can also make announcements.
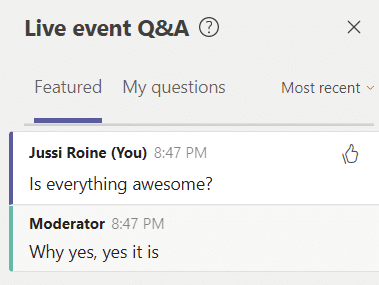
Attendees will then receive your answers like this:
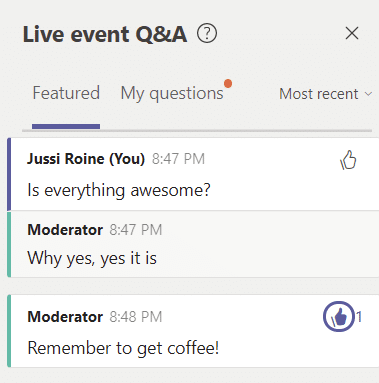
And announcements are shown like this for attendees:
Once you’re sharing your content, such as a PowerPoint, you can start sending live by clicking Send live, and then Start.
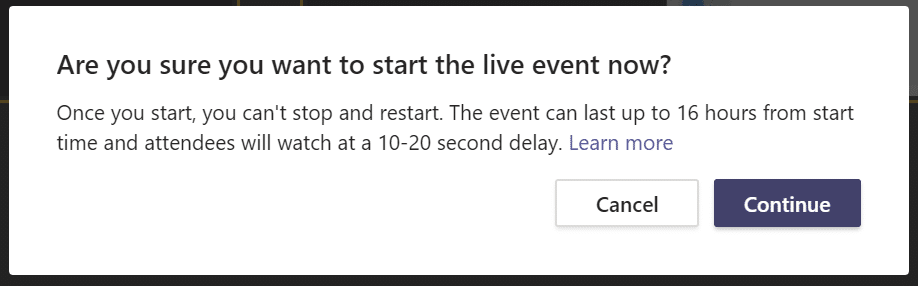
Attendees will see and hear your presentation with a delay of 10-20 seconds.
Once you end the event, a recording will be available for you under the meeting item in the calendar.
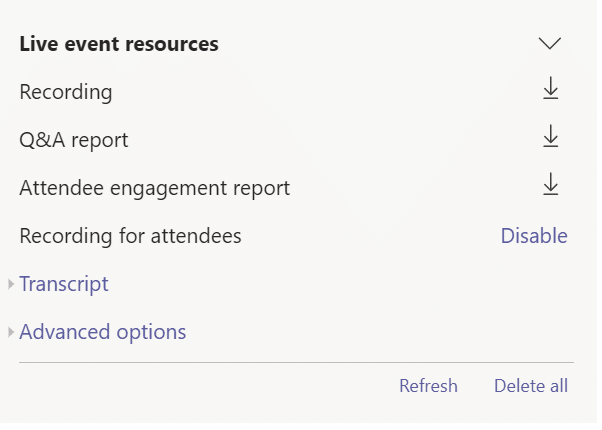
Since within the Teams Live Events policy we set producing to happen in Teams, the recording won’t be made available through Stream, but instead as an .MP4 file.
Additional resources
- Microsoft has a good list of best practices when planning for a meeting
- TLE organizer checklist
- Microsoft 365 live events assistance and details here
In summary
Teams Live Events is highly useful when you plan on running larger events, or events where you need more control over the delivery. The audience size can be up to 10,000 attendees, and the duration of the event is capped at 4 hours. Due to COVID-19, the live event limits are increased to 20,000 attendees and up to 16 hours until July 1, 2020. If you use the live events assistance program, you can deliver events for up to 100,000 attendees.
In my testing of Teams Live Events, I found out that having multiple displays is a must for the producer. You need to be able to see clearly what is being broadcast, and also to manage the different aspects of the event such as Q&A and switching presenters. You could, in practice, run all from a single laptop screen but it will be complicated and error-prone.
While this post was about Teams Live Events, you can also schedule and run your Live Event through Yammer or Stream. The features are a little bit different, so I recommend taking a look at the table here to verify the platform of your choice fits the needs of the live event.