Building a secure remote access solution using Azure Bastion Host

I wrote about my experiences and challenges when building a secure remote access solution for Azure-based virtual machines back in February 2019. It’s one of my more popular posts in this blog, and I guess it’s helpful for many because it travels through the options and provides justification for the choices.
As that’s often one of the challenges when working with Azure and architectures – there is plenty of choices, and it might be burdensome and frustrating to understand the differences and best options on each.
I was delighted to learn this Summer that Microsoft released a preview of Azure Bastion Host, which more or less resolves the issues I had back in February for building a remote access solution for my virtual machines. Let’s see what it is, and how to set up Azure Bastion Host!
What is Azure Bastion Host?
The preview for Azure Bastion Host was announced 18th of June. It’s a PaaS-solution for a jump-server (also known as a jump-box) to access your virtual machines over Remote Desktop (RDP) and Secure SHell (SSH).
In practice, you’ll deploy an instance of Azure Bastion Host, and it acts as a virtualized jump-server that allows opening remote connections to your servers within the same Virtual Network (VNET). The difference to just deploying your own VM for this purpose is that Azure Bastion Host is cheaper, effectively more secure and simpler to maintain. Oh yeah, and it also scales.
What does it cost?
I’m glad that you asked! I try to be cost-conscious, and while Azure Bastion Host is relatively cheap it’s still a great practice to check prices and estimate costs in advance.
The base price is 0.081 € ($0.095) per hour. This adds up to 60 € ($70) per month. On top of this you pay for outbound data transfer – first 5 GB each month is free, and then it costs you between 0.0367 € to 0.0211 € ($0.0435 to $0.025) per GB for outbound data.
I did a quick calculation that if I had an Azure Bastion Host deployed, and I had two server admins using it, and they generated 25 TB of traffic:
- Base price: 60 € ($70)
- First 5 GB: Free
- Next 10 TB: 0,0367 € x 1024 GB (1 TB) x 10: 375 €
- Next 15 TB: 0,0350 € x 1024 GB (1 TB) x 15: 537,60 €
The total for this setup would be 972,70 €. The numbers are calculated using the public preview pricing for data, thus when Azure Bastion Host hits general availability, the prices will go about 50 %. I used Zone 1 prices, which include West Europe, East US, South Central US, and West US. Zone 2 prices are about 37 % higher.
You can review the Azure Pricing sheet here.
Bottom line is that deploying Azure Bastion Host will cost you 60 € ($70) a month, and anything above 5 GB of traffic will cost you a little bit more.
I was initially unsure whether I’m incurring continuous cost even if I’m not using Azure Bastion Host. It seems to mimic the Azure Web App model, where even if you stop a service, you’re still paying for it. Perhaps something to keep in mind if you test Azure Bastion Host, but leave it around without any usage.
Setting up Azure Bastion Host
Setting up Azure Bastion Host is very easy. While in preview, you’ll have to use this magic link to light up Azure Portal with Azure Bastion Host features.
You can either set up Azure Bastion Host separately or deploy it into an existing VNET. I did the latter, as I wanted to simulate a typical real-life scenario – “here’s the VM, how do we access it securely?“
I’m using Azure CLI, as that seems to be a tool of choice to keep up with modern times. You can either install it locally, use with Windows Terminal, or simply run an instance of Azure Cloud Shell via Azure Portal by clicking the >_ icon in the top toolbar. If you need to get started with Azure CLI, check out my guide here.
I need to provision my virtual machine first. For this, I need a resource group – so I’ll provision one called azure-bastion:
az group create --name azure-bastion --location westeurope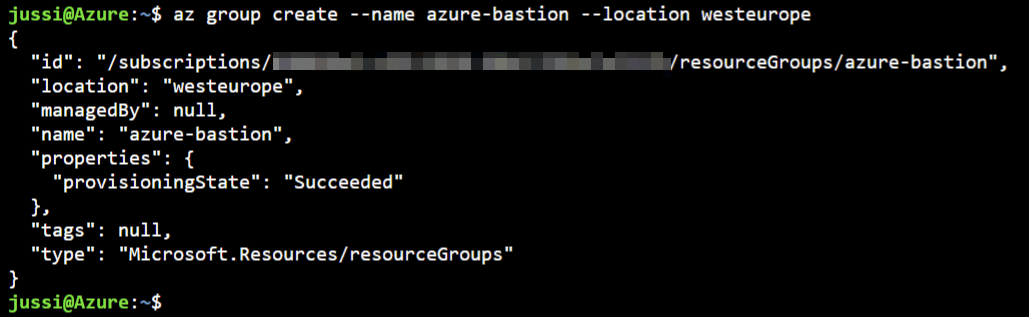
Next, I’ll provision a new virtual machine. This can be a Linux or Windows-based VM based on your preference. I went with a Windows Server 2019 Datacenter:
az vm create --resource-group azure-bastion --name secureServer --image win2019datacenter --admin-username secureAdmin --admin-password P@ssw0rd54321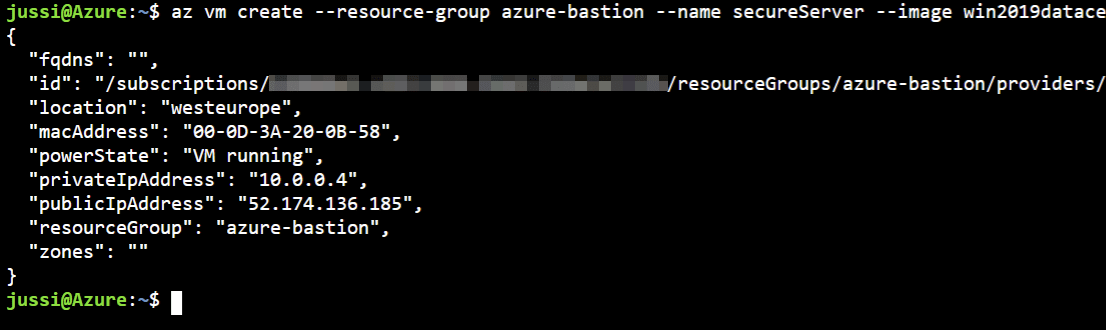
As I did not specify a VM size, it defaults to a Standard DS1 v2 (1 vCPU, 3.5 GB RAM) which costs about 81 € ($97) a month.
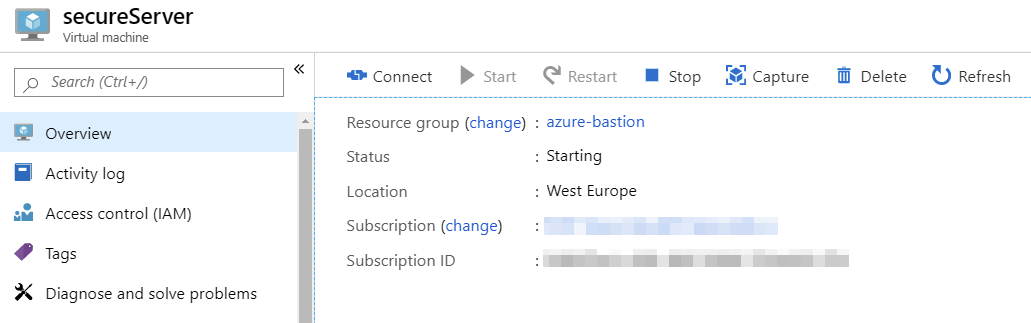
I can verify the VM is starting through Azure Portal:
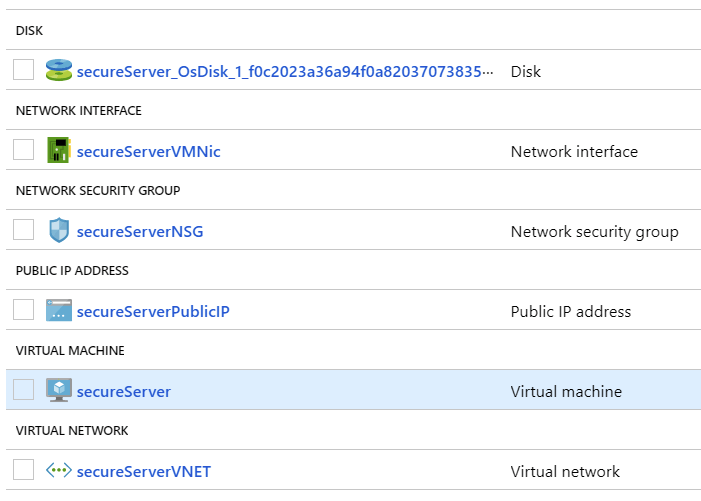
Checking at the resource group level I have the following assets deployed now:
Interestingly, the default inbound rules for network traffic allow RDP access from anywhere. So it’s a great idea now to remove the first rule for your VM:

To verify the rule exists, use the following command in Azure CLI:
az network nsg rule list --nsg-name secureServerNSG --resource-group azure-bastion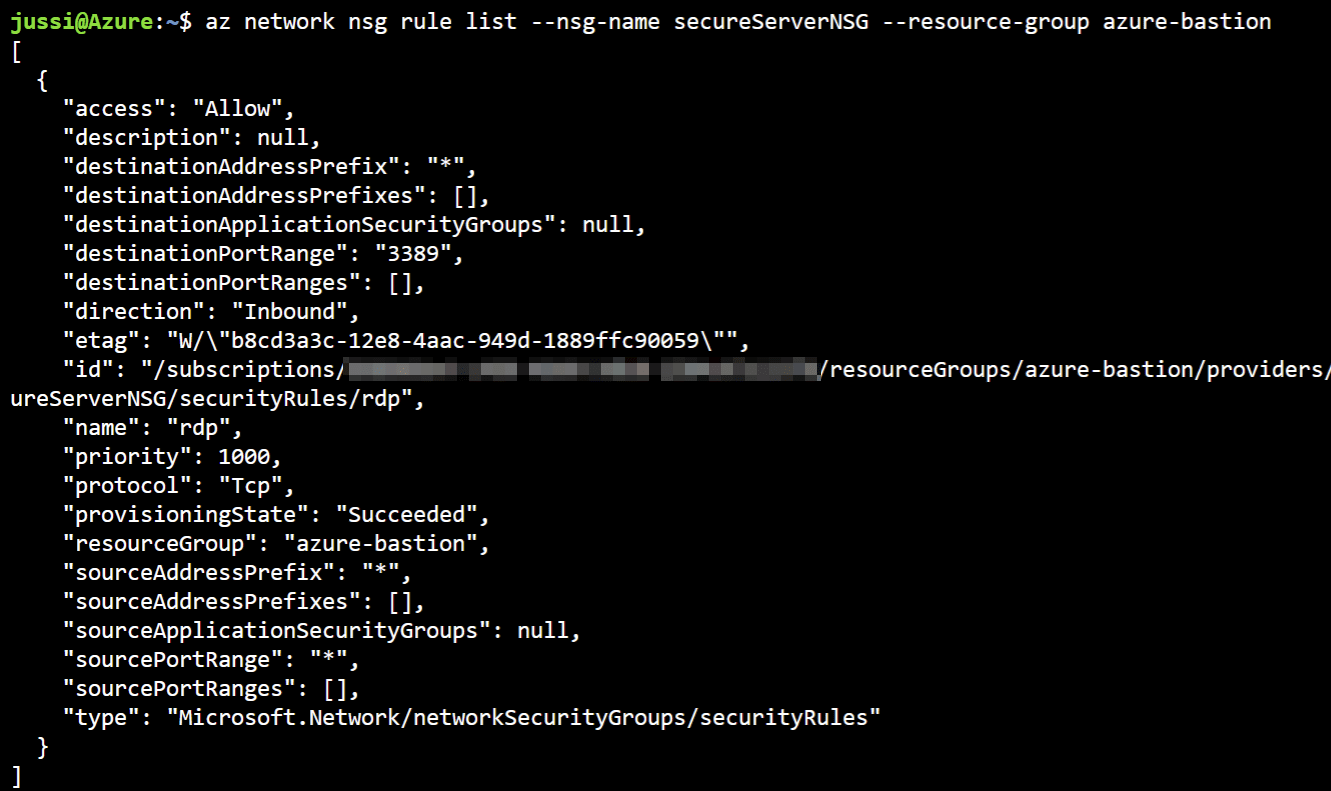
You can use the following Azure CLI command to remove it:
az network nsg rule delete --resource-group azure-bastion --nsg-name secureServerNSG --name rdpRun az network nsg rule list command from above again to verify the rule is deleted:

We are a little bit more secure state now, as RDP is not open to *.* and their dog.
Next, it’s time to provision Azure Bastion Host. There doesn’t seem to be a supported way of provisioning it via command-line just yet, so I’ll resort to using Azure Portal for this. Nothing inherently wrong with this, but it’s just a little bit more clumsy to verify, document and automate.
First, open the magic link to light up the Azure Bastion Host in the Portal. Navigate to your VM and verify you can see Bastion (Preview) under Operations:

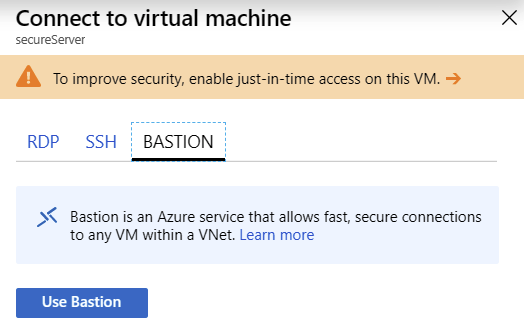
You’ll also see a difference if you try to connect directly with your VM (despite the NSG rule having been deleted) — you have a new tab named Bastion now:
Click Use Bastion (or just click Bastion (Preview) in the navi). This opens the provisioning blade with prepopulated values. It’s useful as you don’t have to dig around for the missing data:
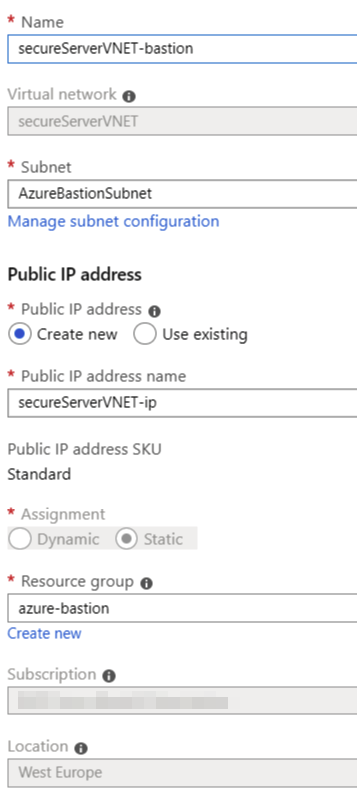
The only thing you do need to do is to create a new subnet in your VNET named AzureBastionSubnet. Thankfully, Azure CLI will do this quickly for you. Simply run this command:
az network vnet subnet create --resource-group azure-bastion --vnet-name secureServerVNET --name AzureBastionSubnet --address-prefix 10.0.1.0/27I’ve chosen the address-prefix based on the default VNET values. It has to be at least a /27 block in size. If you’re unsure, just use the defaults as I did.
Back to provisioning, refresh the blade and complete Azure Bastion Host provisioning. It takes a few minutes to complete.
Navigate to your VM, click Connect and then click Bastion – you should now see the following dialog:
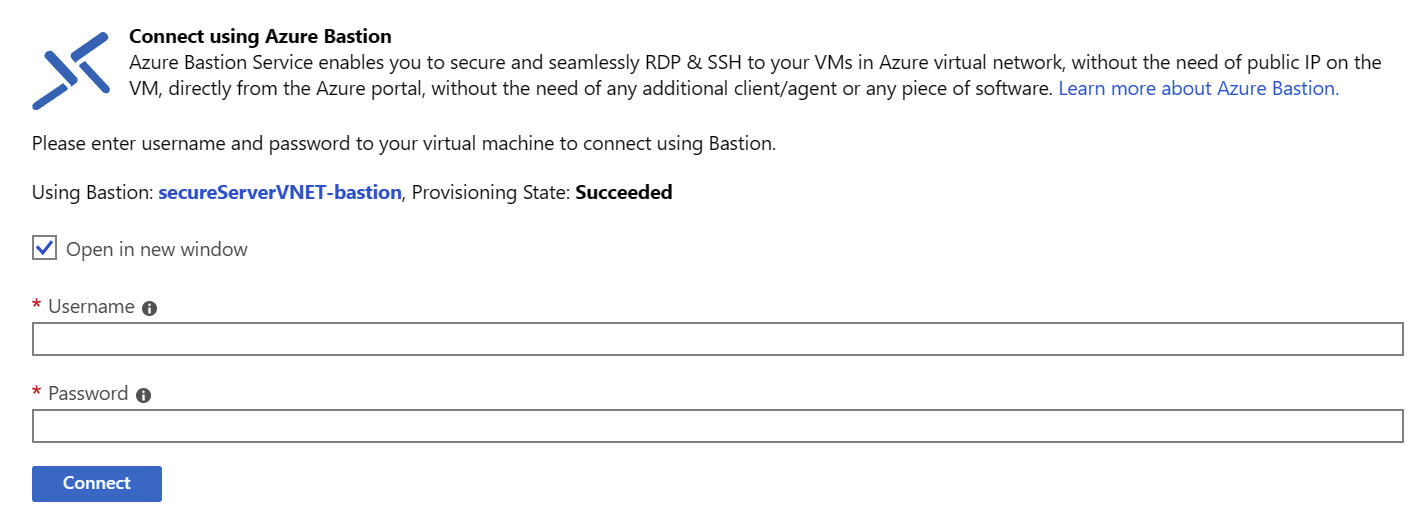
You can connect using your VM credentials. If you used my scripts, the admin login is secureAdmin and the password is P@ssw0rd54321
Azure Bastion Host opens in a new browser tab:
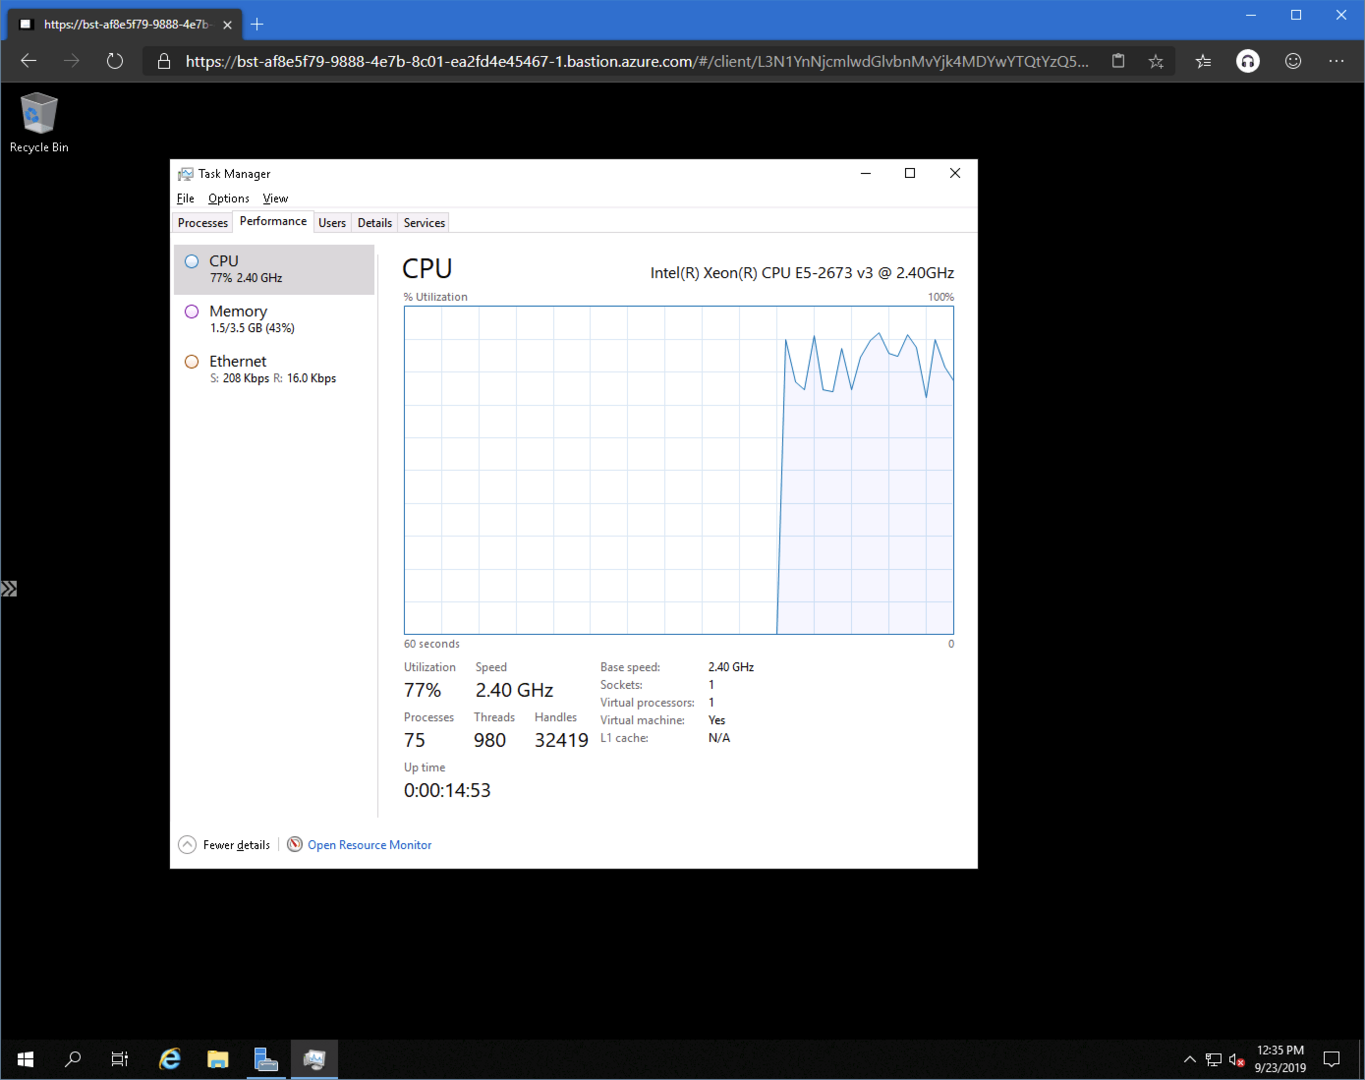
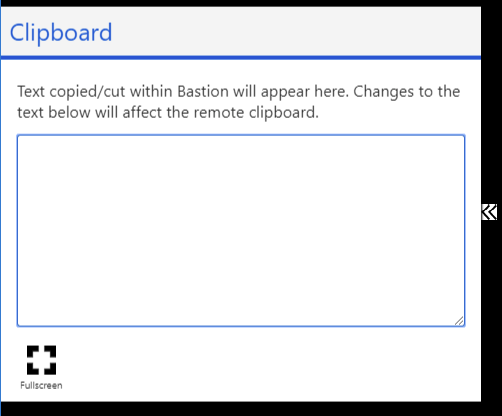
There’s a small chevron icon on the left, and it provides a small tool to copy the contents of the clipboard back and forth.
But wait, how does this work when we explicitly removed the RDP rule from our network security group’s inbound port rules? Shouldn’t Azure Bastion Host simply fail as we’re not allowing RDP traffic?
Well, no. It works because the next default rule provides access to all inbound VNET-to-VNET traffic:

If you’re feeling unsure about this, you can also remove this rule. Then you’d need to specifically allow Azure Bastion Host. Guidance is provided here, and in essence, you’d be allowing two service tags through.
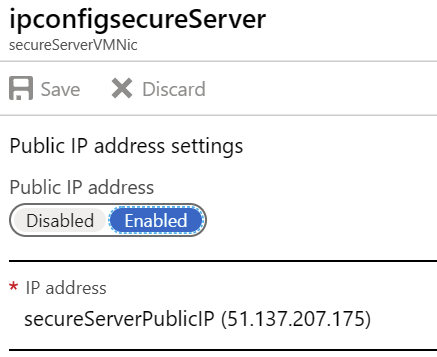
You can also remove the public IP address for your VM now, as it’s no longer needed when you can access using the internal IP address via Azure Bastion Host. I couldn’t figure out a working Azure CLI command for this, as trying to delete the Public IP produces an error because it’s still associated with the network interface. Removing the Public IP from the network interface doesn’t seem to do anything in Azure CLI, either.
So, your best bet is to disable the public IP address binding from your VMs network interface:
Additional resources
In summary
Azure Bastion Host is a great, new offering when you need to create secure and trustworthy jump-servers. While it isn’t free, it’s still very affordable. Instead of spending a few hours initially to build something like this in your own VM, and then patching and keeping it secure, Azure Bastion Host does all this with a simple provisioning solution.