Upgrading Synology DS412+ RAM to 4 GB

This is a quick post, as this was a quick procedure. I’ve been running a Synology-branded NAS for ages. 86 months, or over 7 years now. It runs 24 hours a day on my desk, and it’s fantastic. It provides plenty of disk space (at 4 * 4 TB I get a net of 10.5 TB storage), and it supports a variety of services such as running Docker-based containers, VPN services, and similar.
The downside is that Synology has chosen to use cheap and low-powered Intel processors in their devices. This is presumably to keep the cost down and more importantly, to save on power consumption. While the device is idle, it draws about 41 Watts, and when hard drives are put to sleep it goes down to 17 Watts.
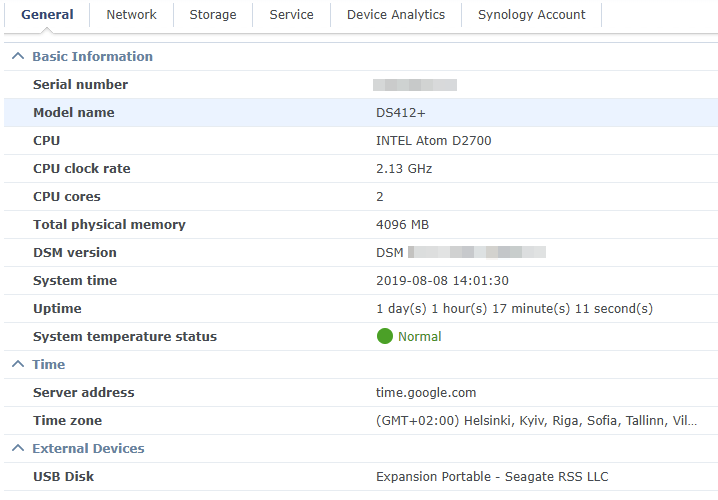
The CPU is an Intel Atom Dual Core 2.13 GHz (also known as Intel Atom D2700). A classic, really. By default, the device ships with only 1 GB of RAM. Thankfully, the D2700 model processor supports memory up to 4 GB. As I have been finding the device a little bit sluggish as of lately, I decided to try to upgrade the memory myself.
Someone had already tried this out with a 2 GB RAM module and provided a nice walkthrough of the process.
[ Thanks Bo, for the link to the video! ]
I ordered a Kingston 4 GB 1333 MHz SO-DIMM memory module from a local reseller. The exact part number is KCP313SS8/4, and it cost about 20 € (~$22) – see Amazon for reference.
[ Update: July 19, 2021: Ken sent me a message that the Kingston memory module I used has been discontinued, but he found out that a similar memory module from GSKILL works. The exact model number is GSKILL F3-8500CL7S-4GBSQ. Thanks, Ken! ]
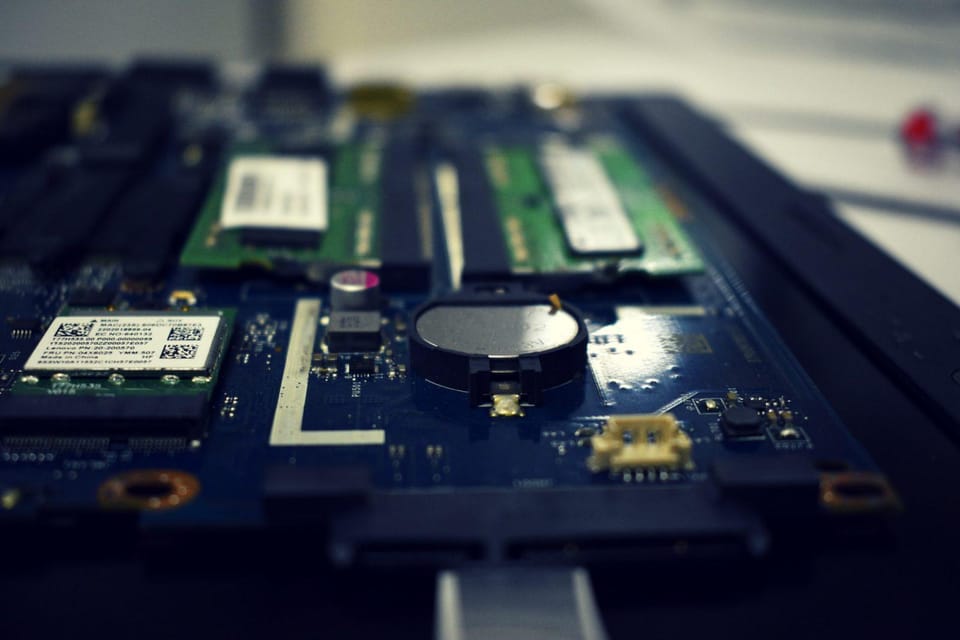
I shut down the device, waiting for the HDDs to stop spinning and unplugged the device. Upgrading RAM requires opening the devices and removing mostly everything to access the motherboard, which is upside down in the bottom of the case. This took about 15 minutes, as I tried to be careful not to break any plastic pieces of the enclosure.

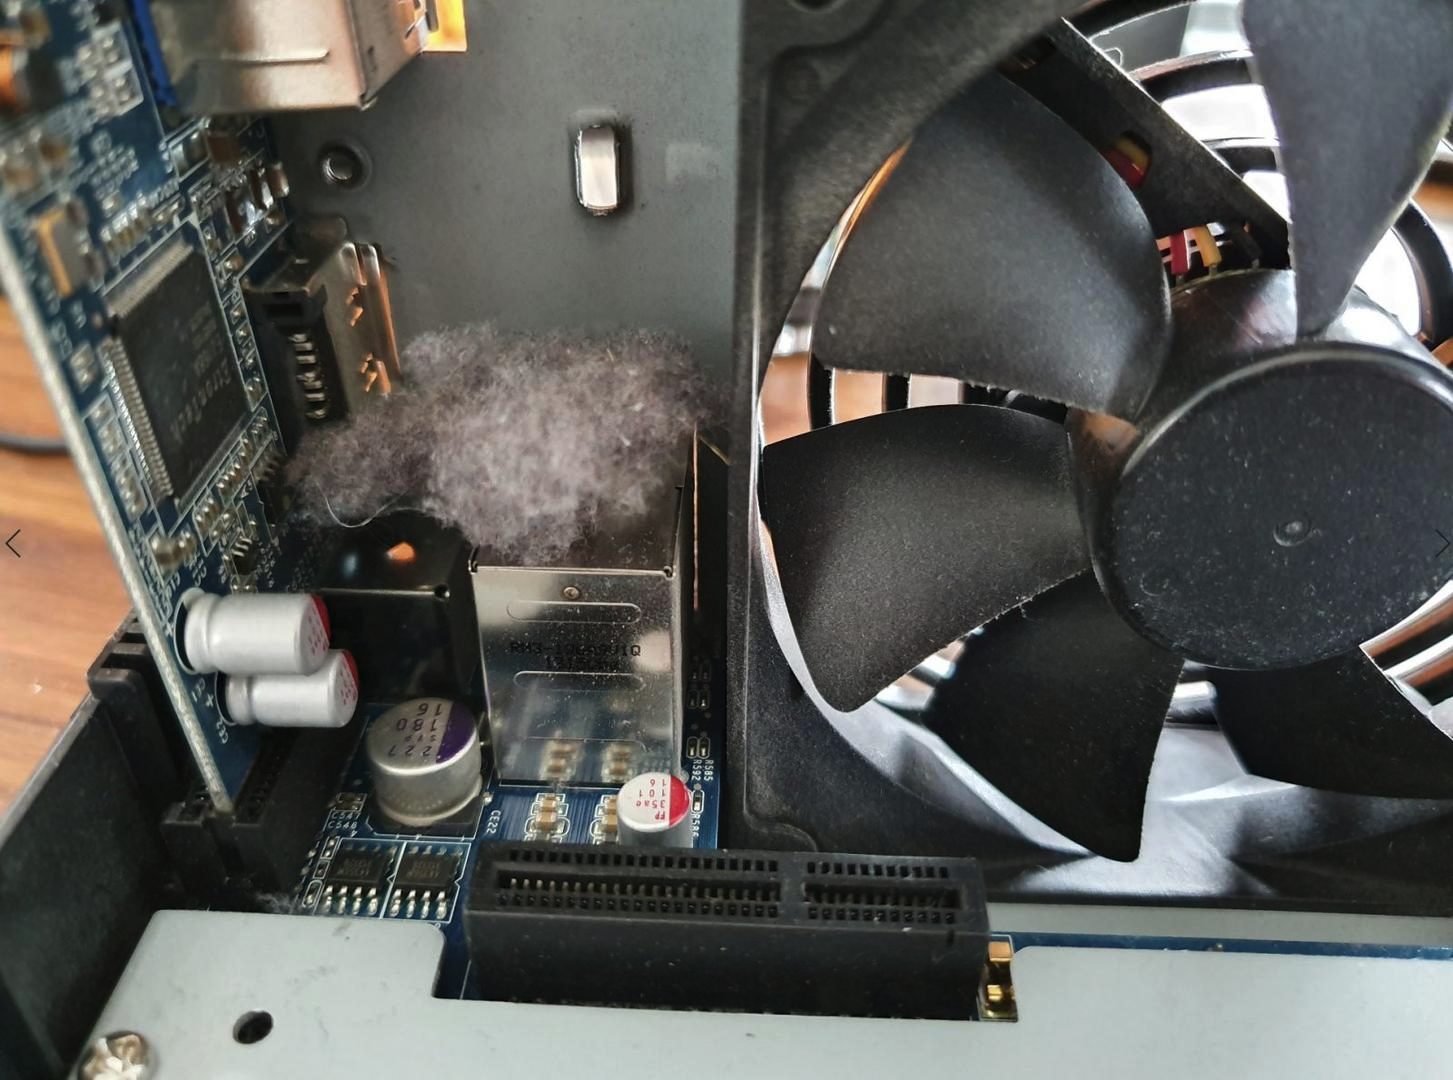
The amount of dust and dirt, which the device has been collecting over the years, was astounding. I used compressed air to clean it inside and out.
Upon reaching the motherboard I popped in the new RAM and re-built the enclosure. From my experience building IKEA furniture, I’ve learned it’s important not to have too many spare screws left when you’re finished.
I reinserted the HDDs, attached all cables and powered on the device. After a few minutes I was able to log in to verify that I was successful with the upgrade.

DSM, the operating system or interface Synology uses, shows total physical memory to be at 4096 MB. I have SSH enabled for miscellaneous admin stuff for the Synology, and it also shows the expansion was successful:

After about 1 day the device has performed great. Overall, it feels snappier. DSM is twice as responsive, and services I’m running on Synology seem more responsive as well.
All in all, spending about 30 minutes on the upgrade and about 20 € was a great investment. Perhaps the device will provide me with another 7 years of solid service!
[ Update: October 17, 2022: A kind reader (thanks, Enric!) sent me a resource for further configuring the DS412+ after the 4 GB RAM update to ensure the best performance. See here. ]